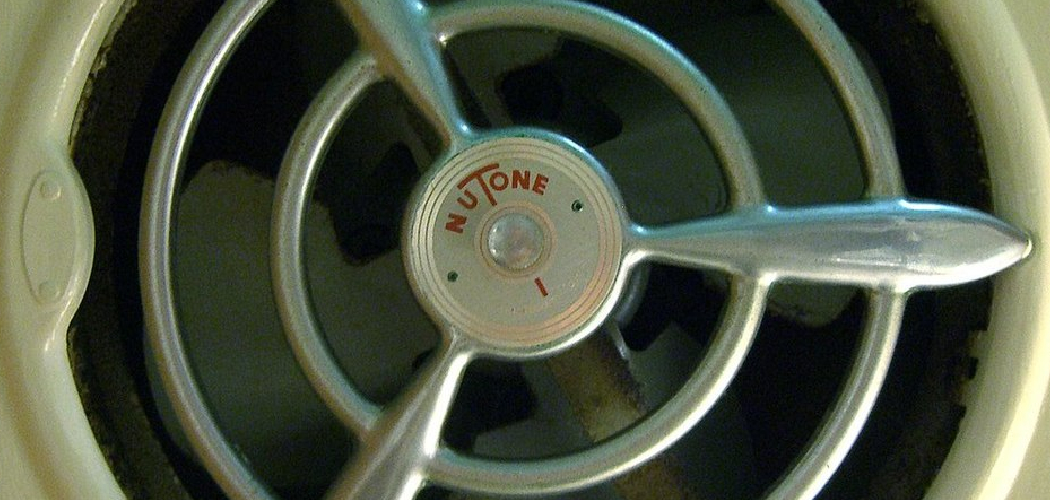
NuTone bathroom fans with built-in lights are a versatile and practical addition to any home, providing efficient ventilation and enhanced lighting in one convenient unit. These fans not only help maintain air quality by reducing moisture and odors but also add brightness to your bathroom, creating a more functional and inviting space.
Proper wiring is crucial to ensuring that the fan and light operate effectively and safely, preventing potential electrical issues and maintaining compliance with local building codes.
This article serves as a comprehensive step-by-step guide on how to wire a NuTone bathroom fan with light, focusing on safety, accuracy, and ease of installation. By following these instructions, you can confidently complete the project and enjoy the benefits of a well-wired, multifunctional fan for years to come.
Tools and Materials You’ll Need
Before starting the installation of your NuTone bathroom fan with light, gather all necessary tools and materials to ensure a smooth process. Having everything ready will save time and help maintain a safe, organized workspace.
Tools
- Screwdrivers (Phillips and flathead) – For tightening screws and securing the unit.
- Wire stripper/cutter – To prepare and connect electrical wires.
- Voltage tester – To confirm the power is off before wiring.
- Drill (if new installation) – For creating holes or securing the fan/light unit.
Materials
- Electrical wire (typically 14/2 or 14/3 NM cable) – For connecting the fan and light to the power supply.
- Wire nuts – To safely secure wire connections.
- Electrical tape – For additional insulation and securing wire nuts.
- Switches (single or dual, depending on setup) – To control the fan and light separately or together.
- NuTone fan/light unit – The centerpiece of your project.
- Safety gear (gloves and safety glasses) – To protect yourself during installation.
Optional (for custom installations)
- Junction box – For additional wiring connections.
- Cable clamps – To secure wires in place.
- Ceiling brace for mounting – For stable support, especially in larger fixtures.
Make sure to follow all local building codes and safety guidelines while handling electrical components.
Understanding the Wiring Configuration
Properly understanding the wiring configuration is essential for the safe and effective installation of your NuTone fan/light unit. Electrical wires are color-coded to indicate their purpose, which simplifies the connection process. Here are the most common wire color codes you’ll encounter:
- Black – This is the “hot” wire, which carries the live electrical current.
- White – This is the neutral wire, completing the electrical circuit.
- Green/Bare – This wire serves as the ground, providing a safety path for electricity.
- Red (if present) – This wire is often used as a second hot wire for dual control setups.
Single vs. Dual Switch Setup
The wiring configuration can vary depending on whether your installation uses a single or dual switch:
- Single switch – With this setup, both the fan and light are controlled together. When you turn the switch on, both the fan and light will operate simultaneously.
- Dual switch – A dual switch setup allows for independent control of the fan and light. This is particularly useful if you want flexibility in operating the unit, such as switching on the light without running the fan.
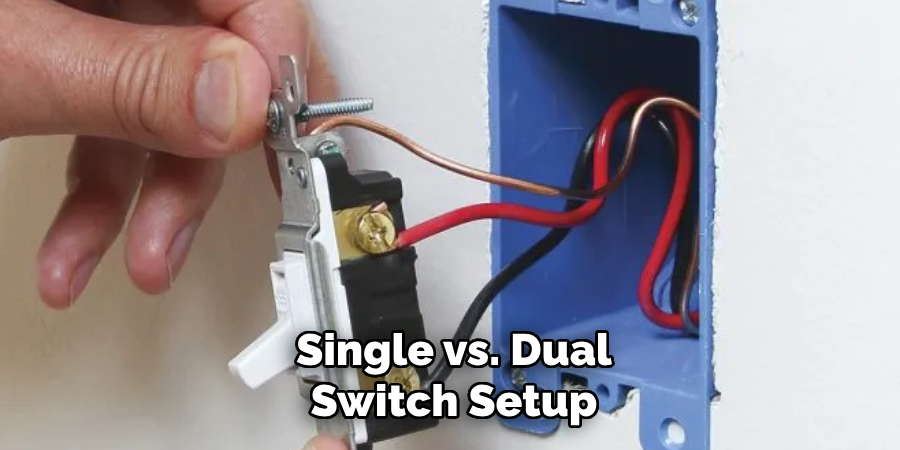
Diagram Overview
Below is a simplified visual explanation of how the power flows in a typical installation:
- Electrical power flows from the breaker panel to the wall switch.
- From the wall switch, the wires connect to the fan/light unit.
- The switch configuration (single or dual) determines whether one or two circuits supply power to the fan and light.
Always refer to your unit’s instruction manual and consult with a licensed electrician if you are unsure about the wiring process or require custom configurations.
Preparing the Installation Area
Turning Off Power
Before beginning any installation, safety should be your top priority. Locate the circuit breaker that supplies power to the fan/light unit and switch it off completely. Use a voltage tester to verify that no power is present at the installation site. Ensuring the power is off will protect you from electrical shocks during the process.
Removing Old Unit (if applicable)
If replacing an existing fan/light unit, carefully disconnect and remove it. Start by taking off the cover or grille, exposing the wiring and mounting hardware. Unscrew or unclip the unit from the ceiling support and disconnect the electrical wires, noting their existing connections if needed for reference. Place the old unit and hardware aside for proper disposal or recycling.
Preparing Mounting Location
Inspect the ceiling support to ensure it can accommodate the weight of the new NuTone unit. Reinforce the support if necessary to comply with the manufacturer’s specifications. Additionally, check that there is ample space in the ceiling cavity for wiring and the housing of the new unit. Clear away any obstructions or debris from the installation site to provide a clean and safe working area.
How to Wire a Nutone Bathroom Fan With Light Wiring the NuTone Fan with Light
Connecting Ground Wires
Begin by gathering all the ground wires from the electrical supply and the NuTone unit. Twist these wires together securely, ensuring they are tightly connected. Attach the ground wires to the green screw on the NuTone housing, tightening the screw firmly to ensure a solid connection.
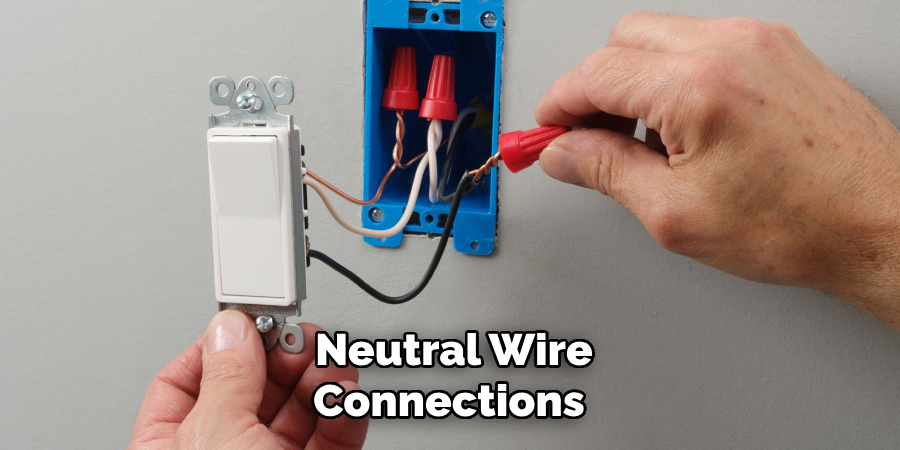
Neutral Wire Connections
Locate all the white (neutral) wires from the electrical box and the NuTone unit. Using a wire nut, combine and secure these wires together. Make sure the connection is tight and no exposed wire is left outside the wire nut.
Hot Wire Setup
When setting up hot wire connections, follow the wiring configuration based on your switch setup:
- Single Switch Setup: Connect the black power wire from your electrical supply to both the fan and light leads on the NuTone unit.
- Dual Switch Setup: Use the red wire from your electrical box to connect to one function (either the fan or the light) and the black wire to the other. This allows independent control of each feature.
Securing Wire Nuts and Checking Connections
After making all wire connections, inspect your work to ensure the wire nuts are securely fastened. Give each wire a gentle tug to confirm they are firmly held in place. A secure connection reduces the risk of loose wires causing electrical issues. Ensure no exposed wires are visible outside of the wire nuts for safety.
Attaching Wires to the Housing Box
Finally, position the connected wires neatly within the housing box. Use cable clamps to secure the wires in place, preventing movement or strain on the connections. This step is essential for maintaining safe and stable wiring throughout the fan’s operation. Double-check all connections to verify they are secure before proceeding to the next steps of the installation.
Testing the Installation
Once the fan and light are installed, it’s time to test their functionality. Begin by restoring power to the circuit. Switch the circuit breaker back on, ensuring the electrical current flows to the newly installed fan and light.
Next, test the fan and light from the designated wall switch or switches. Flip each switch to verify that both the light and fan operate as expected. Check for proper speeds on the fan and confirm that the light turns on and off without any issues.
If either the fan or light does not work, begin troubleshooting by turning off the circuit breaker and rechecking all connections in the housing box and switch wiring. Ensure all wires are properly secured and connected according to the manufacturer’s instructions. Additionally, verify that the circuit breaker is functioning correctly. If issues persist, consult the fan’s troubleshooting guide or seek professional assistance.
Safety Tips and Code Compliance
Electrical Code Considerations
When working on bathroom circuits, it is crucial to follow the National Electrical Code (NEC) requirements. Bathrooms require dedicated 20-amp circuits for outlets, along with Ground-Fault Circuit Interrupter (GFCI) protection to reduce the risk of electrical shock in wet environments. Ensure that all connections and wiring meet local electrical codes and use properly marked components to avoid violations.
Moisture Protection
Bathrooms are damp locations, so it is essential to use wiring, switch boxes, and fans rated for such conditions. Ensure all components are moisture-resistant and sealed appropriately to prevent corrosion or electrical hazards. Properly sealing junction boxes and using vapor barriers can further protect against damage caused by excess humidity.
When to Call a Professional
If the installation process involves complex wiring or you encounter unfamiliar issues, it is wise to consult a licensed electrician. Recognizing your limits can prevent costly mistakes and ensure the safety and longevity of your electrical systems.

Conclusion
Successfully completing this project involves careful planning, precise wiring, and the safe installation of your NuTone bathroom fan with light. Remember to prioritize safety and adhere to local electrical codes throughout the process, as this helps avoid potential hazards and ensures optimal functionality. Understanding “how to wire a NuTone bathroom fan with light” is key to achieving a professional outcome, enhancing both the comfort and ventilation of your bathroom. By following these steps and taking the necessary precautions, you can enjoy the long-term benefits of an efficient, well-installed fan and light combination.

