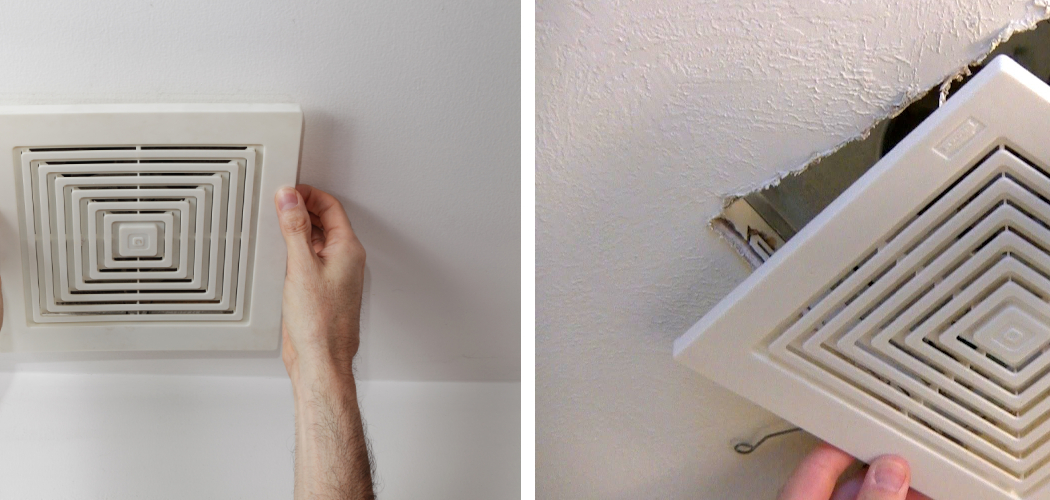
Having a broken bathroom fan can be incredibly frustrating—not only is the noise it makes irritating, but airflow and climate control are compromised, too. Fortunately, replacing your Nutone bathroom fan cover could be easier than you think!
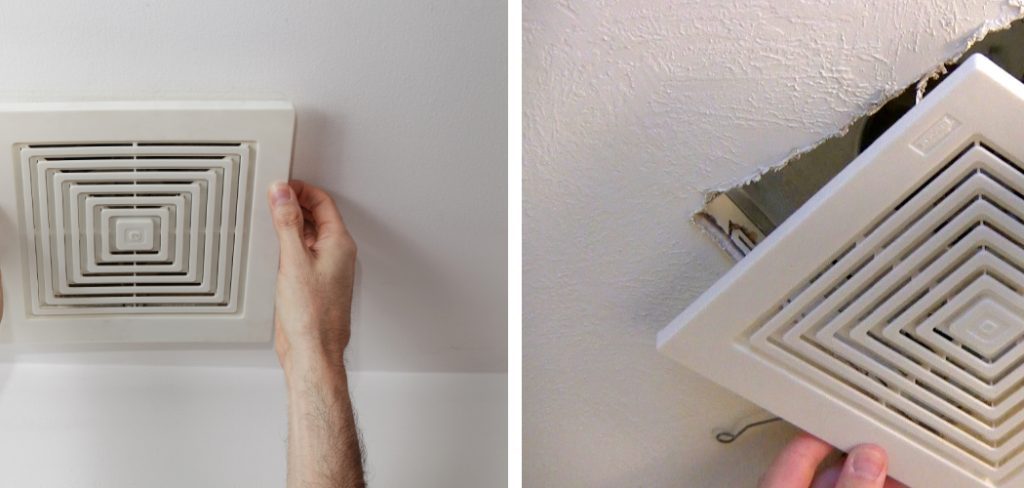
In this blog post on how to remove a nutone bathroom fan cover, we’ll show you how to remove the old nutone cover from your bathroom fan with a few simple tools so that you can easily replace it with something newer or even better. So don’t let a noisy or inefficient Nutone bathroom fan get in the way of your comfort; keep reading to learn how to give your Nutone fan an upgrade today!
What is a Nutone Bathroom Fan?
Before we dive into the steps of removing a Nutone bathroom fan cover, let’s first understand what exactly is a Nutone bathroom fan. Nutone is a well-known brand that specializes in producing ventilation fans for bathrooms and other living spaces.
Their fans are known for their quiet motors and efficient airflow, making them a popular choice among homeowners. However, over time, even the best products can wear down and need replacing.
Needed Materials
To remove a Nutone bathroom fan cover, you will need the following materials:
- Screwdriver
- Ladder or Stool (Depending on the Height of Your Ceiling)
- Replacement Fan Cover (if You Plan on Replacing the Old One)
11 Step-by-step Guidelines on How to Remove a Nutone Bathroom Fan Cover
Step 1: Turn Off the Power
For safety reasons, it’s important to turn off the power supply to your bathroom fan before attempting to remove the cover. Locate the circuit breaker for your bathroom or use a voltage tester to ensure that there is no electricity going to the fan.
You can also unplug the fan if it’s plugged into an outlet. But please ensure the power supply is completely turned off before proceeding with the next step. Otherwise, you could get an electric shock.
Step 2: Locate the Screws
Most Nutone bathroom fan covers are held in place by screws. You will need to find and remove these screws to take off the cover. The number of screws may vary depending on the size and model of your fan, but they are usually located around the edges of the cover or near the center.
It’s best to have a screwdriver with a magnetic tip to avoid losing the screws during the process. Otherwise, have a bowl or container nearby to place the screws in for safekeeping.
Step 3: Remove the Screws
Using your screwdriver, carefully remove all of the screws from around the fan cover. Set them aside in a safe place for later. This may require a bit of patience and some screws might be hard to remove, especially if they have rusted over time.
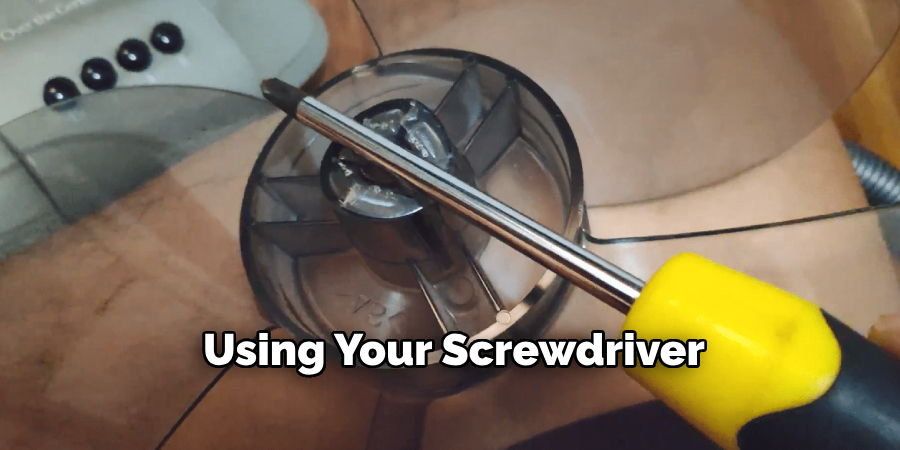
If this is the case, you can try using some lubricant on the screw to loosen it up for easier removal. You can also use a power drill instead of a screwdriver if needed.
Step 4: Take Off the Cover
With all of the screws removed, you should now be able to take off the old fan cover easily. Carefully lift it up and away from the fan motor and set it aside for disposal or cleaning if you plan on reusing it.
Be cautious as some covers may still have wires attached to them; make sure to disconnect them before fully removing the cover. It’s also a good idea to have someone hold the cover for you while you do this step, especially if it’s a larger cover.
Step 5: Clean the Fan Motor
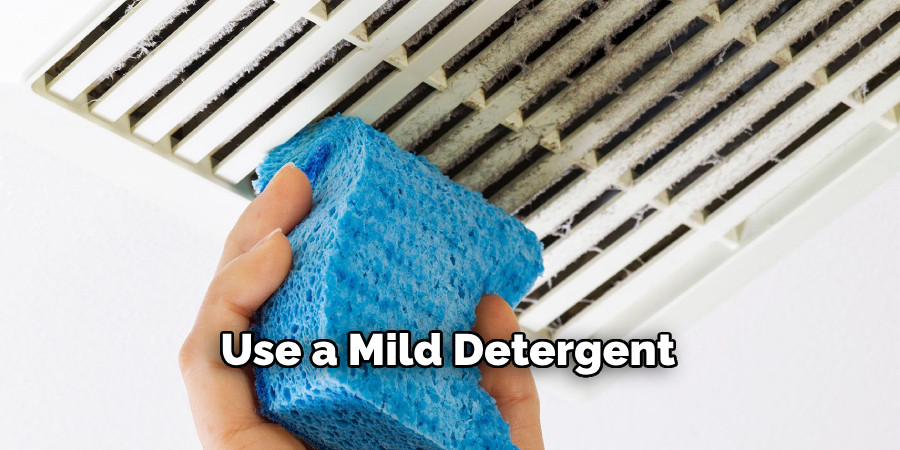
With the fan cover removed, take a moment to clean the fan motor and blades. Dust and debris can accumulate over time which can affect the performance of your bathroom fan. Use a dry cloth or a vacuum cleaner to clean the motor and blades before installing the new cover. You can also use a mild detergent and water solution for tougher stains. You want to make sure the fan is completely clean and dry before proceeding.
Step 6: Attach the New Fan Cover (Optional)
If you’re planning on replacing your old Nutone fan cover with a new one, now is the time to attach it. Follow the instructions that come with the new cover or refer to the user manual of your specific model.
Most covers are attached using the same screws that were removed earlier, but some may require a different method. You can also paint the new cover to match your bathroom’s decor if desired.
Step 7: Replace the Screws
Once your new fan cover is installed or if you’re reusing the old one, it’s time to put the screws back in place. Make sure they are tight enough to secure the cover but not too tight that they damage the cover or fan motor.
If you had to use a power drill in step 3, make sure to adjust the settings for lower torque when replacing the screws. But if you have a manual screwdriver, make sure to follow the same steps as before and tighten each screw evenly.
Step 8: Reconnect any Wires
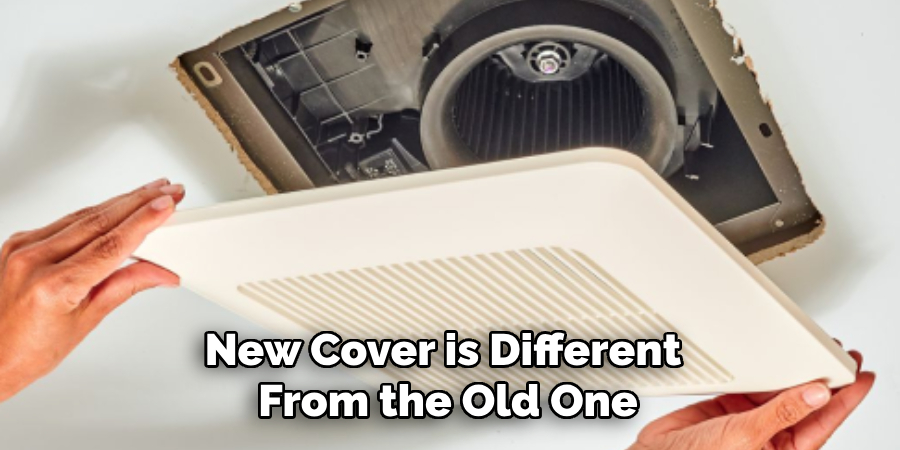
If your old cover had wires attached to it, now is the time to reconnect them to the new cover if you’re using one. Make sure to follow the previous wiring pattern to ensure the proper functioning of your bathroom fan.
If your new cover is different from the old one, refer to its user manual for detailed instructions on how to connect the wires properly. This step is crucial, so take your time to make sure everything is connected correctly.
Step 9: Turn On the Power Supply
Now that everything is in place, it’s time to turn on the power supply again. Head back to the circuit breaker and switch it on for your bathroom or plug in the fan if you unplugged it earlier. Test out the fan by turning it on and off a few times to make sure everything is working correctly.
If there are any issues, refer to the troubleshooting section in your user manual or contact Nutone customer support for assistance. It’s always better to be safe than sorry, so don’t skip this step.
Step 10: Give Your Fan an Upgrade (Optional)
While the fan cover is removed, you can also take this opportunity to give your Nutone bathroom fan an upgrade. You can replace your old fan with a newer model that has more advanced features like humidity sensors or LED lighting.
This will not only improve the functionality of your bathroom fan but also add value to your home. Although optional, it’s worth considering if you’re already going through the process of removing the fan cover.
Step 11: Regular Maintenance and Cleaning
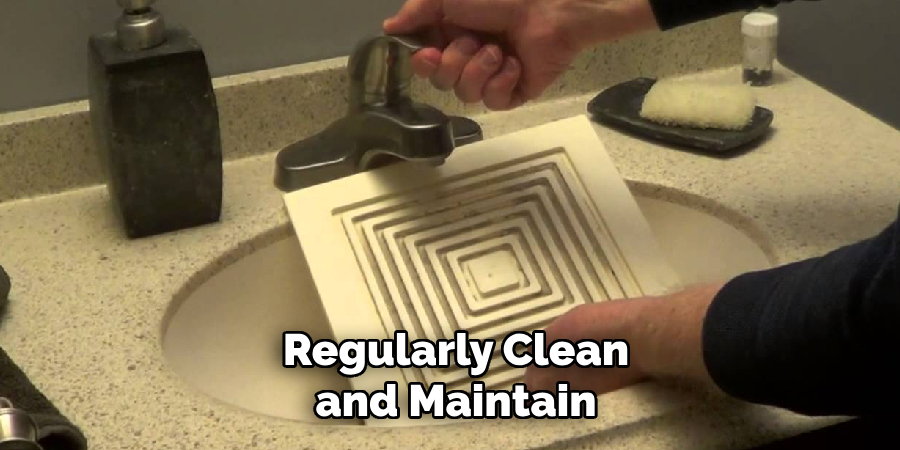
To ensure the longevity of your Nutone bathroom fan cover, it’s important to regularly clean and maintain it. This will not only keep it looking brand new but also prevent any malfunctions in the future. Make sure to dust or vacuum the cover every few months and replace the filter if needed. You should also check for any loose screws and tighten them as necessary. With proper care, your bathroom fan cover will last for many years to come.
Following these steps on how to remove a nutone bathroom fan cover will make removing a Nutone bathroom fan cover an easy task. Just remember to always prioritize safety by turning off the power before starting and following all instructions carefully. With a little effort, you can have a clean and functional bathroom fan in no time! Happy cleaning!
Additional Tips
- if You’re Unsure About Any Step, Refer to the User Manual or Contact Nutone Customer Support for Assistance.
- Wear Protective Gloves and Eyewear When Handling Screws or Using Power Tools.
- It’s Recommended to Have a Helper With You When Removing Larger Fan Covers.
- Make Sure to Measure Your Old Fan Cover Before Purchasing a New One to Ensure Compatibility.
- Regularly Clean and Maintain Your Nutone Bathroom Fan Cover for Optimal Performance.
- Consider Upgrading Your Old Fan With a New Model for Added Features and Value to Your Home.
- If You’re Reusing the Old Fan Cover, Make Sure to Thoroughly Clean It Before Reinstalling It.
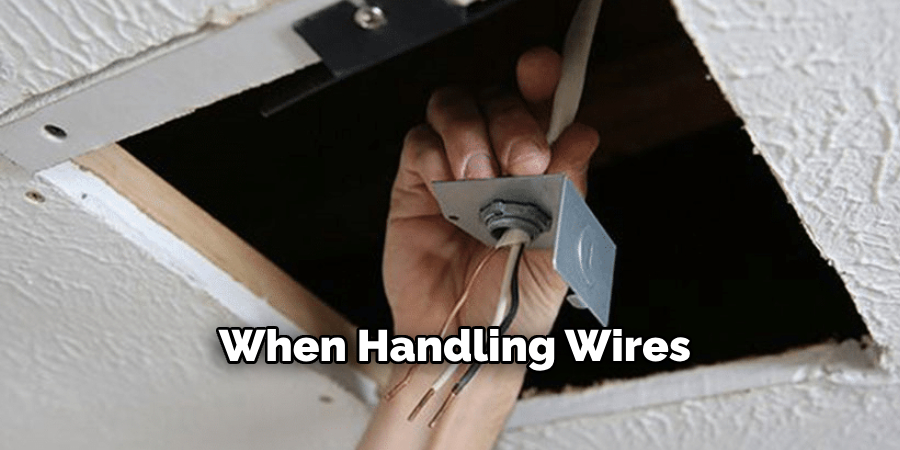
- Use Caution When Handling Wires to Avoid Any Electrical Hazards.
- If You Encounter Any Issues During the Removal or Installation Process, Seek Professional Help.
- Properly Dispose of the Old Fan Cover According to Local Regulations.
- Remember to Always Turn Off the Power Supply Before Starting Any Maintenance or Cleaning Tasks for Your Bathroom Fan.
- Don’t Forget to Regularly Check for Any Loose Screws and Tighten Them as Needed for Optimal Safety and Functioning.
Frequently Asked Questions
Q1: How Often Should I Clean and Maintain My Nutone Bathroom Fan Cover?
A1: It’s best to clean and maintain your bathroom fan cover every few months to ensure optimal performance. For heavily used bathrooms, you may need to clean them more frequently.
Q2: Do I Need to Turn Off the Power Supply If I’m Just Replacing the Fan Cover?
A2: Yes, it’s important to turn off the power supply even if you’re just replacing the fan cover. This is for your safety and to avoid any possible damage to the fan or electrical system.
Q3: Can I Paint My Nutone Bathroom Fan Cover?
A3: Yes, you can paint your fan cover to match your bathroom’s decor. Just make sure to use paint that is suitable for plastic surfaces and follow all instructions on the product label. However, avoid painting any parts of the fan that come into contact with water or moisture for safety reasons. Remember to also let the paint fully dry before reinstalling the cover.
Q4: What Should I Do If My Bathroom Fan Cover Is Damaged?
A4: If your fan cover is damaged, it’s best to replace it with a new one for optimal functioning and safety. Contact Nutone customer support for assistance in finding the right replacement cover for your specific model.
Conclusion
With the right tools and a bit of patience, removing a Nutone bathroom fan cover is as easy as 1-2-3. Now that you know the proper steps, why not give it a try yourself?
After just a few simple steps, you can easily replace your old fan cover with a new one that will update the look of your bathroom in no time! Just remember to be careful and turn off the power before starting any work.
We hope this blog post on how to remove a nutone bathroom fan cover has given you the confidence to take on this project without fear. Good luck and happy renovations!

