Frozen toilet pipes can be a frustrating and inconvenient issue, especially during the colder months. When water inside the pipes freezes, it can block the flow and even risk causing the pipes to burst if not addressed promptly. Knowing how to safely and effectively unthaw toilet pipes is an essential skill that can help prevent costly damage and restore functionality to your plumbing system.
This guide on how to unthaw toilet pipes will walk you through the process, offering practical tips and preventive measures to keep your pipes in good condition.
Why Do Toilet Pipes Freeze?
Toilet pipes can freeze for several reasons, including:
Low Temperatures:
When the temperature drops below freezing, any water inside the pipes can quickly turn into ice and block the flow. This is especially common in unheated or poorly insulated areas, such as basements, crawl spaces, and exterior walls.
Lack of Use:
Pipes that are not used regularly, such as those in vacation homes or spare bathrooms, are more susceptible to freezing. Without regular water flow, the pipes may not have enough insulation to protect them from low temperatures.
Poor Insulation:
Insufficient insulation around pipes can leave them vulnerable to freezing. It’s important to properly insulate all exposed pipes, including those in attics and basements.
Needed Materials
Before you begin the process of unthawing toilet pipes, make sure you have the following materials on hand:
- Hair Dryer or Heat Gun
- Hot Water
- Towels
- Bucket
- Rubber Gloves
- Plumbing Tape (Optional)
8 Step-by-step Guidelines on How to Unthaw Toilet Pipes
Step 1: Turn Off the Water Supply
The first and most important step in unthawing toilet pipes is to turn off the water supply to prevent further damage. Locate the shut-off valve for your toilet, usually found near the base of the toilet or along the wall behind it, and turn it clockwise to close it.
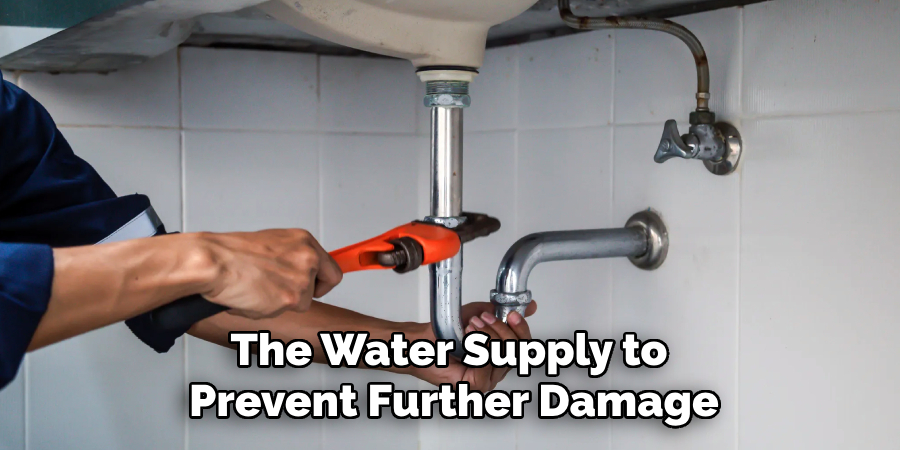
Cutting off the water supply ensures that if the ice inside the pipe starts to melt, it won’t cause flooding or leaks in the process. This precautionary step protects your home while allowing you to focus on safely unthawing the pipes.
Step 2: Open the Faucet
After turning off the water supply, open the faucet connected to the frozen pipe. This step helps relieve any built-up pressure in the pipe and allows melted water to escape as you begin the thawing process.
Keep the faucet open throughout the unthawing procedure to ensure proper drainage and prevent water from refreezing. This can also help you monitor the progress as the water starts to trickle out, indicating the ice is melting effectively.
Step 3: Use a Hair Dryer
Using a hair dryer or heat gun is one of the most common and effective methods for unthawing frozen toilet pipes. Start by plugging in the hairdryer and setting it to its highest heat setting. Hold the dryer about six inches away from the frozen pipe, moving it back and forth along the length of the pipe.
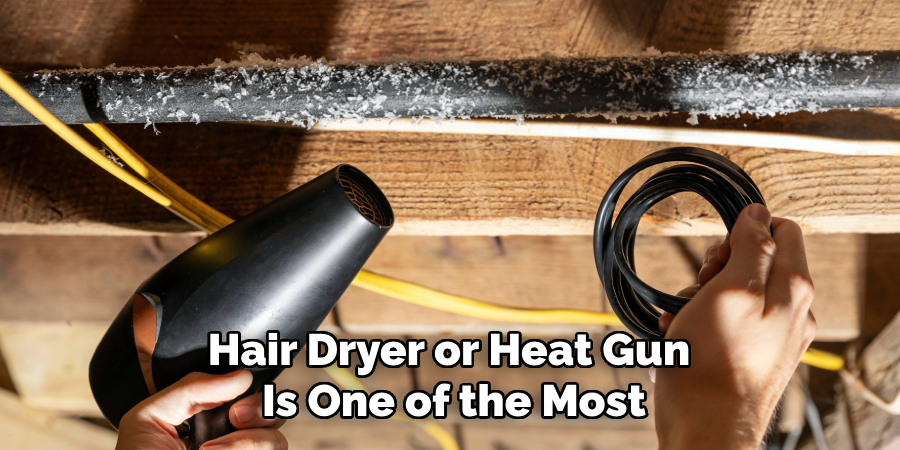
The heat generated by the blow dryer will gradually thaw out the ice inside the pipe. Be patient and avoid applying too much heat on one spot as this can cause damage to your pipes. Continue until water starts flowing freely through the faucet.
Step 4: Pour Hot Water
If you don’t have a hair dryer or heat gun available, pouring hot water over the frozen pipe can also help melt the ice. Start by boiling a pot of water on your stove and carefully pour it over the affected area of the pipe.
Be cautious when handling hot water and make sure to wear rubber gloves to protect your hands. Repeat this process until the ice has completely melted and water flows smoothly through the faucet.
Step 5: Wrap Pipes in Towels
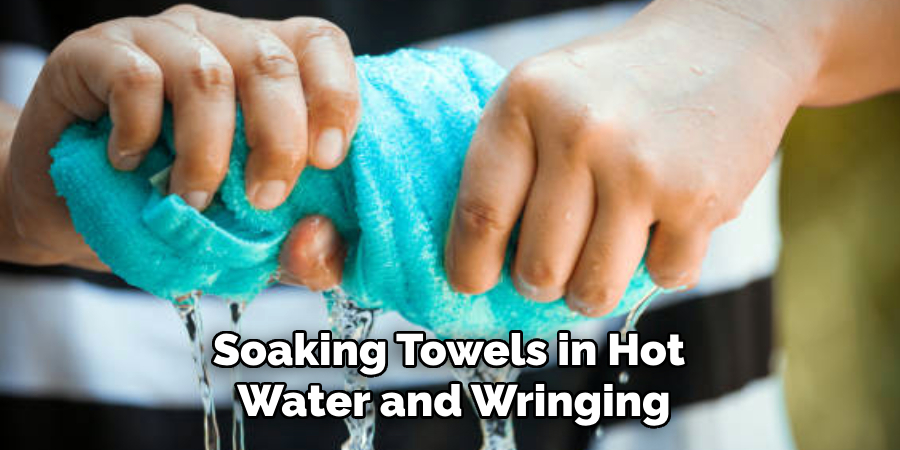
Wrapping the frozen section of the pipe in towels is another effective method to help retain heat and speed up the thawing process. Start by soaking towels in hot water and wringing them out so they are damp but not dripping. Carefully wrap the towels around the frozen pipe, ensuring that the affected area is completely covered.
The damp towels will gradually transfer heat to the pipe, helping to melt the ice inside. Replace the towels with freshly soaked hot ones as they cool down, and continue this process until water begins to flow freely again. Using this method is also a safer option for delicate plumbing, as it minimizes the risk of overheating.
Step 6: Apply Heat Tape (Optional)
If you have heat tape available, you can use it to unthaw toilet pipes by wrapping it around the frozen section and plugging it into an electrical outlet. The tape will gradually warm up and thaw out the ice in the pipe.
Make sure to follow the manufacturer’s instructions and safety precautions when using heat tape. This method can be particularly useful for preventing future freezing issues in poorly insulated areas.
Step 7: Check for Leaks
Once the water is flowing freely through your faucet, turn off all faucets and check for any leaks or damage to your pipes. If you notice any leaks, immediately turn off the water supply and call a professional plumber for repairs.
You can also use this opportunity to inspect your pipes for any signs of damage or wear and tear. If you notice any issues, it’s best to address them promptly to avoid future plumbing problems.
Step 8: Prevent Future Freezing
To prevent your toilet pipes from freezing again in the future, there are a few preventive measures you can take:
- Insulate exposed pipes with pipe sleeves or foam insulation.
- Keep your home temperature above freezing, even when away on vacation.
- Open cabinet doors under sinks to allow warm air to circulate around pipes.
- Drip faucets during extremely cold temperatures to keep water moving and prevent freezing.
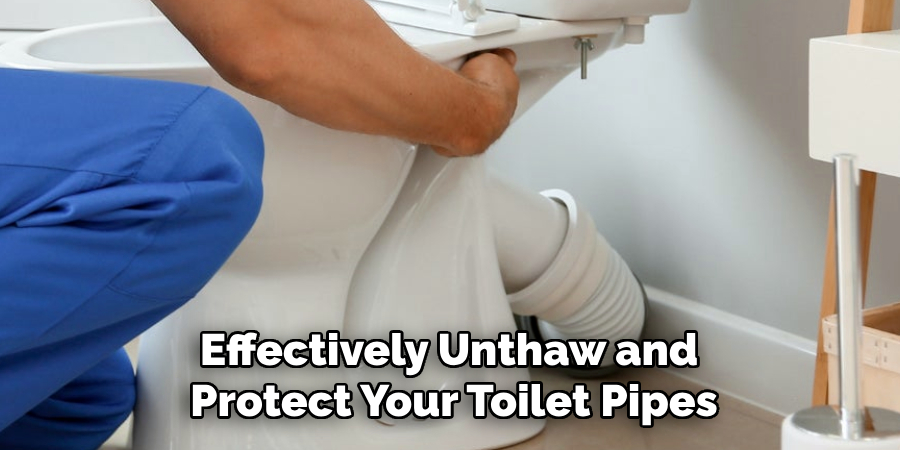
By following these steps on how to unthaw toilet pipes and taking precautionary measures, you can effectively unthaw and protect your toilet pipes from freezing. Remember to always prioritize safety and seek professional help if needed. Don’t let frozen pipes ruin your day; take action and keep your plumbing running smoothly. So next time when you face a similar situation, remember these guidelines and confidently take on the task of unthawing toilet pipes like a pro!
Additional Tips for Plumbing Maintenance:
- Regularly check for leaks or signs of damage in your plumbing.
- Insulate all exposed pipes, particularly those located in unheated areas such as basements, attics, and crawl spaces.
- Keep a small trickle of water running from faucets during extreme cold temperatures to keep water moving and prevent pipes from freezing.
- Pay attention to weather forecasts and take necessary precautions, such as adding extra insulation or turning up the heat during extreme cold spells.
- Educate yourself on how to shut off your water supply in case of emergencies.
By following these additional tips, you can prevent future plumbing issues and ensure the longevity of your home’s plumbing system. Regular maintenance is key to avoiding costly repairs and inconveniences caused by frozen pipes. Stay proactive and keep an eye out for any potential problems before they escalate into major issues. Your home will thank you!
Frequently Asked Questions
Q: Why Do Toilet Pipes Freeze?
A: Toilet pipes can freeze due to extremely cold temperatures, inadequate insulation, or lack of heat in the surrounding area. When water inside the pipes reaches freezing temperatures, it expands and can lead to blockages or even bursts.
Q: How Can I Tell if My Toilet Pipes Are Frozen?
A: The most common sign of frozen toilet pipes is when you turn on the faucet and no water comes out. You may also notice unusual noises coming from your plumbing, such as creaking or banging sounds. A frozen pipe may also feel noticeably colder than surrounding areas.
Q: Can I Use a Blowtorch to Unthaw Toilet Pipes?
A: It’s not recommended to use a blowtorch or any open flame to unthaw toilet pipes as this can pose a fire hazard and potentially damage your pipes. Stick to safer and more effective methods such as using a hair dryer, hot water, or heat tape.
Q: How Long Does it Take to Unthaw Toilet Pipes?
A: The time it takes to unthaw toilet pipes can vary depending on the severity of the freeze and which method you are using. It can take anywhere from 30 minutes to several hours. It’s important to be patient and avoid rushing the process by applying too much heat, as this can cause damage to your pipes.
Q: What Should I Do if My Pipes Burst?
A: If your pipes burst during freezing temperatures, immediately turn off the water supply and call a professional plumber for repairs. Clean up any water damage and make sure to properly insulate your pipes in the future to prevent similar incidents from happening.
Conclusion
Dealing with frozen toilet pipes can be a stressful experience, but with the right tools, knowledge, and preventive measures, it’s a challenge you can confidently overcome. By following the outlined steps on how to unthaw toilet pipes to safely unthaw your pipes, checking for damage, and implementing preventative actions, you can protect your plumbing system from winter’s harsh effects.
Remember, regular maintenance and preparation are essential to keeping your home’s plumbing in optimal condition. When in doubt or facing serious issues, don’t hesitate to seek professional help. With these strategies in place, you’ll be well-equipped to face freezing temperatures and keep your home running smoothly all year round.

