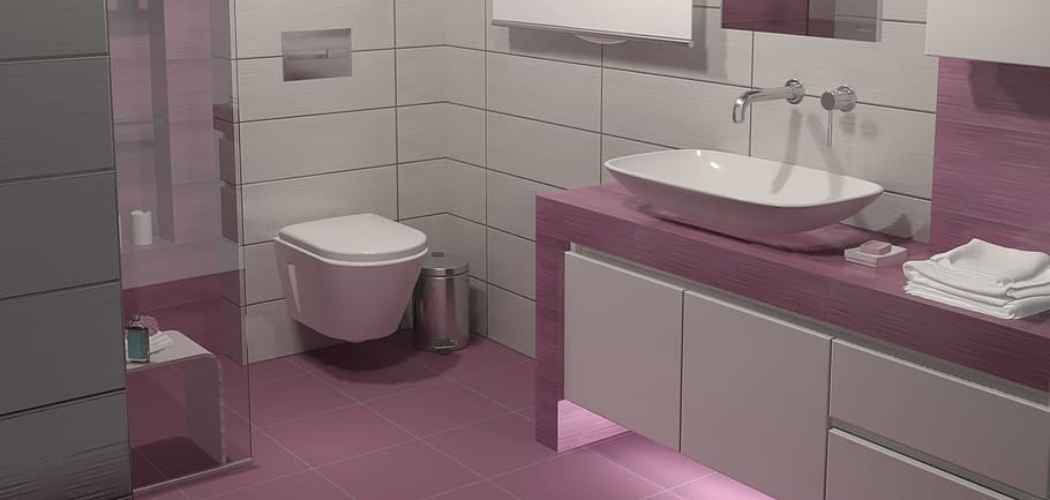
Are you ready to give your pink tile bathroom a fresh look? It’s easier than it looks, and the results can be dramatic!
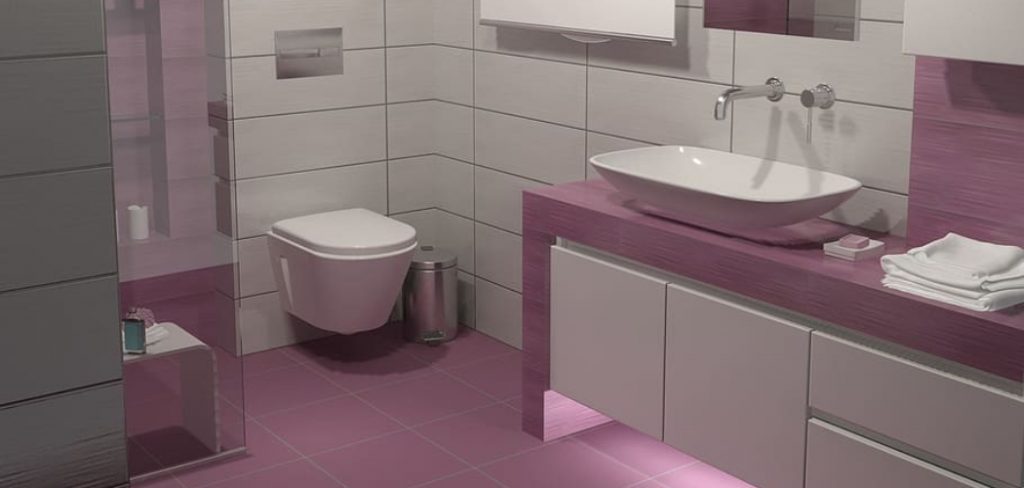
With just a few changes, it’s easier than ever to transform your outdated pink tiles and give them a fresh new look that embodies modern luxury. From finding clever ways to re-grout the tile to selecting accessories that complement its hue, this guide will show you how accessorizing and other small steps can quickly update a dated pink tiled bathroom! Just take a look below and find out how to update pink tile bathroom today.
So read on for some inspiring tips on how to take that old fashioned style and make it current – without breaking the bank or having too much disruption.
What Will You Need?
Before you start, make sure that you have everything on hand. To update the pink tile bathroom, you will need:
- A grout remover
- Sealer
- Sandpaper
- Cleaning supplies
- Paint or other tiles (optional)
- Accessories such as rugs and towels to coordinate with the color of your new shade of pink tiles
Once you have those items, it’s time to get started!
10 Easy Steps on How to Update Pink Tile Bathroom
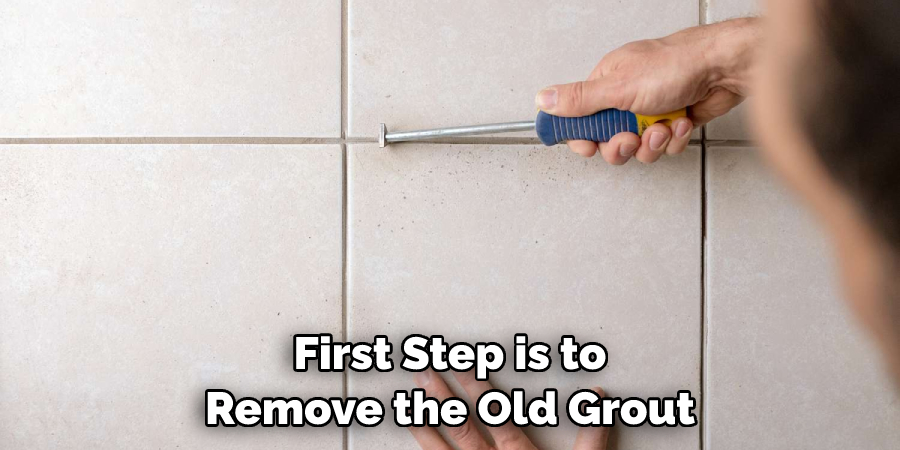
Step 1: Start by Removing Old Grout
The first step is to remove the old grout that has been discolored and tarnished over time. Using a grout removal tool, carefully scrape away the existing material until it’s completely gone. Be sure to wear safety goggles and gloves while you work – this will protect your eyes and skin from dust and chemicals.
Step 2: Clean the Tile Thoroughly
Once you’ve removed the old grout, it’s time to clean the tile thoroughly. Extra time here will ensure that your bathroom looks pristine when finished. Use a mild soap and water solution or an all-purpose cleaner, and remember to rinse the tile thoroughly with clean water.
Step 3: Seal the Tile
Once your tiles are squeaky clean, you’ll want to seal them to protect them from staining and wear over time. Use a high-quality grout sealer for this step, and make sure that you follow the manufacturer’s instructions carefully. This will ensure that your tile will remain beautiful and durable for many years.
Step 4: Re-Grout the Tile
Now it’s time to re-grout your tile! Start by mixing up a batch of grout according to the manufacturer’s instructions – this is usually done in small batches. Work carefully with your trowel, pressing the grout firmly into the cracks between each tile. Allow the grout to dry thoroughly before proceeding with any more work.
Step 5: Sand and Smooth Tiles
Once the grout is completely dry, it’s time to sand and smooth out any rough edges on your tiles. Use a fine-grit sandpaper or an electric sander for this task, and make sure to move in a circular motion. When finished, use a damp cloth to clean away any dust or debris that may have been left behind.
Step 6: Re-Paint the Tile (Optional)
If you’re feeling particularly adventurous, consider re-painting your tiles for an entirely new look! Select a color that coordinates well with the existing shades in your bathroom. Use good quality paint, as this will ensure that the finish is durable and long-lasting.
Step 7: Select Accessories That Compliment Your New Look
Now it’s time to add some accessories that will tie everything together! Choose items such as rugs, towels, shower curtains, and even artwork that will coordinate with the colors of your new pink tile bathroom. Be careful not to over-clutter the space – simple and classic is usually best.
Step 8: Select Lighting That Enhances Your New Look
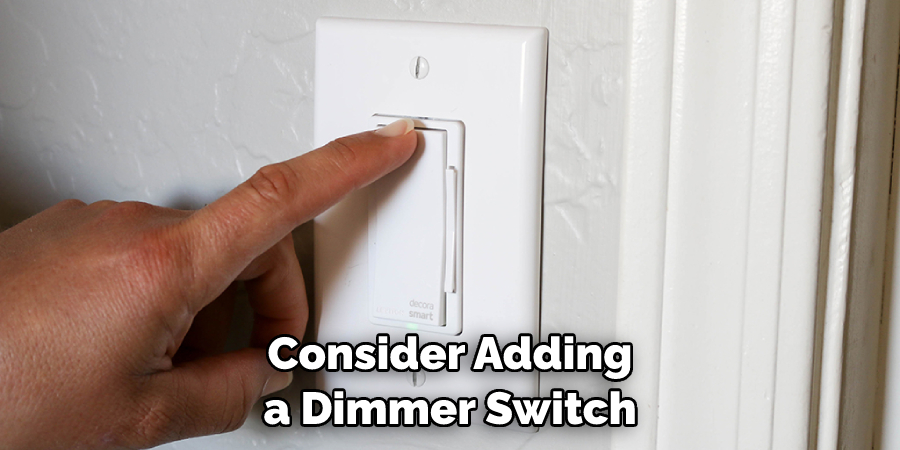
A few well-placed fixtures can make all the difference when it comes to lighting. Opt for something that will enhance the colors of your tiles and give the room an inviting glow. You may also want to consider adding a dimmer switch so you can customize the mood whenever you want.
Step 9: Install a New Shower Head
If your shower head is outdated or rundown, now is the perfect time to install a new one that complements the style of your updated pink tile bathroom. Choose something sleek and modern for an on-trend look or a vintage-inspired model to keep things looking classic. Keep in mind that you may need to hire a professional plumber or electrician for this step.
Step 10: Love Your New Look!
Lastly, be sure to enjoy your new pink tile bathroom! You’ve taken a dated style with just a few changes and given it an entirely new feel. Now it’s time to sit back, relax, and enjoy your handiwork.
These easy steps on how to update your pink tile bathroom will take you from outdated and drab to modern and chic in no time! So why wait any longer? Get started today, and let the transformation begin!
5 Additional Tips and Tricks
Tip 1: Consider Using Tile Stickers
If you need more time to paint your tiles, consider using tile stickers as an alternative. These can be applied and removed easily, allowing you to experiment with different designs and colors. Plus, they’re a cost-effective way to change your bathroom’s look and feel dramatically.
Tip 2: Refresh Old Fixtures
Instead of replacing old fixtures, consider giving them a new lease of life. A fresh coat of paint, or even just a thorough clean, can do wonders for tired-looking faucets, showers, or toilets. Plus, this will save you money and time compared to replacing them entirely!
Tip 3: Choose Durable Flooring
When it comes to flooring, choose something durable and easy to clean. Vinyl or tile are both great options for bathroom floors as they’re waterproof and long-lasting. Be sure to select a slip-resistant material, as this will help to keep the floors safe and free from accidental slips or falls.
Tip 4: Add Some Greenery
Consider adding some plants to your bathroom to add some life! Plants look beautiful and can also act as natural air purifiers to help keep the air inside healthy and clean. Choose low-maintenance varieties that don’t require too much sunlight or water to keep them looking their best.

Tip 5: Make it Cozy
Last but not least, make sure your bathroom is a cozy and inviting space! A soft rug, warm lighting, and some comfortable seating can help create a relaxing atmosphere you’ll enjoy spending time in. These touches can also help reduce stress and make you feel more at home.
These easy tips will help update your pink tile bathroom, making it a beautiful, inviting space that is sure to be enjoyed by all who enter! You’ll have the perfect place for relaxation and rejuvenation with just a few simple changes.
5 Things You Should Avoid
- Don’t use abrasive cleaners, as this could damage the tiles.
- Avoid overly bright or dark shades that may clash with the existing tile when choosing paint colors.
- Avoid using cheap and low-quality grout sealer, as this won’t adequately protect your tiles over time.
- Make sure to overcrowd the space with enough accessories, as this could make it feel cluttered and chaotic.
- Pay attention to installing proper ventilation – this is essential for removing moisture from the room and preventing mold or mildew growth.
By following these tips on what to do (and what not to do!) when updating your pink tile bathroom, you’ll be able to create a beautiful, functional, and long-lasting space that you’ll be proud to show off to family and friends. With just a few simple steps, your bathroom can look like it’s straight out of a magazine!
Can You Paint Over the Pink Tile?
The short answer is yes – you can paint over pink tile, although the results will depend on the quality of your paint and preparation. Start by thoroughly cleaning and sanding the tiles before applying a high-quality primer suitable for tiling. Once this has dried, you can apply multiple coats of paint until you achieve the desired result.
Additionally, it’s important to note that painting over pink tiles won’t necessarily make the color disappear. Depending on the type of paint you use, some of the original hue may still be visible beneath the new coat. To achieve a dramatic change, consider opting for darker shades such as gray or black.
No matter what option you choose, following these steps will ensure you get the best possible results when updating your pink tile bathroom. With a few simple changes, you can transform an outdated look into something modern and chic – no demolition required!
What Colours Go With Pink?
When pairing colors with pink, there are a variety of options that can bring out the best in your tiles. Neutral tones like white and gray will provide contrast while keeping things light and airy.
For something more eye-catching, consider shades of blue or green as accent colors – these hues work especially well when paired with a deep, dusty pink. You can also opt for brighter hues like yellow or orange for a bolder look to create a vibrant atmosphere.
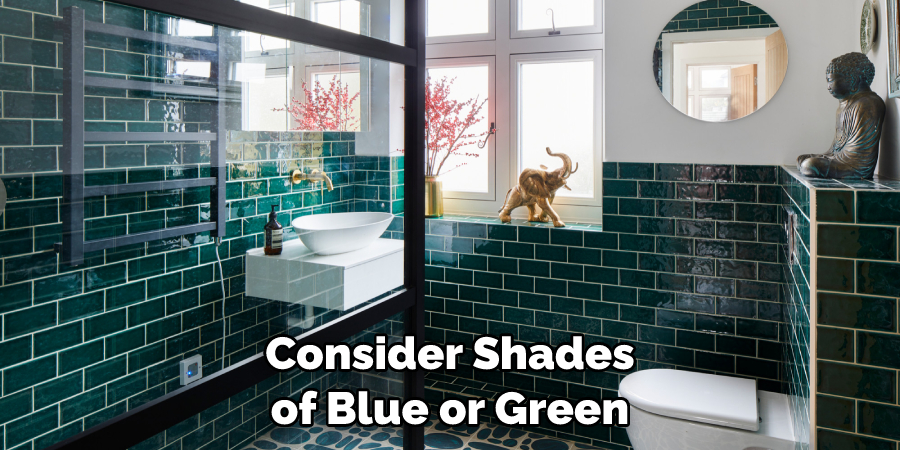
No matter which shades you choose, these colors will help bring out the best in your tiles and take your bathroom from outdated and drab to modern and chic in no time! You can make your pink tile bathroom look and feel brand new with just a few simple changes.
Conclusion
With all of this in mind, how to update pink tile bathroom doesn’t have to be complicated. Now that you are armed with all of the knowledge and tips on updating your pink bathroom, all that is left is for you to take the leap and do it. Take inspiration from some of the ideas in this blog post, and let your creativity shine through!
From painting existing tiles with new colors to installing wallpaper or wood paneling, many options exist for transforming this outdated look into something modern and stylish!
When you invest some time and effort into making these changes, not only will you have a bathroom that looks amazing but also one that feels warm and inviting. Start creating your dream pink tile bathroom today!

