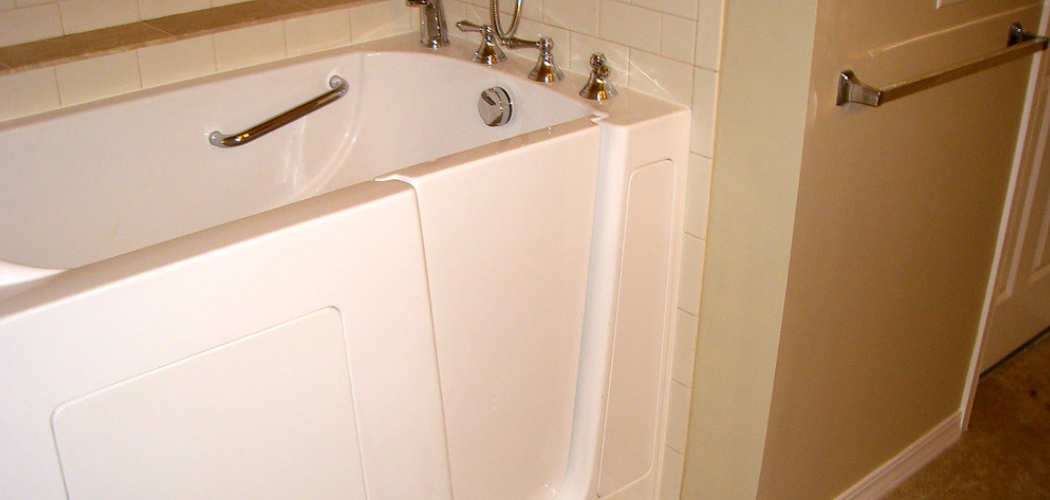
A walk-in tub is a bathtub with a door on the side, allowing for easy access without stepping over a high wall. This type of tub is commonly used by individuals with mobility issues or those who have trouble standing for extended periods of time.
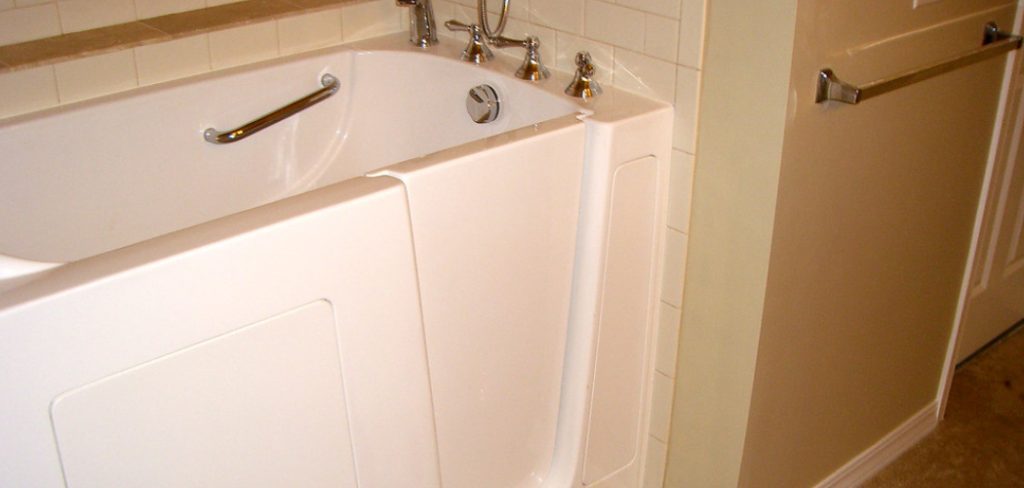
However, there may come a time when you no longer need your walk-in tub and want to remove it from your bathroom. Removing a walk-in tub may seem like a daunting task, but with the right tools and knowledge, it can be done easily. In this guide, we will provide you with step-by-step instructions on how to remove a walk in tub. So, let’s get started!
Understanding Walk-in Tub
Before we begin the removal process, it is important to understand how a walk-in tub is installed. This will give you a better idea of what needs to be done to remove it.
A walk-in tub is typically installed by securing the tub against the wall with screws and caulk. It may also have pipes and drains connected underneath. Therefore, when removing the tub, you will need to disconnect these connections carefully.
Additionally, it is important to note that walk-in tubs can be quite heavy due to their built-in features, such as handrails and seats. So, it is essential to have someone assist you in lifting and removing the tub.
Tools and Materials You Will Need to Remove a Walk-in Tub
- Screwdriver
- Adjustable wrench
- Utility knife
- Caulking gun
- Pry bar
- Bucket or container for collecting water from pipes and drains
- Rags or towels for cleaning up
- Plumber’s putty (optional)
- Pipe wrench (if needed to disconnect pipes)
Step-by-step Guidelines on How to Remove a Walk in Tub
Step 1: Prepare the Area
Preparing the area in and around the tub is important before starting the removal process. Remove any bath mats or accessories, and make sure there is enough space for you and your helper to work comfortably. It is also recommended that the water supply be turned off to prevent accidental leaks during removal. Preparing the area beforehand will make it easier and safer to remove the walk-in tub.
Step 2: Disconnect the Water Supply
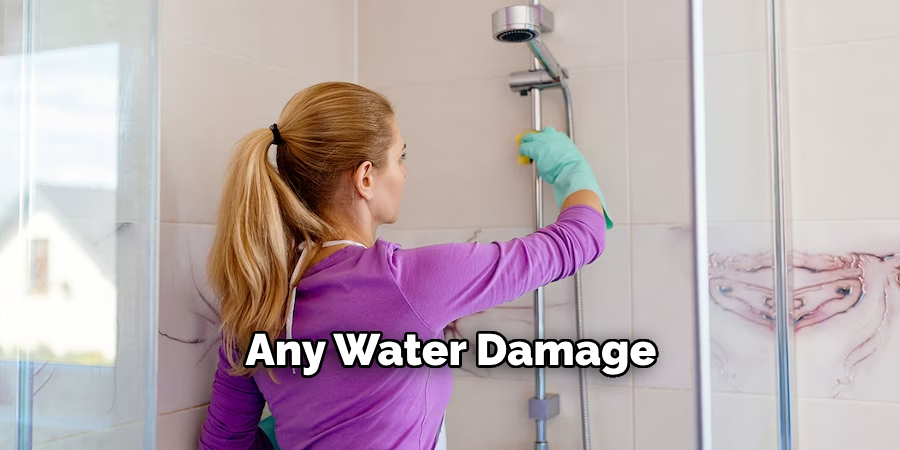
Once you have prepared the area, it’s time to disconnect the water supply. Use a screwdriver or an adjustable wrench to unscrew any connections around the faucet and water lines. Make sure to place a bucket or container underneath to catch any remaining water in the pipes. This step is crucial to avoid any water damage during the removal process.
Step 3: Remove the Drain
Next, you will need to remove the drain from underneath the tub. Use a pipe wrench or an adjustable wrench to unscrew the drain and carefully lift it out. Again, ensure a container is handy to catch any excess water that may spill out. While removing the drain, be careful not to damage any surrounding pipes or connections.
Step 4: Disconnect Electrical Connections
If your walk-in tub has built-in features such as jets or a heating system, it will have electrical connections that need to be disconnected. This is an important safety measure to prevent electric shocks during removal. Turn off the bathroom circuit breaker and carefully disconnect any electrical connections to the tub. This step should be done with caution and may require the help of a licensed electrician.
Step 5: Loosen Caulk and Screws
Using a utility knife, carefully cut through any caulking around the edges of the tub. This will help loosen the tub from the wall and make it easier to remove. Next, use a screwdriver to unscrew any screws or brackets securing the tub against the wall. Make sure a helper holds the tub in place while you do this.
Step 6: Lift and Remove the Tub
With all connections and screws loosened, it’s time to lift and remove the tub. Work with your helper to carefully lift the tub off its base and out of the bathroom. Be extra cautious, as walk-in tubs can be quite heavy and may require multiple people to lift. Once removed, place the tub in a safe and secure location for disposal or donation. Make sure to clean up any remaining debris and caulk from the area.
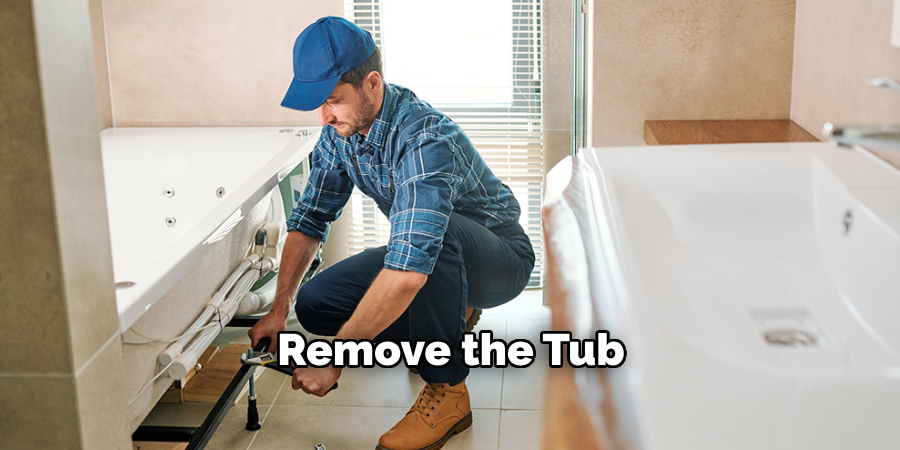
These step-by-step guidelines will help you safely and efficiently remove your walk-in tub. Remember to take all necessary safety precautions and seek professional assistance if needed. Removing a walk-in tub can be a simple task with the right tools and knowledge.
Additional Tips and Tricks to Remove a Walk-in Tub
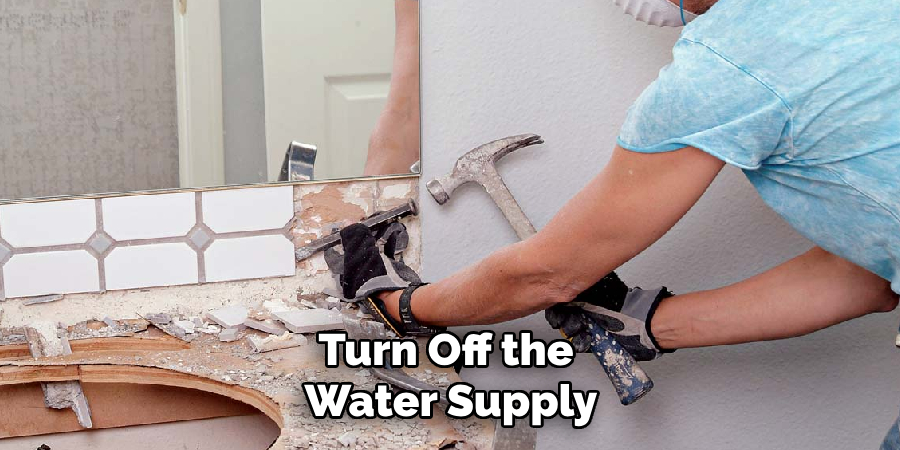
- If you are planning on removing the walk-in tub yourself, it is important to take safety precautions. Wear protective gear such as gloves and goggles to avoid injuries. Turn off the water supply and electricity before starting the removal process.
- Before beginning the removal process, inspect the plumbing connections and water lines for leaks or damage. Repair or replace any damaged parts before proceeding with the removal.
- It is recommended to have a second person assist you during the removal process, especially if the tub is heavy or difficult to maneuver. This can help prevent injuries and make the process easier and quicker.
- If your walk-in tub has a door, carefully remove it first before attempting to remove the rest of the tub. Doors can be heavy and may require additional tools to remove.
- When removing the tub, start by draining all the water from it using a pump or siphon. This will make the tub lighter and easier to move.
- Use caution when lifting and moving heavy parts of the walk-in tub. Proper lifting techniques are important; you should avoid straining your back or other muscles.
- If the tub is difficult to remove, consider using a reciprocating saw to cut it into smaller pieces for easier removal. This may also be necessary if there are any obstacles to removing the tub.
- Once the tub is fully removed, make sure to dispose of it properly according to local regulations and guidelines.
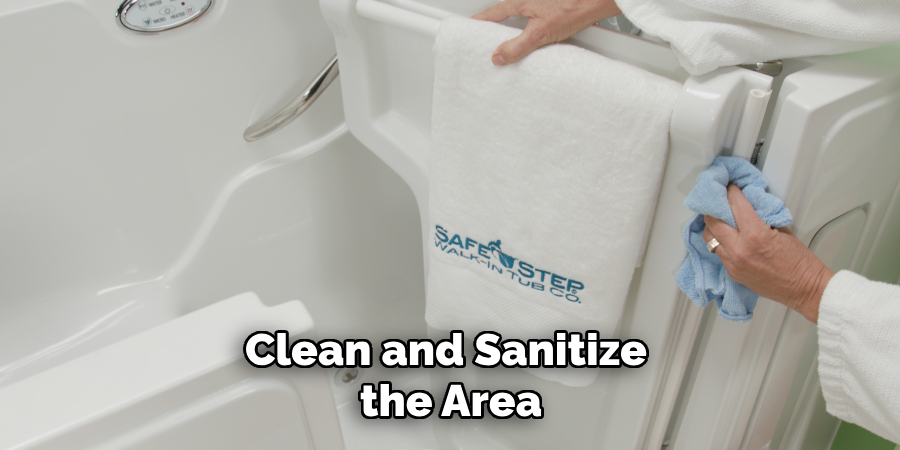
- After the removal process is complete, thoroughly clean and sanitize the area where the walk-in tub was located.
- If you are still deciding whether to remove the walk-in tub yourself, it is always best to hire a professional to ensure safe and proper removal. They will have the necessary tools and experience to efficiently remove the tub without causing damage or injury.
By following these additional tips and tricks, you can successfully remove a walk-in tub without any issues or complications. Just remember to prioritize safety and take your time during the removal process. If you encounter any difficulties, don’t hesitate to seek professional assistance for a smooth and stress-free removal experience. So, keep these tips in mind and easily remove your walk-in tub! Happy removing!
Things You Should Consider to Remove a Walk-in Tub
- The first thing you should consider before removing a walk-in tub is the reason behind your decision. Walk-in tubs are designed for people with limited mobility or disabilities, so if you no longer require them, make sure to assess why.
- Next, think about any modifications that may need to be made to your bathroom once the walk-in tub is removed. Depending on the size and layout of your bathroom, you may need to fill in the space left by the tub or make other adjustments.
- It’s also important to consider the cost of removing a walk-in tub. Depending on the complexity of the job and any necessary modifications, it can be expensive. Make sure to get quotes from different contractors and factor in any additional costs.
- Before removing the walk-in tub, make sure to have a plan in place for disposing of it. Walk-in tubs can be heavy and difficult to move, so consider hiring a professional or utilizing a disposal service.
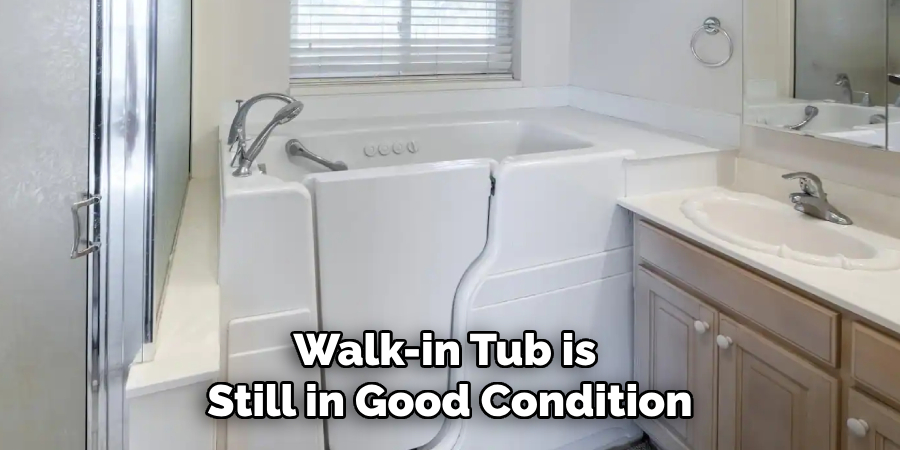
- If the walk-in tub is still in good condition, consider selling or donating it instead of simply throwing it away. Someone else may benefit from using it.
- Additionally, think about the impact removing a walk-in tub may have on the value of your home. If you plan to sell your home soon, potential buyers with limited mobility or disabilities may see the removal of a walk-in tub as a negative.
- Once the walk-in tub is removed, thoroughly clean and disinfect the area to ensure no mold or mildew growth. It’s also a good idea to check for any hidden damage that the tub may have caused over time.
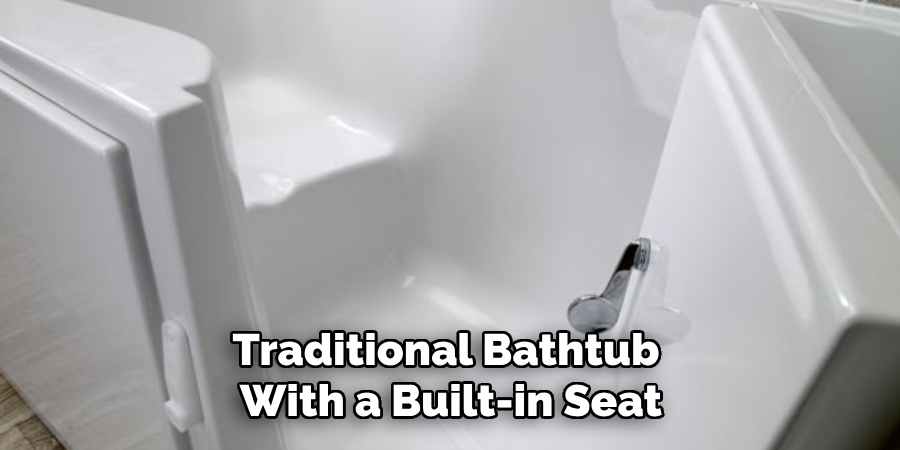
- Consider if there are any alternative options available for your needs, such as a walk-in shower with grab bars or a traditional bathtub with a built-in seat. Make sure to do research and consult with a professional to find the best solution for you.
- Think about how removing the walk-in tub may affect your daily routine and comfort. If you rely on its safety features, make sure to have a plan for maintaining that level of safety in your bathroom.
- Lastly, consider consulting with an occupational therapist or healthcare professional before making a decision to remove a walk-in tub. They may have valuable insights and resources to help you make the best decision for your needs.
Following these considerations can help you make an informed decision about removing a walk-in tub and ensure that the process goes smoothly. Remember to always prioritize your safety and comfort when making any changes to your home.
Common Mistakes to Avoid for Removing a Walk-in Tub
1. Not Taking Measurements Properly:
One of the most common mistakes people make when removing a walk-in tub is not taking measurements properly. This can lead to purchasing the wrong size or type of tub and causing unnecessary stress during removal.
To avoid this mistake, be sure to take precise measurements of the area where the tub is located and any doorways or hallways that it will need to fit through. This will ensure that you purchase a walk-in tub that is the correct size and shape for your space.
2. Not Preparing the Space:
Another crucial mistake people make when removing a walk-in tub is not preparing the space properly. This can include not clearing out items around the tub, not removing fixtures or hardware that may obstruct the removal process, and not protecting floors or walls from potential damage.
Before starting the removal process, make sure to clear out any items around the tub, including shower curtains or bathroom accessories. If fixtures or hardware cannot be removed, ensure they are protected with padding or covers. Additionally, consider laying down protective covering on floors and walls to prevent scratches or dents during removal.
3. Not Disconnecting Plumbing and Electrical:
One of the biggest mistakes that can cause major issues when removing a walk-in tub is not properly disconnecting plumbing and electrical connections. This can lead to leaks, electrical hazards, and additional costs for repairs.
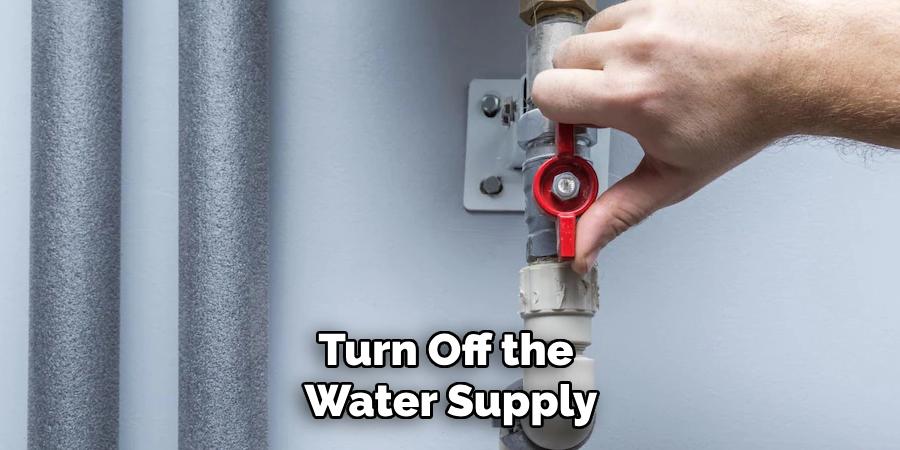
Before beginning the removal process, make sure to turn off the water supply and disconnect any plumbing connections. If you are unfamiliar with how to do this, it is best to hire a professional plumber. Also, be sure to shut off the power supply and properly disconnect any electrical connections before attempting to remove the tub.
4. Not Having Proper Tools:
Removing a walk-in tub requires specific tools and equipment, and not having them can result in a difficult and potentially dangerous removal process. Common tools for removing a walk-in tub include wrenches, screwdrivers, pliers, and pry bars.
Before starting the removal process, make sure you have all the necessary tools on hand and that they are in good working condition. This will help make the removal process smoother and safer for you and your helpers.
5. Not Seeking Professional Help:
The biggest mistake people make when removing a walk-in tub is not seeking professional help. Removing a walk-in tub requires technical knowledge, experience, and proper safety precautions. Attempting to remove a walk-in tub without professional assistance can lead to accidents, damage to your home, and additional expenses for repairs.
By avoiding these common mistakes, you can ensure a smooth and successful removal process for your walk-in tub. Remember to take accurate measurements, properly prepare the space, disconnect plumbing and electrical connections, have the right tools, and seek professional help if needed. With proper planning and care, removing a walk-in tub can be a hassle-free experience.
Frequently Asked Questions
What is a Walk-in Tub?
A walk-in tub, also known as a safety tub or handicap tub, is designed for individuals with limited mobility and difficulty standing for long periods. It is equipped with a large door that opens and closes, allowing for easy entry and exit. Walk-in tubs also have safety features such as built-in seating, anti-slip surfaces, and grab bars to prevent accidents.
Why Would I Need to Remove a Walk-in Tub?
The main reason for removing a walk-in tub is if it is no longer needed or if you want to upgrade to a newer model. You may also need to remove the tub due to maintenance issues, such as leaks or damage. In some cases, the tub may need to be removed in order to make necessary repairs or renovations in your bathroom.
Can I Remove a Walk-in Tub Myself?
Removing a walk-in tub on your own is only recommended if you have experience and knowledge in plumbing and construction. Walk-in tubs are heavy and bulky and require special tools for removal. Additionally, electrical or plumbing connections may need to be properly disconnected before removing the tub. Hiring a professional contractor specializing in walk-in tub removal is best to ensure a safe and successful process.
What If I Don’t Want to Completely Remove the Walk-in Tub?
If you want to keep your walk-in tub but make changes or repairs, you can partially remove it. This means removing certain parts of the tub, such as doors and panels, to access and fix any issues. Partial removal can also be done for aesthetic purposes, such as replacing old fixtures or updating the tub’s style.
Conclusion
Now you know how to remove a walk in tub, whether it is for maintenance or upgrading purposes. Remember to always consult with a professional if you need clarification on the removal process to ensure the safety and proper handling of the tub. Additionally, consider researching and comparing different walk-in tub models before making a decision on which one best suits your needs.
Removing a walk-in tub can be a smooth and hassle-free process with the right knowledge and assistance. So, don’t hesitate to make the necessary changes to your bathroom for better accessibility and comfort. Happy tub removal!

