Attaching a toilet flange to a concrete floor is a crucial step in ensuring a stable and leak-free toilet installation.

The toilet flange, also known as a closet flange, serves as the interface between the toilet and the waste pipe, providing both a secure anchor point and a sealed connection.
Installing this component on a concrete floor can be challenging due to the hardness and density of the material. However, with the right tools and techniques, it can be accomplished effectively. The process typically involves selecting the appropriate type of flange, drilling precise holes into the concrete, and using concrete anchors or screws to secure the flange in place.
Proper alignment and secure attachment are essential to prevent future leaks and ensure the toilet remains stable during use.
This guide will walk you through the step-by-step process of how to attach toilet flange to concrete floor, offering tips and tricks to simplify the task and achieve professional results.
What is a Toilet Flange?
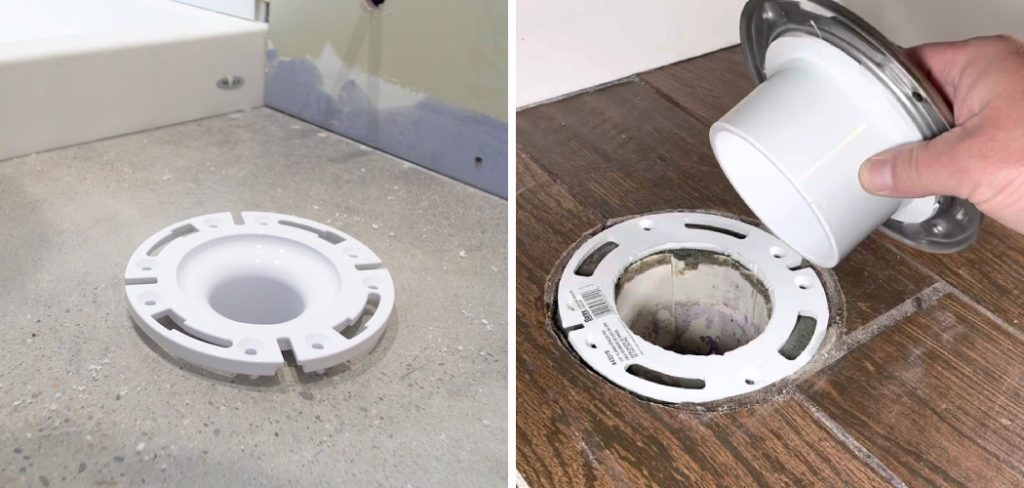
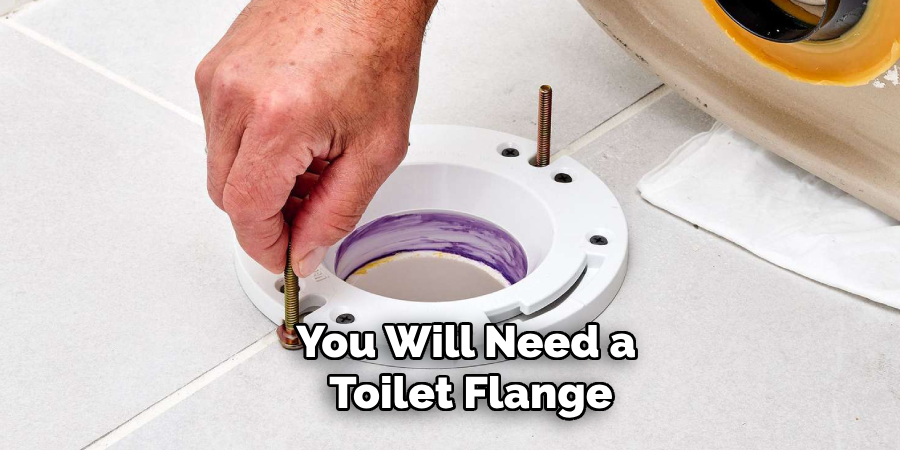
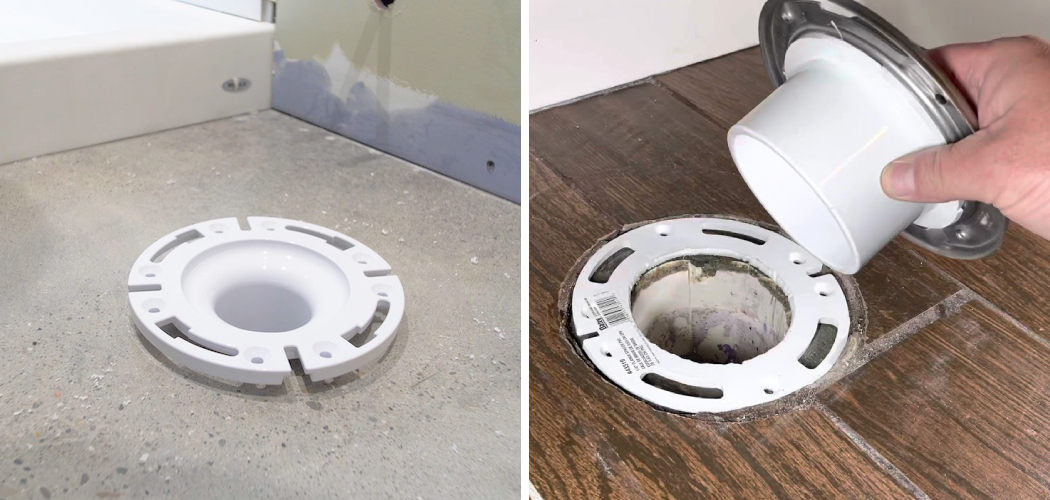
A toilet flange, also known as a closet flange, is a plumbing fixture that secures a toilet to the floor and connects it to the waste pipe. It is typically a circular, flat piece of plastic or metal with bolt slots and a central opening that aligns with the toilet drain.
The flange ensures that the toilet is anchored firmly to the floor, preventing movement and potential damage to the plumbing system.
Additionally, it creates a watertight seal between the toilet and the waste pipe, which is crucial for preventing leaks and maintaining proper sanitation.
Toilet flanges come in various sizes and materials, allowing them to be used in different types of flooring and plumbing configurations. Proper installation of the toilet flange is essential for the overall functionality and longevity of the toilet system.
Understanding the Basics
Before diving into the installation process, it’s essential to understand the fundamental components and tools required for attaching a toilet flange to a concrete floor.

First and foremost, you will need a toilet flange specifically designed for use with concrete floors.
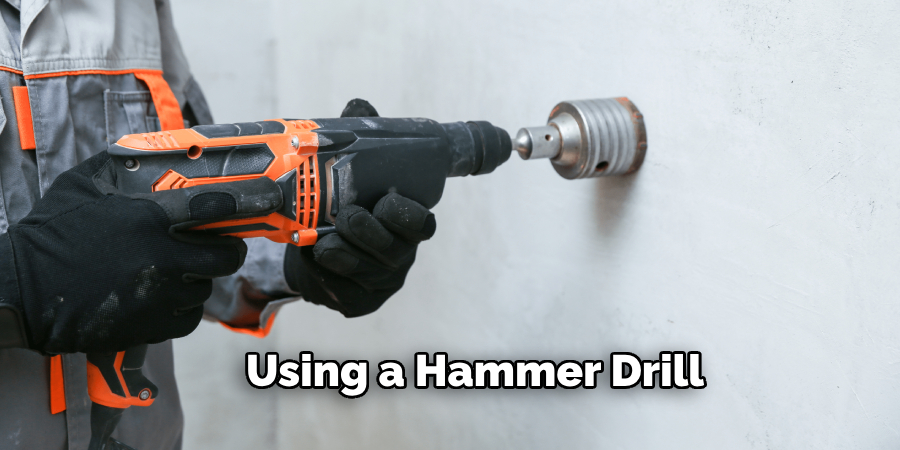
These flanges are typically made from durable materials such as PVC, ABS plastic, or stainless steel to withstand the rigors of a solid foundation. Additionally, the installation process will require a few key tools including a masonry drill bit, a hammer drill, concrete screws or anchors, a wax ring, and a wrench.
Familiarizing yourself with these items and their functions can significantly streamline the installation process and help avoid common pitfalls. Knowing the different types of flanges and their compatibility with your specific setup will also play a vital role in ensuring a successful and lasting installation.
In the upcoming sections, we will delve deeper into each step of the process, providing detailed instructions and insights into achieving a professional-grade result.
10 Methods How to Attach Toilet Flange to Concrete Floor
1. Using Concrete Anchors
One of the most common methods to attach a toilet flange to a concrete floor is by using concrete anchors. Start by positioning the flange over the drain pipe, ensuring it sits flush with the floor. Mark the holes on the concrete through the flange. Using a hammer drill with a masonry bit, drill holes at the marked locations.
The depth of the holes should match the length of the anchors. Insert the concrete anchors into the holes and place the flange over them. Secure the flange with screws that fit the anchors. This method ensures a strong and stable attachment.
2. Epoxy Adhesive
Epoxy adhesive can provide a strong bond between the toilet flange and the concrete floor. Clean the concrete surface thoroughly to remove any debris and dust. Apply a layer of epoxy adhesive to the bottom of the flange and position it over the drain pipe.

Press the flange firmly into place and allow the adhesive to cure according to the manufacturer’s instructions. Once cured, the epoxy creates a durable bond that securely holds the flange to the concrete. This method is useful when drilling into the concrete is not an option.
3. Concrete Screws
Concrete screws are designed to provide a secure attachment to concrete surfaces. Position the flange over the drain pipe and mark the holes on the concrete through the flange. Use a hammer drill with a masonry bit to drill holes at the marked locations. The depth of the holes should match the length of the screws.
Insert the screws through the flange and into the drilled holes, then tighten them securely. Concrete screws provide a strong hold and are relatively easy to install, making this method a reliable option for attaching the flange.
4. Tapcon Screws
Tapcon screws are specifically designed for masonry and concrete applications. Position the flange over the drain pipe and mark the holes on the concrete through the flange. Using a hammer drill with a Tapcon bit, drill holes at the marked locations.
Insert the Tapcon screws through the flange and into the drilled holes, then tighten them securely. Tapcon screws offer excellent holding power and are easy to use, making this method effective for securing the flange to the concrete floor.
5. Using a Hammer Drill and Expansion Bolts
Expansion bolts provide a strong and reliable method for attaching a toilet flange to a concrete floor. Position the flange over the drain pipe and mark the holes on the concrete through the flange.

Using a hammer drill with a masonry bit, drill holes at the marked locations. Insert the expansion bolts into the holes and expand them by tightening the nuts. Place the flange over the bolts and secure it with washers and nuts. Expansion bolts create a tight and secure fit, ensuring the flange is firmly attached to the concrete floor.
6. Masonry Anchors
Masonry anchors are another effective method for attaching a toilet flange to a concrete floor. Position the flange over the drain pipe and mark the holes on the concrete through the flange.
Using a hammer drill with a masonry bit, drill holes at the marked locations. Insert the masonry anchors into the holes and place the flange over them. Secure the flange with screws that fit the anchors. Masonry anchors provide a strong hold and are easy to install, making this method a reliable option for securing the flange.
7. Using a Flange Repair Ring
A flange repair ring can be used to reinforce and attach a toilet flange to a concrete floor. Position the repair ring over the existing flange and mark the holes on the concrete through the ring. Using a hammer drill with a masonry bit, drill holes at the marked locations. Insert concrete anchors into the holes and place the repair ring over them.
Secure the ring with screws that fit the anchors. The repair ring provides additional support and ensures a secure attachment, making this method effective for damaged or weakened flanges.
8. Chemical Anchors
Chemical anchors use a resin-based adhesive to secure the flange to the concrete floor. Position the flange over the drain pipe and mark the holes on the concrete through the flange.
Using a hammer drill with a masonry bit, drill holes at the marked locations. Inject the chemical anchor adhesive into the holes and insert the anchor bolts. Place the flange over the bolts and secure it with washers and nuts.

Allow the adhesive to cure according to the manufacturer’s instructions. Chemical anchors provide a strong and durable bond, making this method effective for high-stress applications.
9. Using Lead Anchors
Lead anchors are another method for attaching a toilet flange to a concrete floor. Position the flange over the drain pipe and mark the holes on the concrete through the flange. Using a hammer drill with a masonry bit, drill holes at the marked locations.
Insert the lead anchors into the holes and tap them in with a hammer until they are flush with the concrete surface. Place the flange over the anchors and secure it with screws. Lead anchors expand as the screws are tightened, providing a strong and secure attachment.
10. Using a Combination of Methods
In some cases, a combination of the above methods may be necessary to ensure a secure attachment. For example, you might use epoxy adhesive to provide an initial bond and then secure the flange with concrete screws or anchors for added stability.
Combining methods increases the likelihood of success and ensures the flange is firmly attached to the concrete floor. This approach is particularly useful in situations where the concrete is uneven or damaged, or when additional reinforcement is needed.
Conclusion
Attaching a toilet flange to a concrete floor requires careful preparation, the right tools, and a good understanding of the materials involved.
Whether you choose to use concrete anchors, epoxy adhesive, concrete screws, Tapcon screws, expansion bolts, masonry anchors, flange repair rings, chemical anchors, lead anchors, or a combination of methods, each technique offers a reliable solution for securing the flange. Thanks for reading, and we hope this has given you some inspiration on how to attach toilet flange to concrete floor!

