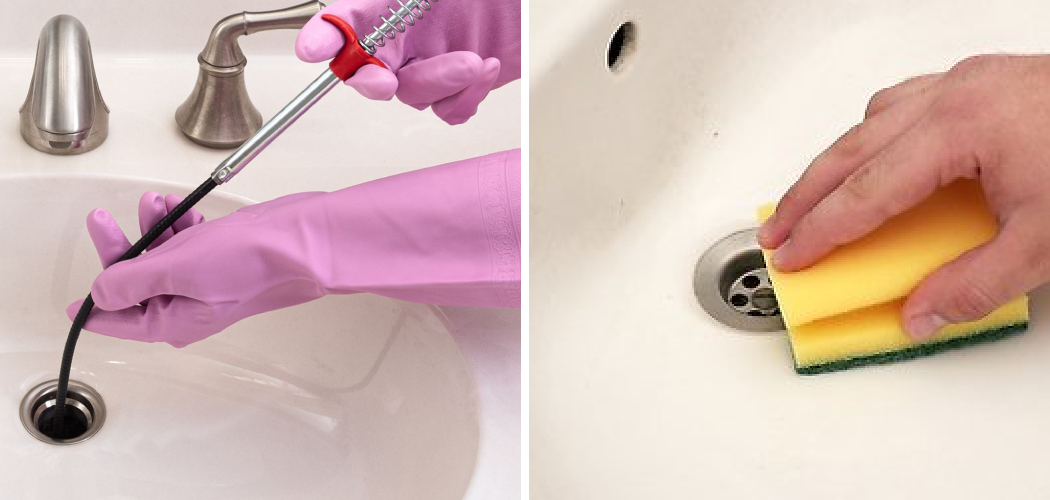
A clogged bathroom drain can be a frustrating problem, often leading to slow drainage and unpleasant odors. Regular maintenance and proper cleaning can prevent build-up and keep your drains flowing smoothly.
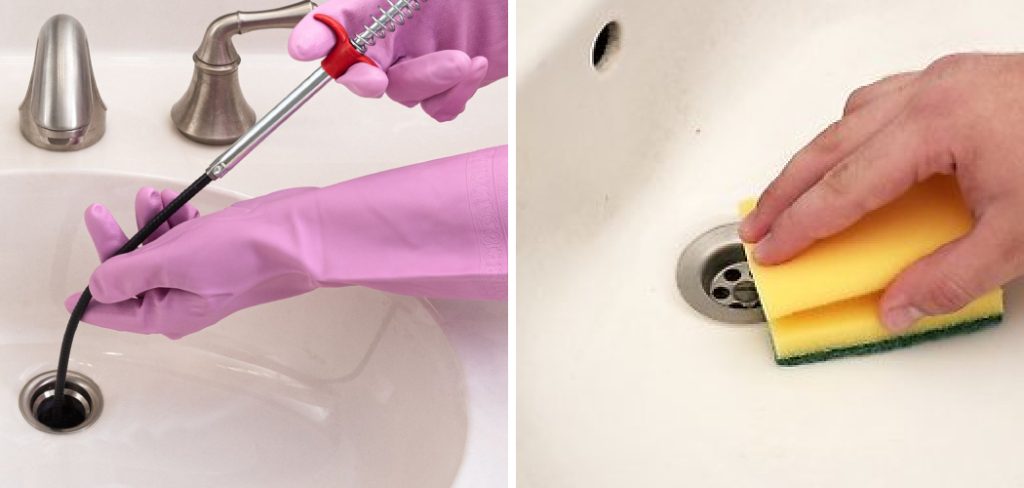
In this guide on how to clean a bathroom drain, we will provide step-by-step instructions on how to effectively clean your bathroom drain using both household items and specialized tools. Whether it’s a sink, shower, or bathtub drain, these methods will help you maintain a fresh and functional bathroom environment.
What You’ll Need
Baking Soda:
Baking soda is a natural and effective cleaning agent that can help break down clogs and eliminate odors in your drains.
Vinegar:
Vinegar has acidic properties that make it an excellent cleaner for removing build-up and debris from your drain pipes.
Boiling Water:
Boiling water can be used to flush out any remaining debris or residue after cleaning with baking soda and vinegar.
Plunger:
A plunger is a useful tool for dislodging stubborn clogs in your bathroom drain. It creates pressure to push the blockage through the pipes.

Drain Snake:
A drain snake is a long, flexible tool with a spiral auger designed to break up and remove tough clogs in your drain.
10 Step-by-step Guidelines on How to Clean a Bathroom Drain
Step 1: Clean the Surface of Your Sink
Before you start working on the drain itself, it’s essential to clean the surface of your sink to prevent any additional debris from entering the drain while you work. Use a mild cleaner or soap with a sponge or cloth to wipe down the sink.
Remove any visible dirt, hair, or soap scum around the drain area. This initial step ensures that you have a clean and hygienic surface to work on, making the subsequent steps more effective.
Step 2: Remove Any Visible Debris
Once the surface of your sink is clean, the next step is to remove any visible debris from the drain itself. This can include hair, soap scum, or any other materials that might be causing a blockage.
Use a pair of gloves to protect your hands and carefully pull out any debris that you can see and reach. You may use a pair of tweezers or a small brush to help dislodge and extract debris from the drain opening. Removing this surface clog is crucial as it prepares your drain for deeper cleaning and ensures that household cleaning solutions can penetrate effectively.
Step 3: Clean with Baking Soda
After removing any visible debris, it’s time to use baking soda to break down any remaining buildup within the drain. Start by taking half a cup of baking soda and pouring it directly into the drain. The fine particles of baking soda will help to dislodge any lingering grime and neutralize odors.
Allow the baking soda to sit in the drain for about 10-15 minutes, giving it time to work its way through any clogs. This step sets the stage for a deeper clean when combined with the forthcoming vinegar flush in the next step.
Step 4: Flush with Vinegar
Vinegar is an excellent natural cleaner for breaking down and removing stubborn clogs in your drain. After the baking soda has had time to work, pour half a cup of vinegar into the drain over the baking soda. You will notice a chemical reaction between the two ingredients, creating bubbles and fizzing sounds. This reaction helps to break down any remaining buildup within your drain pipe.
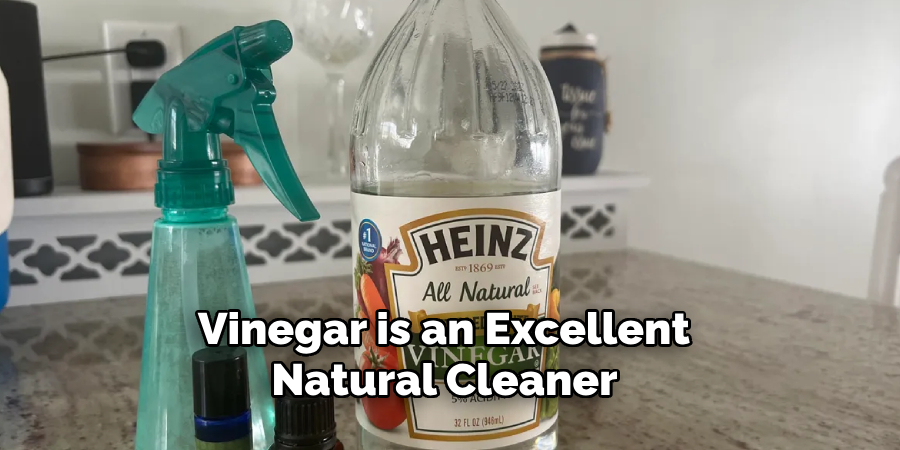
Allow this mixture to sit for another 10-15 minutes before flushing it out with hot water.
Step 5: Pour Boiling Water
After allowing the baking soda and vinegar mixture to sit and perform its cleaning action, it is time to flush the drain with boiling water. Boil a full kettle or pot of water to ensure you have enough to thoroughly flush out any remaining debris and residue. Carefully pour the boiling water down the drain in a slow, steady stream.
The hot water will help to wash away the loosened buildup and clear any remaining blockages. This step not only ensures that your drain is clean but also uses the heat to eliminate any lingering odors.
Step 6: Plunge the Drain
If you have a plunger available, this step can be an effective way to remove tough clogs that may still be lingering in your drain. Fill the sink or bathtub with enough water to cover the bottom of the plunger’s rubber head. Place the plunger over the drain opening and create a tight seal around it. Gently push down and pull up on the handle, creating suction and pressure to dislodge any stubborn blockages.
Repeat this process several times until you feel the clog has been fully removed.
Step 7: Use a Drain Snake
If plunging does not clear the clog, it may be necessary to use a drain snake. Insert the spiraled end of the drain snake into the drain and slowly turn the handle clockwise, pushing the snake further down the pipe.
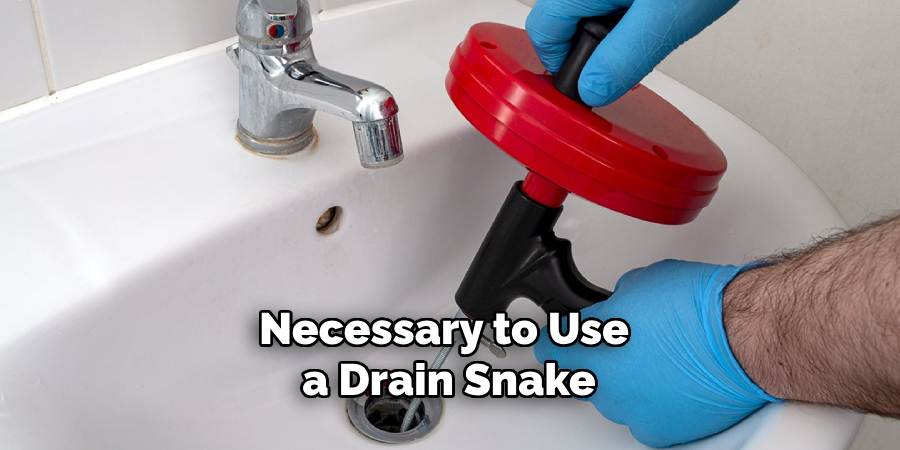
As you continue to push and twist, you will encounter resistance from any blockages. Keep going until you feel the snake has gone through or broken up the clog.
Step 8: Rinse with Hot Water
After using either a plunger or drain snake, it’s important to rinse your drain with hot water again. This step helps to flush out any remaining debris or residue from the cleaning process.
Once again, boil water and slowly pour it down the drain to thoroughly rinse out any remaining buildup.
Step 9: Clean the Drain Cover
After ensuring that your drain is free from clogs and thoroughly rinsed, the next step is to clean the drain cover. Start by removing the drain cover if it is detachably fixed. Use a brush and a mixture of mild soap and water to scrub off any dirt, grime, or residue that has accumulated on the cover. If the drain cover has small crevices or holes, you may use an old toothbrush or a small scrub brush to clean those areas effectively.
Once cleaned, rinse the cover under running water to wash away any remaining soap. Dry it with a clean cloth before placing it back over the drain. Cleaning the drain cover is essential to maintain its function and to ensure that it does not contribute to future blockages.
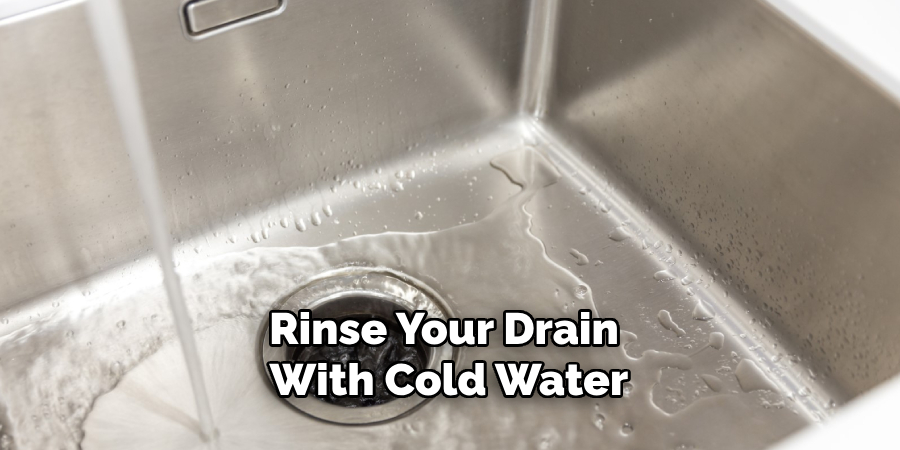
Step 10: Rinse with Cold Water
As a final step, it’s recommended to rinse your drain with cold water. This helps to solidify any remaining fats or oils that may have accumulated in the pipes after cleaning. Boil a pot of water and let it cool down slightly before pouring it down the drain to flush away any remaining buildup.
Regularly performing this step-by-step cleaning process can help prevent future clogs and keep your bathroom drains functioning properly. It’s also essential to avoid flushing items like hair, grease, and other debris down the drain, as these can quickly build up and cause blockages.
Taking care of your bathroom drains not only ensures a clean and hygienic space but also helps to maintain the overall plumbing system in your home. With these simple steps on how to clean a bathroom drain, you can keep your bathroom drains running smoothly and avoid costly repair bills in the future. Happy cleaning!
Frequently Asked Questions
Q: How Often Should I Clean My Bathroom Drain?
A: It is recommended that you clean your bathroom drain at least once a month to prevent buildup and maintain proper functioning. However, if you notice slow drainage or foul odors, it may be necessary to clean it more frequently.
Q: Can I Use Chemical Drain Cleaners?
A: It is not recommended to use chemical drain cleaners as they can be harsh and damaging to your pipes. They also do not effectively remove all types of clogs and can cause harmful fumes. Natural cleaning solutions like baking soda and vinegar are safer and more effective alternatives.
Q: How Do I Prevent Future Clogs in My Bathroom Drain?
A: To prevent future clogs, avoid flushing any hair, grease, or other debris down the drain. You can also use a mesh drain cover to catch any hair or larger particles that may try to go down the drain. Regularly cleaning your bathroom drains and performing maintenance tasks like hot water flushes can also help prevent clogs.
Conclusion
By following these detailed steps, you can effectively clean and maintain your bathroom drains, ensuring smooth and efficient water flow. Regular maintenance and the use of natural cleaning solutions can not only prevent stubborn clogs but also extend the lifespan of your plumbing system.
Avoiding the use of harsh chemical cleaners and being mindful of what goes down your drains are crucial in maintaining a clean and hygienic bathroom environment. With these practical tips and techniques on how to clean a bathroom drain, you can tackle drain blockages effortlessly and maintain the overall health of your home’s plumbing. Happy cleaning!

