

Cleaning behind the toilet is an essential yet often overlooked part of maintaining a spotless and hygienic bathroom. This area is a hotspot for dust, grime, and bacteria buildup, which can compromise hygiene, create unpleasant odors, and diminish the overall cleanliness of the space. Despite its importance, many people avoid this task due to the tight space, awkward angles, or simply not having the right tools for the job. However, ignoring this area can lead to long-term issues like persistent odors and uninviting bathroom conditions.
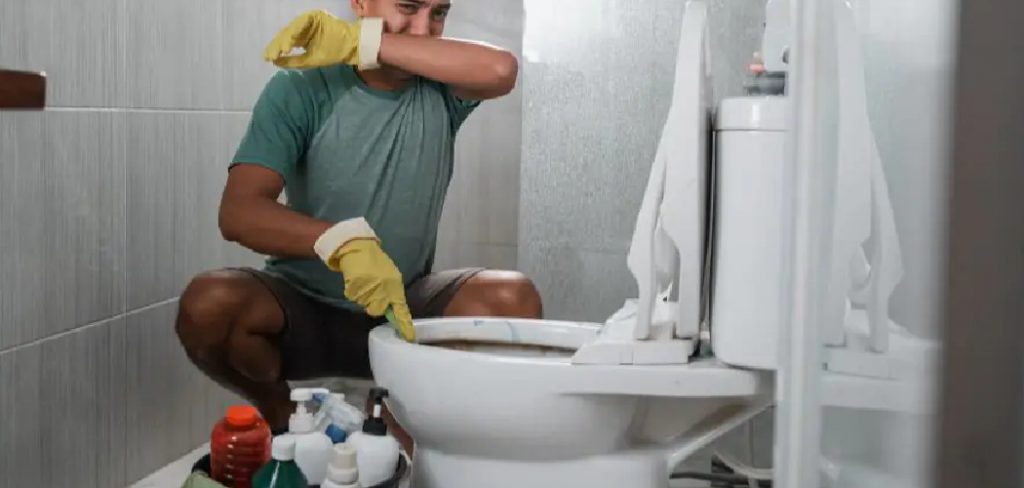
The purpose of this article is to break down the process into a simple, step-by-step guide on how to clean behind toilet areas effectively and with minimal hassle. Following these tips ensures your bathroom remains fresher, healthier, and more inviting with every cleaning session.
Why Cleaning Behind the Toilet Matters
Health and Hygiene
Due to its hidden and often neglected nature, the area behind the toilet is a prime spot for the buildup of dust, hair, and bacteria. Over time, these contaminants can contribute to poor air quality in your bathroom, as germs accumulate and circulate. Regular cleaning helps eliminate this buildup, reducing the risk of harmful bacteria spreading to other parts of your bathroom or home, ultimately fostering a healthier environment.
Preventing Odors and Mold
Stagnant moisture in the bathroom, especially around the toilet base, can create the perfect conditions for mildew or mold to thrive. This can result in unpleasant, lingering odors that overpower even the strongest of air fresheners. By ensuring the area behind the toilet remains clean and dry, you can proactively prevent mold growth and maintain a fresher-smelling space.
Aesthetic and Maintenance Reasons
A well-maintained bathroom communicates cleanliness and care, whether for household members or visitors. Beyond the aesthetic appeal, regularly cleaning behind the toilet helps protect and prolong the life of your fixtures. Addressing grime and moisture promptly can reduce the risk of corrosion or damage to plumbing and surfaces, saving you both time and money in the long run.
Gathering the Right Tools and Supplies
Having the right tools and supplies on hand ensures efficient and effective cleaning, especially when tackling hard-to-reach areas like behind the toilet.
Essential Cleaning Supplies
Start with the basics. A good disinfectant cleaner is crucial for sanitizing and removing germs. Rubber gloves are a must to protect your hands while cleaning. Pair these with a sturdy toilet brush and a set of microfiber cloths for wiping down surfaces and absorbing moisture.
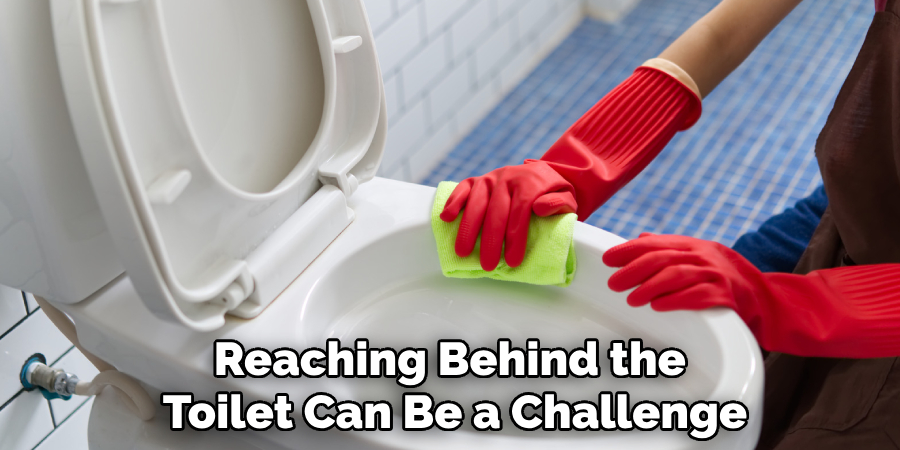
Tools for Tight Spaces
Reaching behind the toilet can be a challenge, so having tools designed for tight spaces is essential. Long-handled scrubbers and extendable dusters make cleaning those awkward angles much easier. An old toothbrush or a flexible cleaning wand is perfect for scrubbing tough-to-reach corners and crevices.
Optional Items
For those preferring natural cleaning solutions, vinegar and baking soda work wonders for breaking down grime and neutralizing odors. For more advanced cleaning, consider using a steam cleaner to effortlessly tackle dirt buildup or a vacuum with a hose attachment for removing dust and debris before scrubbing.
With these tools and supplies ready, you’ll be well-equipped to confidently and easily tackle even the most challenging bathroom spots.
Pre-Cleaning Preparation
Clearing the Area
Start by removing any items that may clutter the bathroom space, such as rugs, a wastebasket, or decorations near the toilet or sink. This helps ensure you can clean every surface thoroughly without obstructions and prevents items from collecting dust or splashes.
Ventilation
Proper ventilation is essential when using cleaning products, as it helps dissipate strong odors and improves air circulation. Open a window or turn on the exhaust fan to allow fresh air into the room. This step also minimizes the buildup of moisture in the bathroom, which can otherwise lead to mold or mildew issues.
Safety First
To protect your skin from irritation caused by cleaning solutions, always wear gloves and consider other protective gear like a mask or safety glasses if needed. Ensuring safety during cleaning safeguards your health and makes the process more comfortable and efficient.
How to Clean Behind Toilet: Step-by-Step Cleaning Process
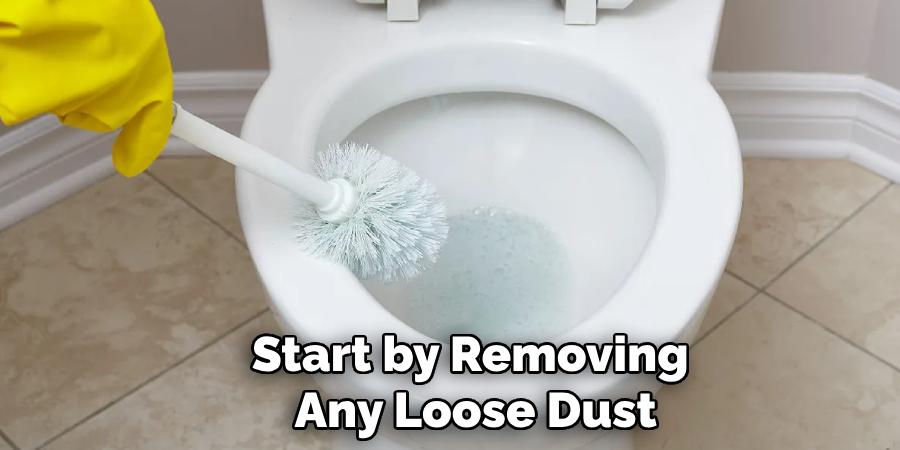
Step 1: Dust and Debris Removal
Start by removing any loose dust, dirt, or debris from the area. Use a dry cloth, duster, or vacuum to clean surfaces such as countertops, shelves, or around the toilet. Paying attention to corners and hard-to-reach places ensures a thorough cleaning foundation before applying any solutions.
Step 2: Apply Cleaning Solution
Spray a disinfectant or all-purpose cleaner on high-touch areas and more soiled spots, such as the base and behind the toilet. Be sure to cover all necessary surfaces, including the toilet area’s walls and floors. Allow the solution to sit for a few minutes to break down dirt and bacteria effectively.
Step 3: Scrub Thoroughly
Take a long-handled cleaning brush, sponge, or old toothbrush for smaller areas and thoroughly scrub all the applied surfaces. Focus on tight corners, crevices, and the often-overlooked baseboard area around the toilet. For tougher grime, scrub in circular motions to lift the built-up residue.
Step 4: Wipe and Rinse
Once everything has been scrubbed well, use a damp cloth or sponge to wipe down the cleaned areas. Make sure to remove all cleaner residue to leave the surfaces fresh and safe. For convenient rinsing, you can use a clean bucket of water or a spray bottle filled with water.
Step 5: Drying and Final Touches
Finish by drying the area with a clean towel or dry cloth to prevent moisture accumulation, which could lead to mold or mildew growth. Replace any items you moved, such as rugs, bins, or toiletries. Consider adding an air freshener or keeping the window open for a fresh and clean ambiance.
Tackling Stubborn Stains and Smells
Removing Yellowing or Grime
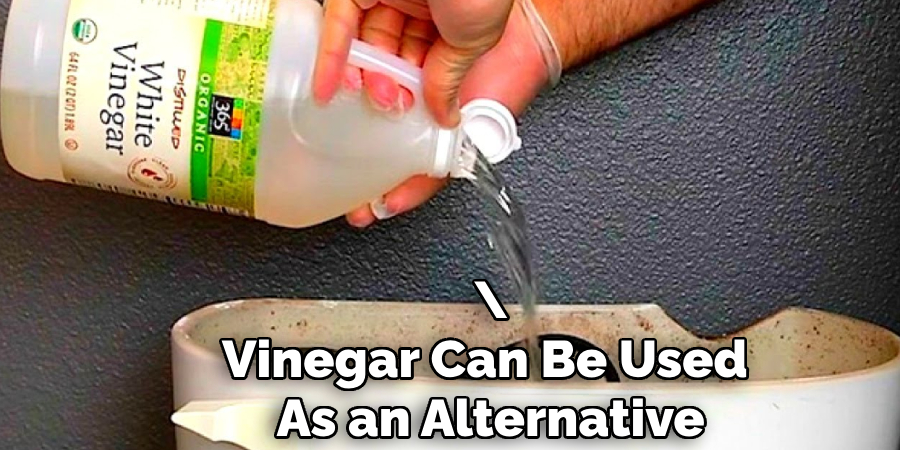
A simple solution of baking soda and water can work wonders for surfaces that have yellowed or accumulated grime. Create a paste by mixing these two ingredients and apply it directly to the affected areas. Allow the mixture to sit for 10-15 minutes before scrubbing gently with a soft bristle brush or sponge. For tougher grime, vinegar can be used as an alternative. Its natural acidity helps break down buildup, leaving surfaces clean and refreshed.
Dealing with Urine Odors
Persistent urine odors can be tackled using enzyme-based cleaners, especially in grout or tiled areas. These cleaners break down odor-causing compounds at their source. Apply the enzyme cleaner directly to the affected area and allow it to sit for the recommended time before rinsing thoroughly. This method ensures odors are neutralized rather than masked, leaving your space smelling fresh.
Cleaning Grout or Wall Stains
To remove stains from grout or walls, use a gentle scrubbing technique with a toothbrush and a solution of mild bleach diluted in water. This method is effective for lifting discoloration while minimizing damage to delicate surfaces. Always ensure the area is well-ventilated when working with bleach, and rinse thoroughly to remove any residue.
Tips to Make Future Cleaning Easier
Use of Toilet Base Sealers
Prevent grime buildup by using a toilet base sealer to close the hard-to-clean gap between the toilet and the floor. It creates a barrier that stops dirt, dust, and moisture from accumulating, making future cleaning much quicker and easier.
Cleaning Schedule
Establish a consistent cleaning schedule to maintain a hygienic bathroom. Incorporate wiping behind the toilet into your weekly bathroom cleaning routine to prevent residue and buildup before it becomes a problem. Regular maintenance ensures a consistently clean space.
Quick Tools Handy
Keep quick-cleaning tools like a small brush or cleaning wipes stored nearby for easy touch-ups. Whether it’s addressing a minor spill or removing dust, having these tools within reach encourages prompt cleaning and helps reduce the need for deep scrubs later on. A little effort now saves time and energy in the long run.
Common Mistakes to Avoid
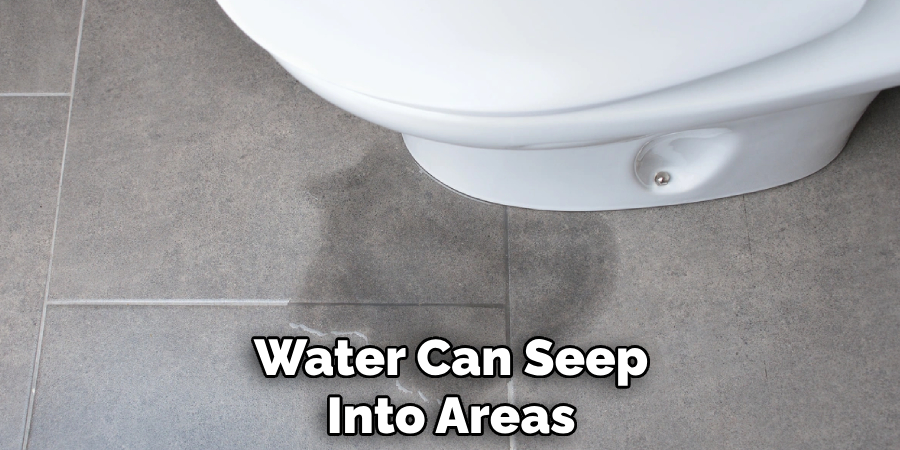
When maintaining a clean bathroom, avoid using harsh chemicals without proper ventilation. Failing to ventilate the space can lead to respiratory issues from inhaling fumes, and some chemicals may even damage the finishes on surfaces. Additionally, skipping the walls and baseboards during cleaning is a common oversight. Though less obvious, these areas can collect dust, grime, and bacteria, which may contribute to an unclean environment over time. Another important mistake to avoid is using excessive water during cleaning.
Overusing water can seep into areas behind and under the toilet, leading to mold growth or potential water damage. Addressing these common pitfalls can ensure a healthier and more effective cleaning routine, reducing long-term issues while keeping your bathroom in top condition.
Conclusion
Regularly cleaning behind the toilet is essential for maintaining a fresher, healthier bathroom. By understanding how to clean behind toilet areas effectively, this once-overlooked task becomes manageable with the right tools and a straightforward approach. Simple steps, such as using a flexible cleaning brush and ensuring proper drying, can prevent mold growth and grime buildup. Consistent cleaning habits improve hygiene and save time and effort in the long run. Make this routine a priority to enjoy a cleaner and more inviting bathroom environment every day.