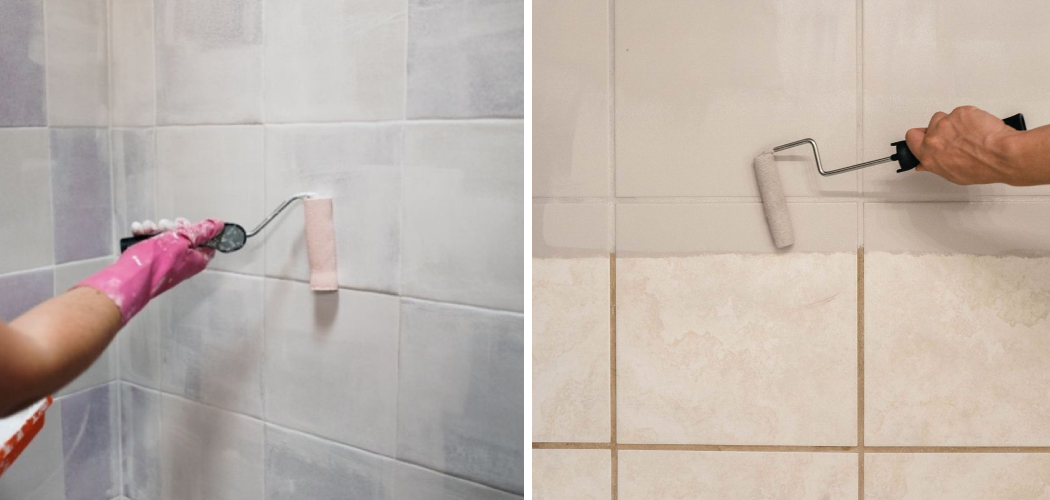
Are you looking for a quick, cost-effective way to make your dated shower tiles look brand new again? If so, you’ve come to the right place! In this blog post, we will discuss the best ways to cover old shower tiles and give them a modern update.
Not only is this an economical and time-savvy solution, but it’s also relatively easy too—you don’t need any tiling or plumbing experience in order to do it successfully.
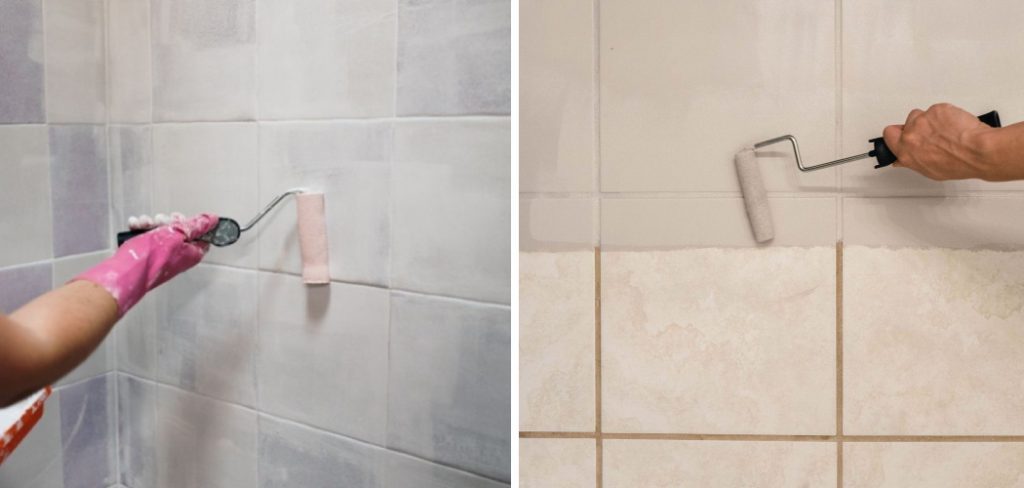
We’ll cover everything on how to cover old shower tile from the equipment needed down to instructions on how to complete the task. Whether you’re looking for purely aesthetic changes or giving your bathroom an upgrade that won’t break the bank, read on for more information about covering older shower tiles quickly and efficiently!
Understanding the Reasons to Cover Old Shower Tile
Old shower tile can be an eyesore. It can make a bathroom look dated, worn out, and unappealing. Covering old shower tile is often the best way to improve the aesthetic appeal of your bathroom without having to invest in expensive remodeling projects.
But before you start covering up old shower tiles, it’s important to understand what materials are available and why they may be best for your project.
The two most common materials used to cover old shower tiles are vinyl or ceramic wall cladding systems. Vinyl wall cladding is a great choice because it is budget friendly and easy to install on any existing tiled surface with minimum effort. Plus, it’s durable and water-proof so it won’t warp or rot over time.
Ceramic wall cladding is a great choice for those who want a more traditional and elegant look. It also offers superior protection from moisture and can be installed to match the existing tile pattern.
Evaluating the Condition of the Old Shower Tile
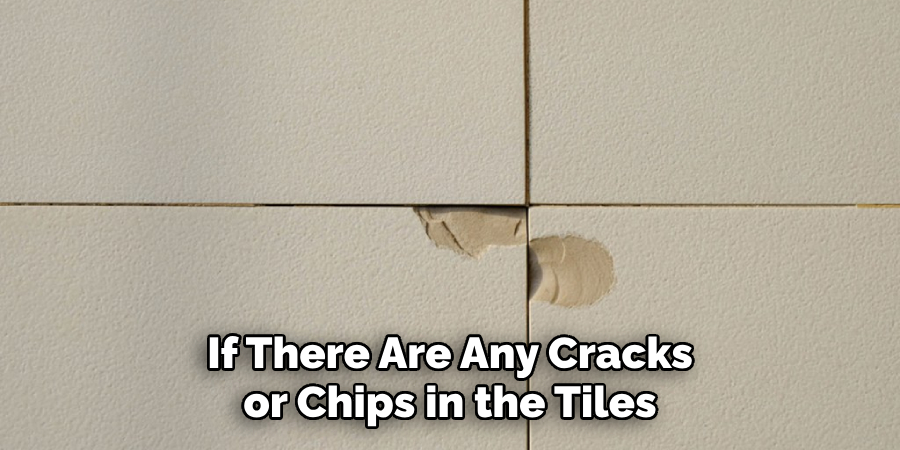
Before beginning the process of covering old shower tile, it is important to properly assess the condition of the existing tile. If there are any cracks or chips in the tiles, these should be filled with caulk before proceeding. This will help ensure that water does not seep behind the tiles and cause mold and mildew buildup.
Additionally, if the adhesive on some of the tiles has begun to loosen or detach, this should be repaired or replaced prior to covering them with a new material. Once this evaluation is complete and any necessary repairs are made, you can move onto actually covering your old shower tile.
Once all necessary preparations have been made, you can begin covering your old shower tile with whatever material you choose. Popular options include tile, beadboard, and peel and stick vinyl. Each of these materials has its own benefits and drawbacks, so it is best to research which one would be the most suitable for your specific needs.
Checking for Any Signs of Damage or Mold
Before replacing your old shower tiles, you should inspect the surface for any signs of damage or mold. Look for signs of moisture seeping through the grout between the tiles and check around the edges of the shower walls to see if there is any discoloration or peeling paint. You may also need to use a flashlight to look inside cracks and crevices in order to determine if any water has been trapped inside.
If you find any signs of damage or mold, it is important that you repair it before attempting to cover old shower tile with a new layer. Additionally, you should consider speaking with a professional contractor regarding the best method for repairing this issue before beginning your project.
Once all signs of damage or mold have been addressed, you can begin the process of covering old shower tile with a new layer. There are several different materials that can be used to cover old shower tile, including ceramic tiles, porcelain tiles, glass tiles and stone tiles. The type of material you choose will depend on your budget and personal preferences.
10 Methods How to Cover Old Shower Tile
1. Install New Tiles:
One of the most popular methods to cover old shower tile is by installing new tiles over the existing ones. This approach requires proper surface preparation, such as cleaning and roughening the old tiles to ensure adhesion.
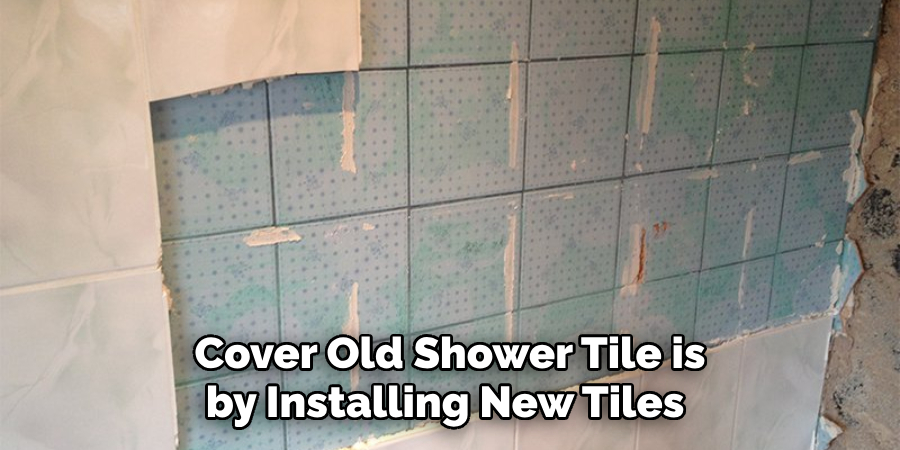
Use a high-quality tile adhesive to securely affix the new tiles onto the old ones. Consider selecting larger-sized tiles or using mosaic patterns to minimize the appearance of the old tiles.
2. Apply Tile Refinishing Kits:
Tile refinishing kits provide a cost-effective and straightforward solution to cover old shower tile. These kits typically include a primer, paint, and a topcoat designed specifically for tile surfaces.
Thoroughly clean and prepare the old tiles, apply the primer as directed, and then coat the tiles with the paint. Finish with the topcoat for added durability and water resistance. This method allows you to completely change the color and finish of the tiles.
3. Use Tile Stickers:
Tile stickers, also known as tile decals or tile transfers, are adhesive-backed sheets that can be applied directly onto the old shower tiles. They come in various designs, patterns, and sizes, allowing you to choose a style that suits your preferences.
Simply clean the old tiles, peel off the backing of the tile stickers, and apply them to the tiles, ensuring a smooth and even placement. This method offers a quick and budget-friendly way to cover old shower tile without the need for extensive renovation.
4. Install Shower Surround Panels:
Shower surround panels are pre-fabricated sheets made of durable materials such as PVC or acrylic. These panels are designed to be installed over the existing shower tile, providing a seamless and waterproof surface.
Measure the dimensions of your shower, cut the panels accordingly, and attach them to the walls using construction adhesive or screws. Shower surround panels come in various styles and finishes, offering a versatile solution to cover old shower tile while creating a fresh and updated look.
5. Apply Epoxy Paint:
Epoxy paint is a durable and water-resistant coating that can be applied directly onto the old shower tile. It provides a smooth and glossy finish, transforming the appearance of the tiles.
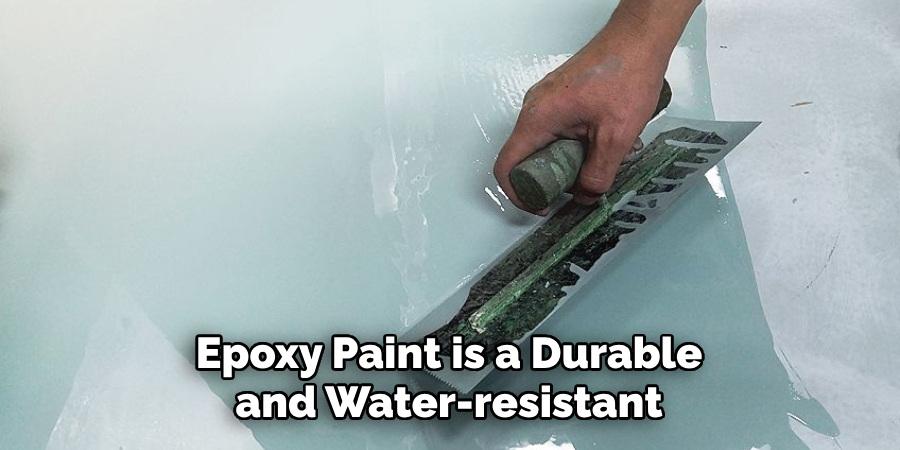
Thoroughly clean and prepare the old tiles, apply the epoxy paint in multiple thin coats, allowing sufficient drying time between each coat. Finish with a clear topcoat for added protection and longevity. This method is ideal for covering old shower tile that is in good condition but requires a cosmetic update.
6. Install Shower Wall Panels:
Shower wall panels are larger-sized panels made of various materials, such as acrylic, fiberglass, or laminate. They are designed to cover large wall surfaces, including old shower tiles.
Measure the dimensions of your shower, cut the panels to size, and attach them to the walls using adhesive or screws. Shower wall panels are available in a wide range of colors, patterns, and textures, allowing you to customize the look of your shower while covering the old tiles.
7. Apply Decorative Wall Coverings:
If you prefer a non-traditional approach, consider using decorative wall coverings to cover old shower tile. These coverings can include wallpaper specifically designed for wet areas or waterproof vinyl wall decals.
Ensure that the chosen wall covering is suitable for high-moisture environments and can be easily cleaned. Apply the wall covering directly onto the old tiles, ensuring a smooth and wrinkle-free application. This method allows for creative and unique designs to transform the look of your shower.
8. Install Beadboard or Wainscoting:
Beadboard or wainscoting panels can be installed over the lower portion of the shower walls, covering the old tiles and adding a decorative touch. Measure the height of the shower walls, cut the panels to size, and attach them to the walls using adhesive or nails.
Beadboard and wainscoting panels are available in different styles and finishes, allowing you to achieve the desired aesthetic while concealing the old tiles.
9. Apply Waterproof Wall Paint:
Waterproof wall paint is specially formulated for use in damp environments, making it an excellent option to cover old shower tile. Clean the old tiles thoroughly and apply the waterproof wall paint according to the manufacturer’s instructions.
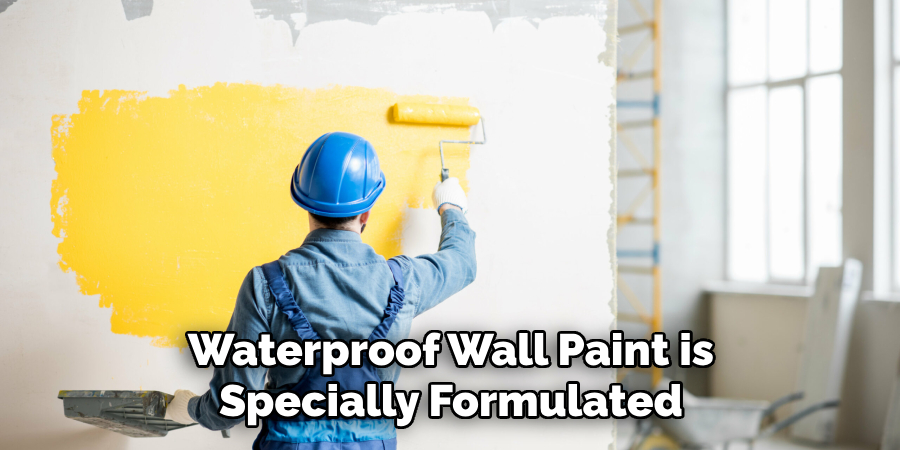
Choose a paint color that complements the overall bathroom design and ensures a cohesive look. This method is suitable for covering small areas of old shower tile or for adding accents to the existing tiles.
10. Consult with a Professional:
If you’re unsure about the best method to cover old shower tile or if you’re dealing with complex tile situations, it’s advisable to consult with a professional contractor or a bathroom renovation specialist. They can assess the condition of the old tiles, provide expert advice on the most suitable covering method, and ensure that the installation is carried out correctly and meets your expectations.
Conclusion
Covering your old shower tile can be a big job, but like any job, it can easily be done with the right techniques and material. It’s important to choose the right adhesive, sealer and protective coating to keep your tile looking beautiful for years. With proper materials and a bit of patience, you can easily update an outdated bathroom in no time.
Whether you use waterproof paint, tiles or grout-coated panels, you’re sure to have the stunning shower of your dreams in no time. So take these tips into consideration when deciding how to cover old shower tile and get started on sprucing up that bathroom today!

