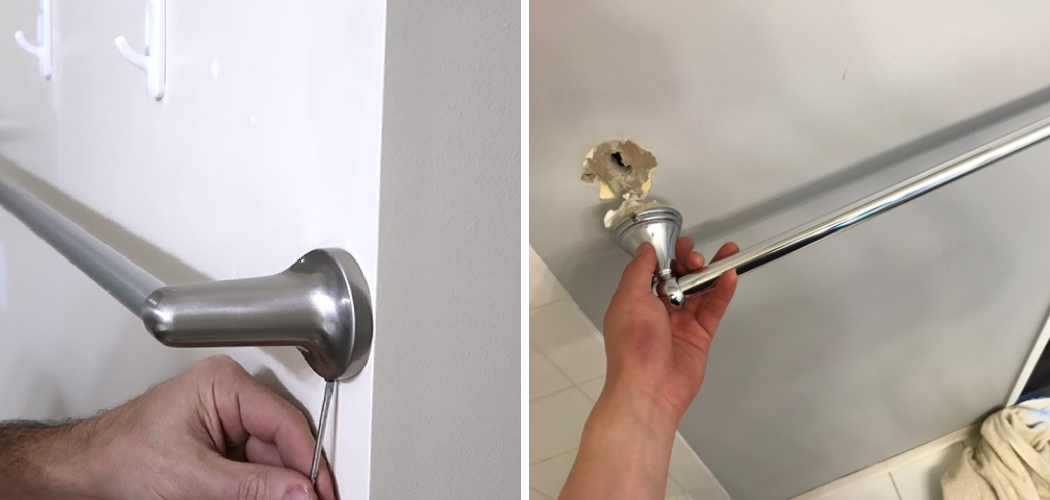
Fixing a towel holder might seem like a daunting task, but with the right tools and guidance, it can be a simple and satisfying DIY project. Whether your towel holder has come loose from the wall, or it’s suffering from more significant damage, following a few straightforward steps will have it secured and looking like new in no time.
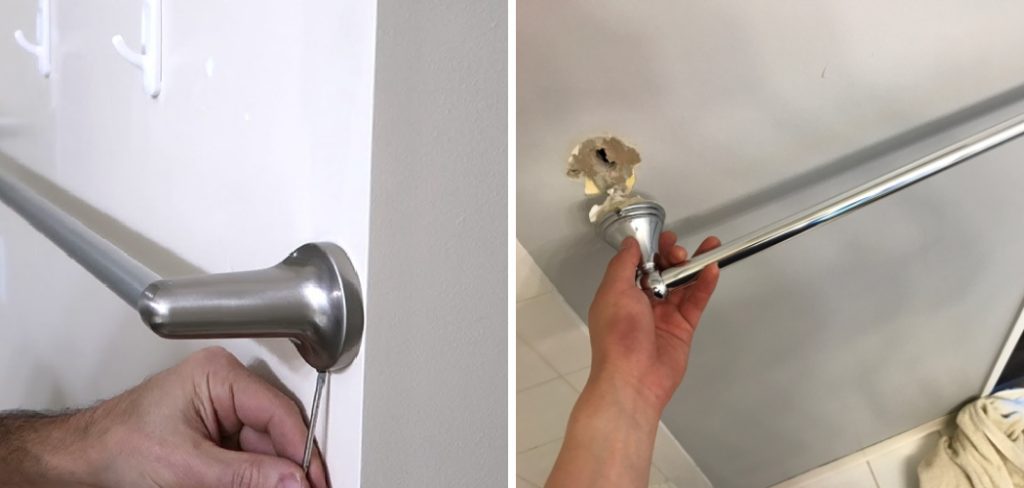
This guide on how to fix towel holder is designed to help you identify the problem, gather the necessary tools, and perform the repair with ease, ensuring your bathroom stays tidy and functional.
Why Fix Your Towel Holder?
Fixing your towel holder is important for both practical and aesthetic reasons. A securely mounted towel holder ensures that your towels are always within easy reach, preventing the inconvenience of them falling to the floor and getting dirty. Moreover, a fixed towel holder avoids potential damage to your bathroom walls caused by loose or improperly attached fixtures.
From an aesthetic standpoint, a well-maintained towel holder contributes to the overall neat and organized appearance of your bathroom, enhancing the room’s decor and value. Addressing these minor issues promptly can save you time and resources in the long run, ensuring your bathroom remains a pleasant space for everyone.
Needed Materials
Before starting the repair, it’s essential to gather all the necessary tools and materials. Here are some of the items you will need:
Screwdriver:
A screwdriver is a versatile tool that comes in various sizes and types. It is used to remove or tighten screws, making it an essential tool for most DIY projects. To fix a towel holder, you will typically need a Phillips head screwdriver.

Drill:
If your towel holder has come loose from the wall due to worn-out or stripped screws, you may need to use a drill to create new holes for fresh screws. A power drill with the appropriate drill bits can make this task much more manageable and efficient.
Wall Anchors:
Wall anchors are small plastic or metal pieces designed to provide additional support when attaching screws to drywall or other materials that cannot hold the screws securely on their own. They come in various sizes and can be found at most hardware or home improvement stores.
Wall Patch Kit:
If your towel holder has caused damage to the wall, you may need to use a wall patch kit to repair any holes or cracks before reattaching the fixture. These kits typically include spackling paste, sandpaper, and a putty knife for easy application.
8 Steps on How to Fix Towel Holder
Step 1: Identify the Problem
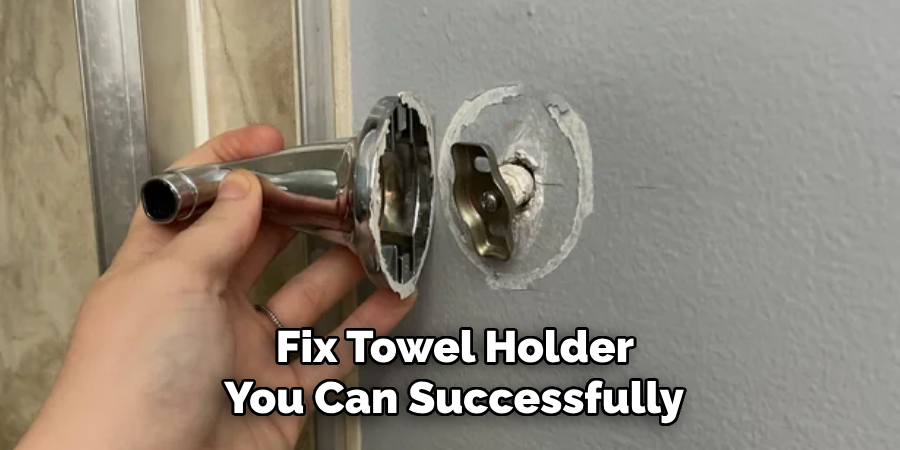
Begin by assessing the current condition of your towel holder to determine the exact issue. Is it merely loose on the wall, or has it completely fallen off? Check if the screws are still intact or if they have become stripped, making it impossible to hold the towel holder firmly.
Examine the wall for any signs of damage, such as cracks or holes, where the towel holder was previously attached. Identifying the specific problem will help you decide whether a simple tightening is sufficient or if more extensive repairs, like patching the wall or replacing screws, are necessary. This initial assessment is crucial for planning an effective and lasting solution.
Step 3: Remove the Towel Holder from the Wall
With the problem identified, the next step is to safely remove the towel holder from the wall. Begin by using your screwdriver to carefully unscrew any visible screws holding the fixture in place. If the screws are stripped or difficult to remove, apply gentle pressure while turning the screwdriver counter-clockwise to ease them out. Be mindful of any hidden screws or additional attachments that may require removal.
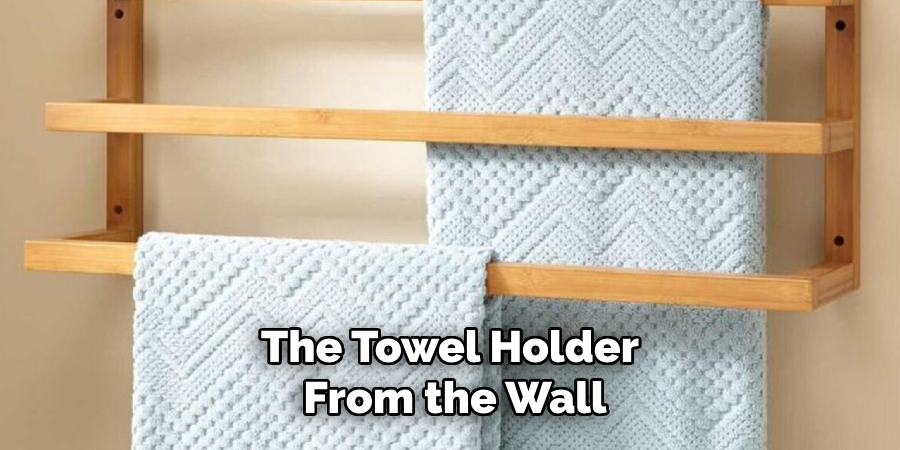
Once all the screws are out, gently remove the towel holder from the wall, taking care not to damage the wall surface. Place the towel holder and screws aside for later reattachment after repairs are completed. This step is essential to ensure that you can address any underlying wall issues and prepare for a secure reinstallation.
Step 4: Repair Wall Damage (If Needed)
If you notice any damage to the wall, such as holes or cracks, it is important to repair these issues before reinstalling your towel holder. Start by using a wall patch kit to fill in any holes or cracks. Apply spackling paste using the putty knife, spreading it evenly across the damaged area. Allow the paste to dry completely, as per the manufacturer’s instructions.
Once dried, use sandpaper to smooth out the surface, ensuring it is level with the rest of the wall. This process will not only improve the appearance of the wall but also provide a solid foundation for reattaching the towel holder, ensuring a strong and lasting fix.
Step 5: Drill New Holes (If Needed)
In some cases, the existing screw holes may be too damaged or worn out to hold new screws securely. If this is the case, you will need to drill new holes for reattachment. Use a power drill and an appropriate-sized drill bit to create new holes in the wall at designated points for attaching the towel holder.
Ensure that the holes are deep enough but not too wide, as this can weaken the wall’s integrity. Make sure to clean up any debris left behind from drilling before proceeding with reinstallation.
Step 6: Insert Wall Anchors (If Needed)
After drilling new holes, it’s important to reinforce these spots to ensure the towel holder is securely mounted. If the new holes are into drywall or another material that might not hold screws firmly, insert wall anchors before attaching the towel holder. Start by selecting wall anchors that match the size of your drilled holes.
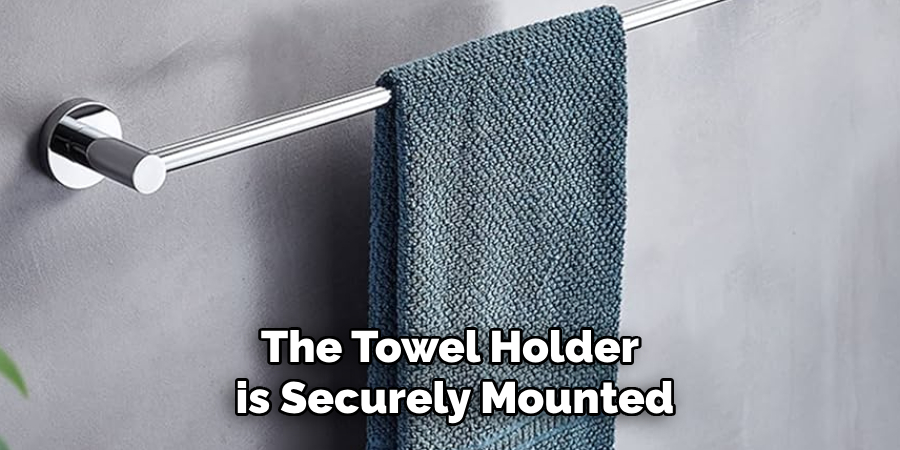
Gently tap the wall anchors into the holes using a hammer, ensuring they are flush with the wall surface. These anchors will provide extra support and prevent the screws from pulling out over time, ensuring a durable and secure installation. With the wall anchors in place, you’re now ready to reattach the towel holder with increased stability.
Step 7: Reattach Towel Holder
With any necessary repairs and preparations completed, it’s time to reattach your towel holder. Start by placing the fixture against the wall in its designated spot. Use a screwdriver or drill (depending on the type of screws) to insert and secure each screw into place, ensuring they are tight but not over-tightened. If you’re using wall anchors, make sure they are securely holding the screws in place.
Double-check that the towel holder is straight and level before moving on to the final step. A crooked or unstable towel holder can cause additional issues down the line, so take your time to ensure it’s correctly aligned.
Step 8: Test for Stability
The last step is to test whether your towel holder has been successfully fixed. Gently tug on the fixture to ensure it’s firmly attached and not wobbly or loose. If everything feels secure, you’re good to go! However, if there are any concerns about stability, you may need to revisit some of the previous steps to make sure everything is properly installed. Once you’re satisfied with the results, you can start using your towel holder again.
By following these 8 simple steps on how to fix towel holder, you can successfully fix a loose or broken towel holder and avoid any potential injuries or damage caused by it falling off the wall. Remember to always prioritize safety and carefully assess the problem before taking action. With proper maintenance, your towel holder should last for years to come! Happy fixing!
Additional Tips
- Regularly check and tighten screws on towel holders to prevent them from becoming loose.
- Avoid using excessive force when tightening screws, as this can cause damage to both the fixture and wall.
- If possible, use anchors or molly bolts for added stability when attaching heavy or larger towel holders.
- For towel bars with multiple attachment points, repeat the process for each point to ensure even and secure placement.
- If you’re unsure about any step or encounter unexpected difficulties, it’s best to seek professional help or advice. Overall, by following these tips and regularly maintaining your towel holder, you can ensure it remains securely attached to the wall for a long time. So go ahead and confidently hang those towels without worry! Happy fixing!
Frequently Asked Questions
Q1: What Tools Will I Need to Fix a Towel Holder?
A1: To fix a towel holder, you’ll typically need a screwdriver, a power drill, drill bits, a putty knife, sandpaper, a wall patch kit, wall anchors, and possibly a hammer. Ensure you have the right size screwdriver or drill bit based on the type of screws used in your towel holder.
Q2: How Often Should I Check and Tighten Screws on My Towel Holder?
A2: It’s recommended to check and tighten screws on towel holders at least once a year. However, if you notice any signs of looseness or wobbliness, it’s best to address the issue immediately to avoid further damage.
Q3: Can I Reattach a Towel Holder Without Removing it From the Wall?
A3: In some cases, yes, especially if the only issue is loose screws. However, it’s always best to remove the towel holder from the wall for a thorough inspection and repair process to ensure long-term stability.
Q4: Can I Use the Same Wall Anchor Holes When Reattaching My Towel Holder?
A4: While it may be possible, it’s not recommended. Over time, repeated use of the same anchor holes can weaken the wall and cause instability in the towel holder. It’s best to start fresh with new holes and anchors for a secure installation.
Conclusion
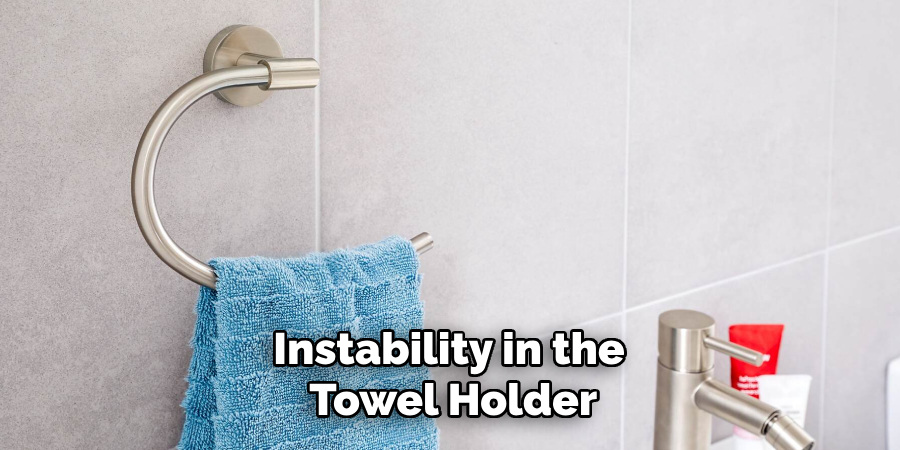
Fixing a towel holder may seem daunting at first, but with the right tools and a methodical approach, it can be a straightforward task. By following the outlined steps on how to fix towel holder—assessing the damage, making repairs to the wall, drilling new holes, using wall anchors, and carefully reattaching the fixture—you can ensure a stable and long-lasting solution.
Regular maintenance and prompt attention to any issues can significantly increase the lifespan of your towel holder. By taking the time to do the job properly, not only do you enhance the functionality and appearance of your bathroom, but you also gain the satisfaction of solving a common household problem efficiently. Happy fixing!

