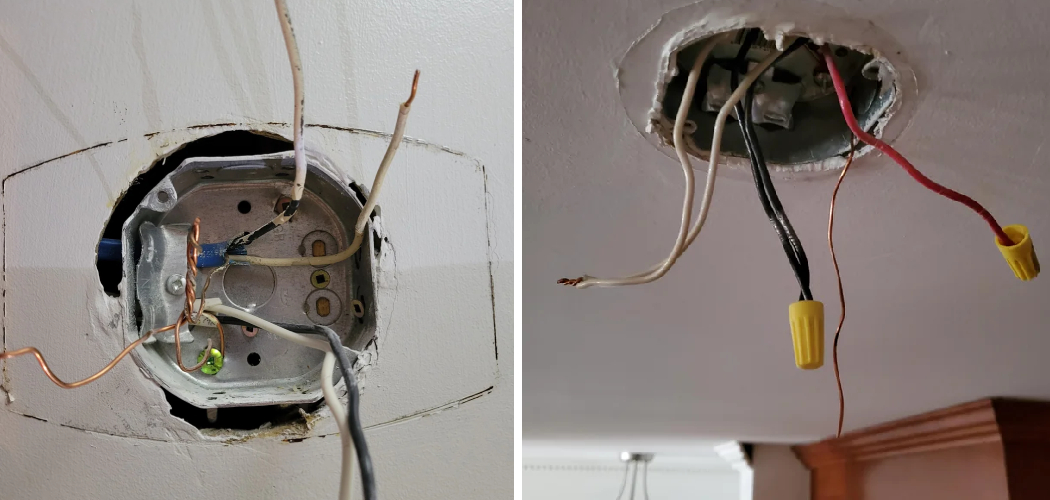
Are you looking for a way to add extra light to your bathroom vanity space? Installing a light fixture in your junction box is an easy and cost-effective DIY project that can make all the difference.
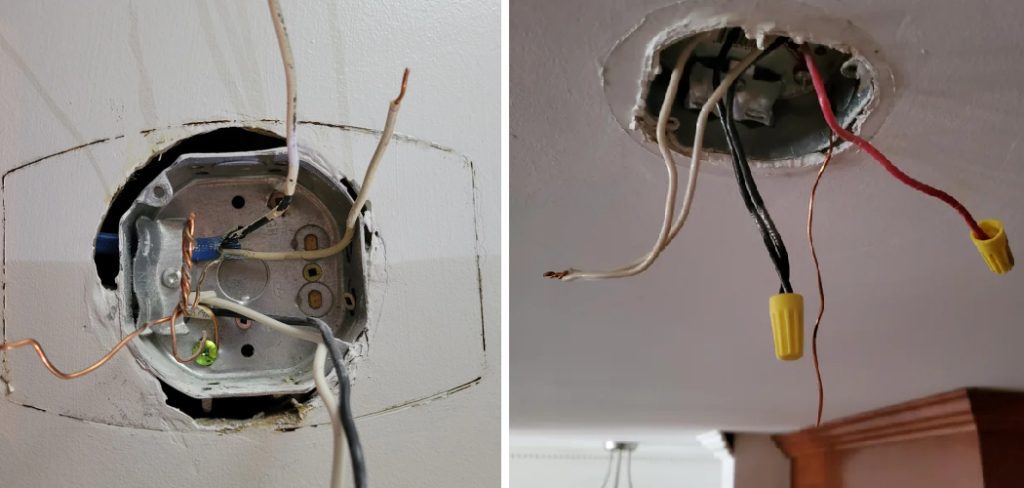
Bathroom light fixtures come in various shapes, sizes, and styles, so you can easily find one that fits your taste and bathroom decor. But before shopping for a new fixture, ensure you have the correct junction box installed to support it.
In this post, we’ll walk you through every step of how to install bathroom light fixture junction box, including how to select the suitable materials, follow electrical safety guidelines, and connect wires properly so that your new light comes on when it should. With our guidance, you’ll be able to enjoy bright new lighting without missing a beat!
What Will You Need?
To install a bathroom light fixture junction box, you’ll need the following materials:
- New light fixture
- Junction box with mounting bracket
- Screwdriver
- Wire cutters/stripper
- Voltage tester
- Electrical tape
- Wire connectors
When choosing your new light fixture, make sure it is compatible with your existing wiring and junction box.
9 Easy Steps on How to Install Bathroom Light Fixture Junction Box
Step 1. Turn Off Power:
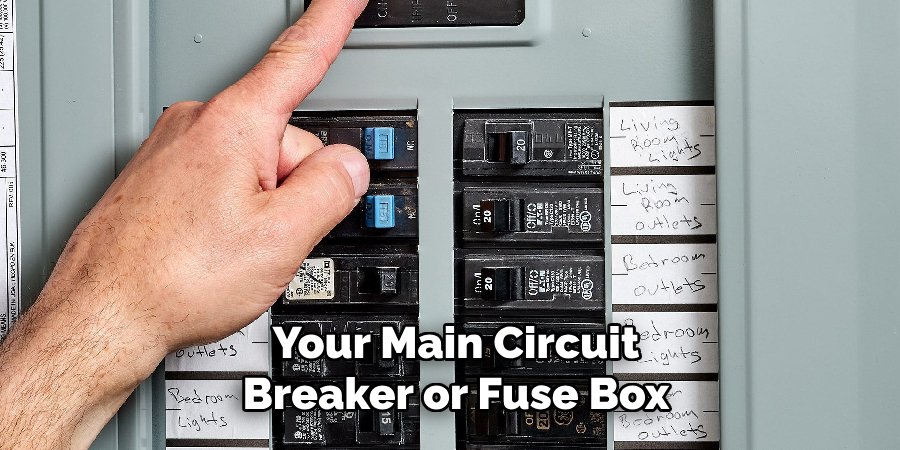
The first and foremost step is to ensure your safety. Switch off the electrical circuit at your main circuit breaker or fuse box. Use your voltage tester to double-check that the power is off before you start your work. Remember, safety first!
Step 2. Remove the Old Fixture:
Next, you need to remove the existing light fixture if there is one. Use your screwdriver to unscrew the mounting screws that hold the fixture to the junction box. Carefully pull the fixture away from the wall or ceiling and disconnect the wires by unscrewing the wire connectors. Make sure to keep the wires apart to avoid any accidental contact. Take a picture of the wiring before you disconnect it, as this might help when installing your new light fixture.
Step 3. Prepare the New Fixture:
Now, it’s time to prepare your new light fixture for installation. Depending on the design of your light fixture, you may need to assemble parts of it before you can mount it to the junction box. Follow the manufacturer’s instructions for this process.
Pay close attention to the wiring: most light fixtures have a black (or red) wire for power and a white wire for neutral. Some fixtures also include a green or bare copper wire for grounding. If your new fixture includes a ground wire, but your existing wiring does not consult a qualified electrician for advice.
Step 4. Attach the New Fixture to the Junction Box:
The next step is to attach your new light fixture to the junction box. This is usually done using a mounting bracket included with your light fixture. Position the bracket over the junction box, ensuring the holes align correctly. Secure the bracket to the junction box using the screws provided. Make sure the bracket is firmly attached; it will need to support the weight of your light fixture.
Step 5. Connect the Wires:
At this stage, you will connect the wires from your new light fixture to the wires in your junction box. Start by connecting the ground wire from your light fixture (if present) to the ground wire in the junction box (if present). This is typically the green or bare copper wire. Use a wire connector to secure these together.
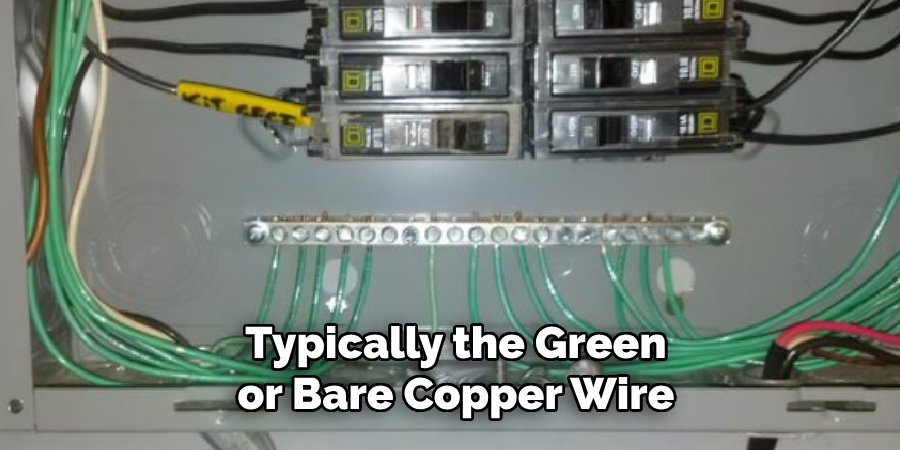
Then, connect the white (neutral) wires and the black (power) wires. Use your wire cutters/strippers to strip back the insulation and make good contact between the wires. Secure each pair of wires using a wire connector, then wrap each connection in electrical tape for extra safety. Always ensure no bare wire is left exposed.
Step 6. Secure the Fixture:
Once all the wires have been connected securely, it’s time to fix the new light fixture onto the mounting bracket. Align the fixture with the mounting bracket and secure it using the screws provided with the fixture.
Ensure the fixture is securely fastened to the bracket so it doesn’t move or wobble. Next, carefully tuck the connected wires back into the junction box. Make sure the wires are not pinched or overly bent. Once this is done, you can install the light bulbs into your new fixture according to the manufacturer’s instructions.
Step 7. Install the Fixture Cover:
After the light bulbs are installed, it’s time to attach the cover of the light fixture. This process may vary depending on the design of your chosen light fixture. Typically, the cover or shade will attach to the fixture base with screws or a threaded ring.

Follow the manufacturer’s instructions and ensure that the cover is secure. Should the cover need cleaning in the future, switch off the power before removing it to avoid any electrical accidents.
Step 8. Test Your Installation:
Now comes the moment of truth. Return to your main circuit breaker or fuse box and turn the power back on for the circuit you were working on. Then, return to your bathroom and turn on the switch for your new light fixture. If the light comes on, congratulations! You’ve successfully installed your new bathroom light fixture.
If the light doesn’t come on, switch off the power at the main circuit breaker again and double-check your wire connections. While minor issues can usually be resolved quickly, if you’re in doubt, feel free to consult with a qualified electrician. Maintaining electrical safety should always be your top priority.
Step 9. Clean Up:
After you have successfully installed the light fixture and ensured its proper functioning, it’s time to tidy up. Collect all your tools and leftover materials, and ensure no screws or wire pieces are left behind. If any dust or debris is created during the installation process, make sure to clean that up as well. You want your new bathroom light fixture to shine in a clean and organized space.
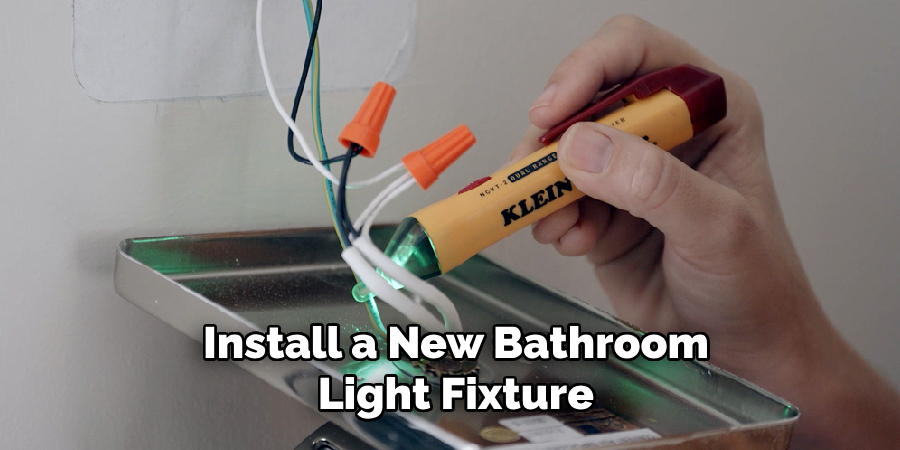
By following these nine simple steps, you can install a new bathroom light fixture and add some extra brightness to your space. However, it’s essential to remember that electrical work can be dangerous if not done correctly.
5 Additional Tips and Tricks
- Safety First: Always remember to turn off the power at the circuit breaker before starting any electrical work. A voltage tester can confirm the power is off.
- Proper Tools: Ensure you have the right tools on hand. Screwdrivers, pliers, wire strippers, and a voltage tester are commonly needed to install a bathroom light fixture junction box.
- Wire Colors: Understand the wiring colors. Usually, black wires are hot, white wires are neutral, and the bare or green wire is the ground.
- Secure Attachments: Secure the junction box firmly to the wall. A loose box can cause safety hazards.
- Professional Assistance: If you are uncomfortable with electricity or the process seems too complicated, consider hiring a professional electrician to install the bathroom light fixture junction box. It’s better to be safe than sorry.
With these additional tips and tricks, you can confidently install a bathroom light fixture junction box in your home.
5 Things You Should Avoid
- Ignoring Safety Precautions: Never overlook safety measures. Forgetting to turn off the power at the circuit breaker or not using a voltage tester can result in dangerous electrical shocks.
- Using Incorrect Tools: Avoid using tools not designed for electrical work. This may damage the junction box and increase the risk of accidents.
- Misinterpreting Wire Colors: Please identify wire colors to avoid faulty connections. This can cause flickering lights or even short circuits.
- Loose Fixtures: Pay attention to a wobbly junction box or light fixture. A loose install can lead to potential safety hazards, such as a falling fixture or an electrical fire.
- Skipping Professional Help When Needed: If you feel uncertain at any point during the installation process, feel free to seek professional help. Avoid the risk of a dangerous DIY job; sometimes, letting the experts handle it is safer.

By avoiding these common mistakes, you can ensure a successful and safe installation of your bathroom light fixture junction box.
Conclusion
In conclusion, how to install bathroom light fixture junction box is simple and easy for those who are unfamiliar with home repairs. With the right supplies, the right tools for the job, and a clear understanding of what needs to be done from this article’s instructions, you can easily have your light fixture secured and your bathroom looking brighter in no time!
Remember to be conscious of safety when doing any kind of home repair project and turn off power sources before beginning work on your home. If you have any questions about this project or need assistance setting up and wiring a bathroom light box, contact a licensed electrician – they will be able to get the job done safely and professionally.
Now that you know how to install a bathroom light fixture junction box effortlessly, it’s time to get started repairing and revitalizing it!

