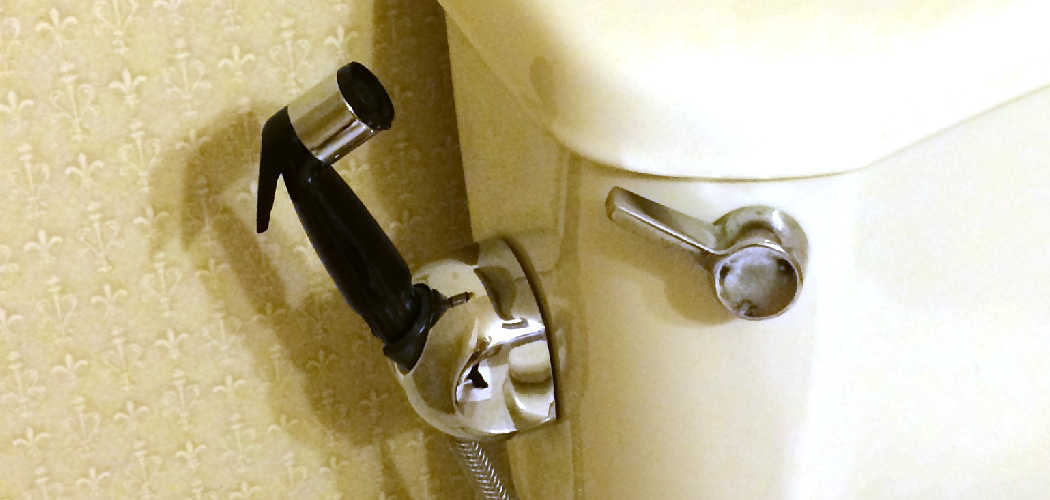
Handheld bidets provide a convenient and hygienic way to clean the intimate area. It is more efficient than using toilet paper alone, as it is able to reach areas that are often difficult to access with just tissue.
Additionally, a handheld bidet can help reduce the amount of toilet paper being used in a household, which helps to conserve resources and save money. Installing a handheld bidet is relatively simple but requires some time and effort.
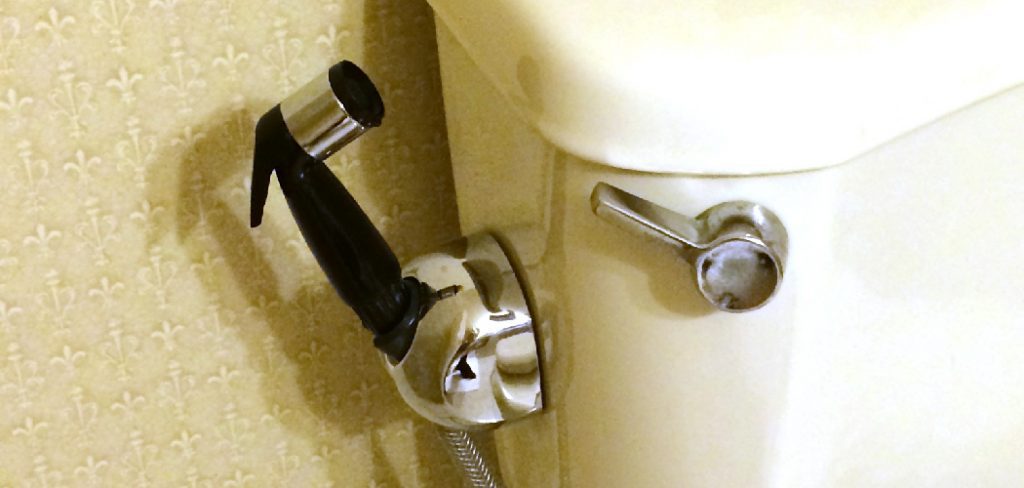
Installing a handheld bidet has several advantages, including hygiene and convenience. Handheld bidets provide an easy way to clean your hands and sensitive areas after using the restroom without having to use traditional toilet paper.
Since they do not require any plumbing installation, they are very easy to install and can be taken with you when traveling. They are also more affordable than traditional bidets and can help save on water costs. You can find step-by-step instructions on how to install handheld bidet in this blog article.
Step-by-step Instructions for How to Install Handheld Bidet
Step 1: Inspect the Bidet Kit
Before you begin to install your handheld bidet kit, make sure the components are all in good condition. Check that all pieces of the bidet are securely connected, and no parts are missing or broken.
Step 2: Assemble the Bidet
Attach the hose to the faucet on your sink and secure it with an adjustable wrench. Then attach the handheld bidet to the end of the hose. Make sure you have a secure connection between the two. Connect the other end of the hose to your water supply line and tighten it with an adjustable wrench. You may need to use a special connector if your water supply line is not compatible with the bidet.
Step 3: Check for Leaks
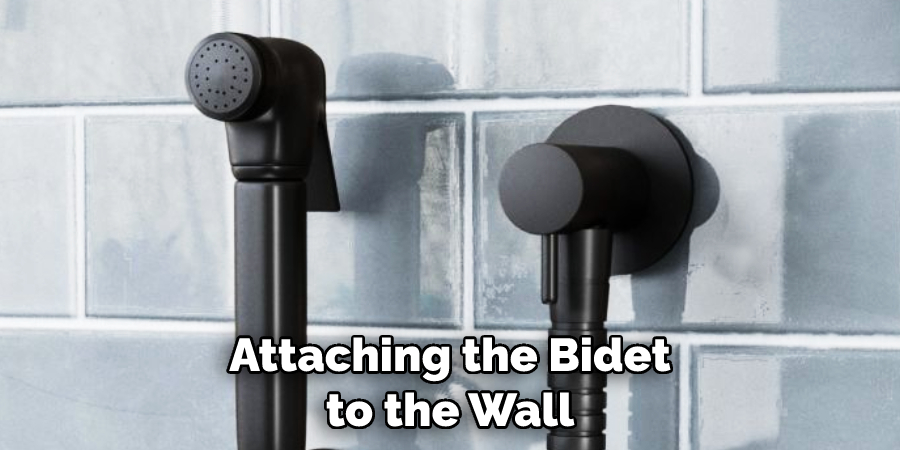
Once all the connections have been made, turn on the water and check for any leaks. If you find a leak, adjust the connection until it is sealed properly. Use an anchor and screws to secure the wall plate onto the wall near your sink. Once secure, you can attach the handheld bidet to the plate using the provided hardware.
Step 4: Attach Hose to Wall Plate
Connect the hose from your water supply line to the connection on the wall plate and tighten it with an adjustable wrench. Attach the handheld bidet to the wall plate and secure it with an adjustable wrench. Ensure it is firmly attached and will not move around when using it.
Step 5: Test for Leaks
Turn on the water and check for any leaks or drips from the connections. If there are any, tighten or adjust them until the leak has stopped. Attach the handle of the handheld bidet to the wall plate, making sure it is firmly secured with an adjustable wrench.
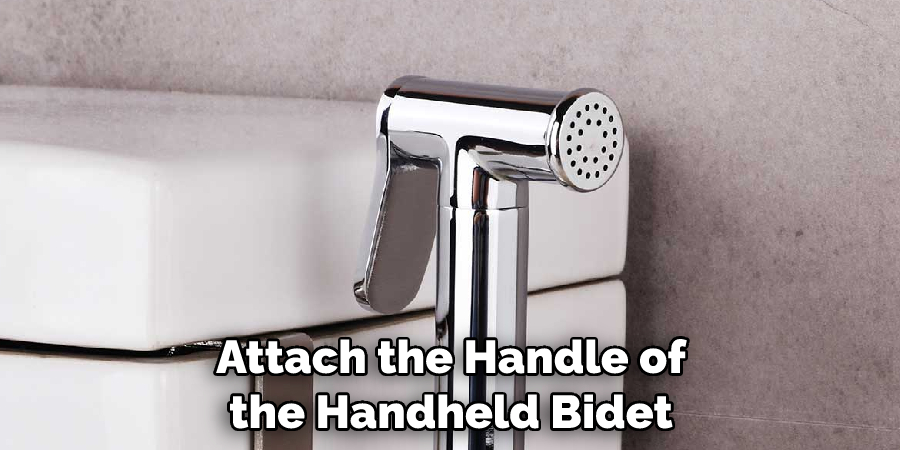
Following these steps, you can easily install your handheld bidet and have it ready for use. Make sure you check all the connections for leaks before using it and take the necessary precautionary measures if there are any.
Safety Tips for How to Install Handheld Bidet
- Make sure to read the installation instructions carefully before installing the handheld bidet.
- Check if the water supply lines are free from any cracks, leaks, or damage.
- Turning off the main water supply valve before beginning any work on the plumbing system connected to your bidet sprayer is important.
- Use appropriate safety gear like protective glasses while working with tools and parts.
- If you are unfamiliar with the installation process, it is best to consult a professional plumber for assistance.
- Carefully inspect all parts before installing them to ensure they fit correctly and securely in place.
- Once everything is installed, test the sprayer for proper function. Make sure to check for any leaks and tighten the connections before use.
Following these safety tips will ensure that you are able to properly install a handheld bidet with minimal risk of injury or damage.
How Long Will It Take to Install a Handheld Bidet?
Installing a handheld bidet is relatively easy and can usually be done in just a few minutes. It typically involves connecting the bidet to the water supply line, which may require some plumbing work depending on the type of installation you are attempting. Once the connections have been made, it’s simply a matter of attaching the hose from the bidet to the sprayer and then securing it in place.
You may also need to make sure that your bidet is compatible with your toilet, or you may need to purchase an adapter or conversion kit if necessary. Depending on the type of installation you choose, additional steps may be required, such as drilling holes for mounting brackets or attaching the bidet to the wall.
In general, installing a handheld bidet should not take more than an hour or two if you are somewhat familiar with basic plumbing and home improvement tasks.
Should You Hire a Professional to Install Your Handheld Bidet?
Installing a handheld bidet may seem like an intimidating task, but the truth is that it isn’t as difficult as it appears. Most users can easily install a handheld bidet with some basic DIY tools and knowledge of plumbing and electrical connections.
However, if you are hesitant about attempting to install your own handheld bidet or if your home’s plumbing system is particularly complex, may be worth considering hiring a professional.
Hiring a professional to install your handheld bidet can be beneficial in both the short term and the long term. Professionals typically have expertise in all plumbing systems and will know how to work with your existing connections properly. They also have access to a wide range of tools and supplies, meaning the installation will be done quickly and efficiently.
In addition, having a professional install your bidet ensures that everything is up to code, so you can rest easy knowing your bidet is safe and properly installed.
Are There Any Maintenance Tips That You Should Keep in Mind When Using Your New Handheld Bidet?
Once your Handheld Bidet is installed, and you’re ready to start using it, a few maintenance tips can help keep it functioning properly. First of all, you should make sure to clean the bidet after each use. You can do this by wiping down the nozzle with a damp cloth or using disinfectant wipes.
Additionally, it’s important to regularly check the hoses for any signs of wear and tear and ensure that the nozzles are free from any blockages or build-up. If you notice anything out of the ordinary, you should consider replacing the hose or nozzle as soon as possible.
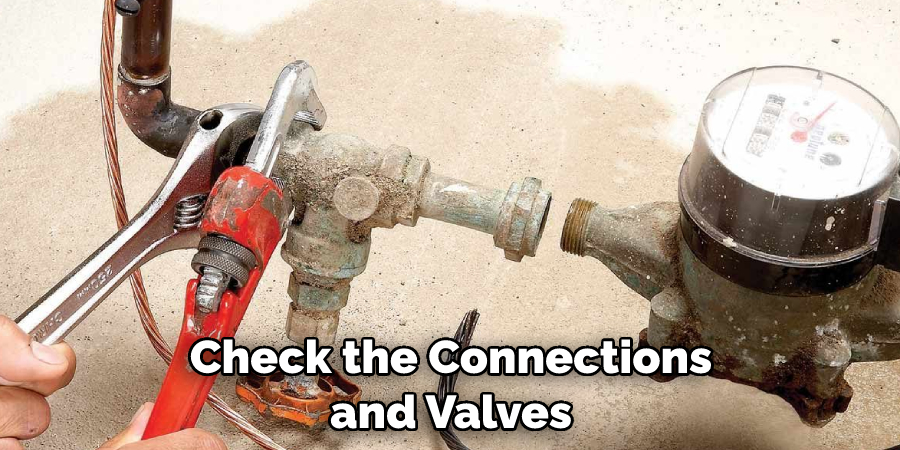
Another maintenance tip is to ensure that the water pressure and temperature remain constant when using your Handheld Bidet. If there are any sudden changes in the water flow, you should check the connections and valves to make sure they’re properly adjusted.
Additionally, if you notice any corrosion or discoloration on the bidet itself, you may want to consider purchasing a replacement or getting it professionally serviced.
Are There Any Common Mistakes That You Should Avoid During Installation?
When installing a handheld bidet, you must be aware of any common mistakes you should avoid. These can include not following the product’s instructions properly, not ensuring the sprayer has been fully secured or tight enough to prevent leaks, and forgetting to check for obstructions in the water supply line before connecting the device.
Additionally, it is important to use the right tools for the job and not attempt any installation unless you are familiar with basic plumbing.
Taking shortcuts or attempting a DIY installation without proper knowledge or understanding of the product can result in damaged equipment, water damage, or even injury. If you are unsure about something during an installation, it is recommended that you contact a professional or the manufacturer for further advice.
Taking these precautions will help ensure that your handheld bidet is installed correctly and safely, so you can enjoy its benefits with peace of mind.
How Can You Troubleshoot Any Issues With Your Newly Installed Handheld Bidet?
If you have just installed a handheld bidet but find that it isn’t working correctly, don’t despair. It’s likely that the problem can be fixed by troubleshooting and making some minor adjustments. The first thing to do is to check for any loose or disconnected parts.
If anything appears to be missing or it looks like there are some connections that need to be redone, do so. Also, ensure the water is turned on, and the line is connected properly.
Next, inspect the nozzle of your handheld bidet for any blockages or debris. If you see anything blocking the flow of water, remove it with a cloth or other tool. Be sure to do this carefully so as not to damage the nozzle. Finally, adjust the water pressure and angle of your handheld bidet.
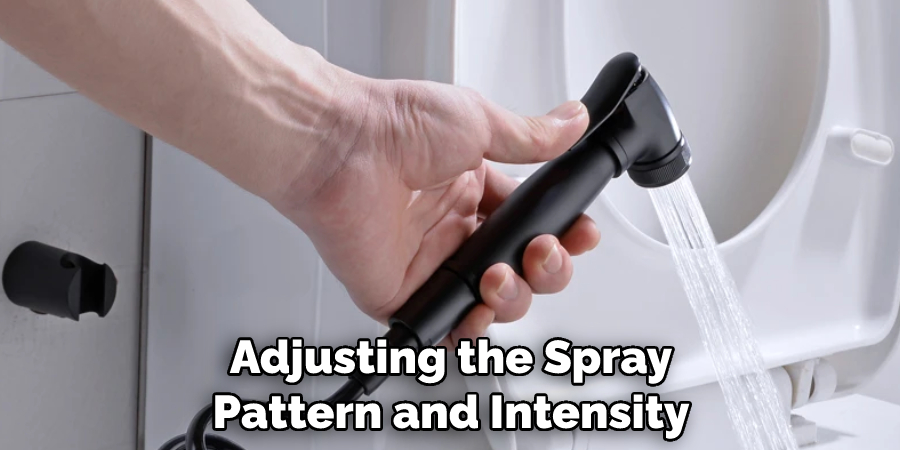
Most models have a valve that can be used to control the flow rate of water, while others will have a lever or knob for adjusting the spray pattern and intensity. If you find that it’s still not working properly, you may need to consult the manual or contact the manufacturer for assistance.
Conclusion
One of the major disadvantages of how to install a handheld bidet is the potential for leaks. If not properly sealed, there is a chance that water can escape from the connection points and cause damage to the surrounding area. Additionally, if the connections are too tight, they may be difficult to undo when repairs or maintenance needs to be done.
In conclusion, installing a handheld bidet is relatively simple and straightforward. Even if you’re not overly handy, completing the process shouldn’t take more than an hour. All you need is water supply line access, the necessary plumbing tools, compatible mounting hardware, and a handheld bidet sprayer made from quality materials.
I hope this article has been beneficial for learning how to install handheld bidet. Make Sure the precautionary measures are followed chronologically.

