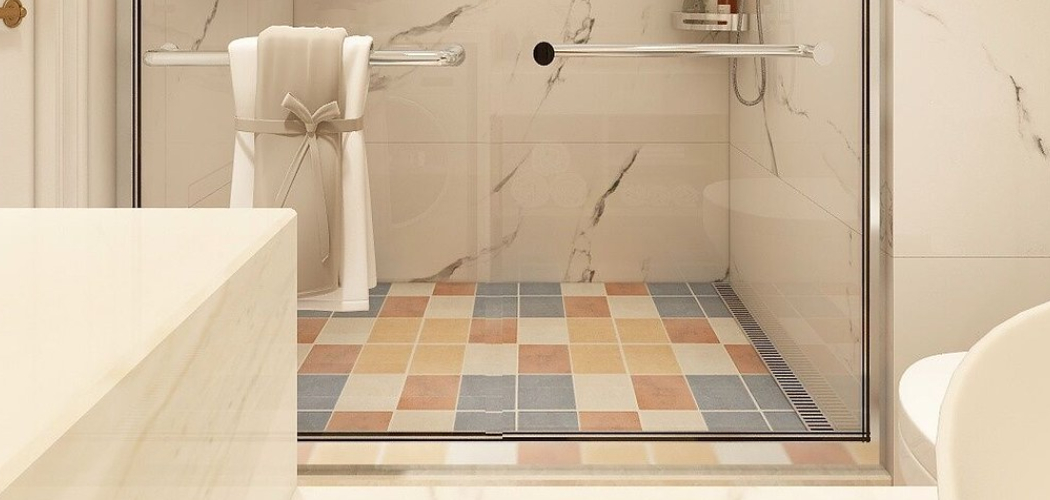
Redoing a shower floor is a transformative project that can breathe new life into your bathroom. Whether you’re looking to replace a worn-out or outdated shower floor or simply want to upgrade the aesthetics, knowing how to redo a shower floor is essential.
In this article, we will guide you through the process of how to redo a shower floor, from removing the existing materials and preparing the subfloor to selecting the right materials and installing the new floor. We will explore various options, such as tile, stone, or even prefabricated shower pans, and discuss the benefits and considerations of each.
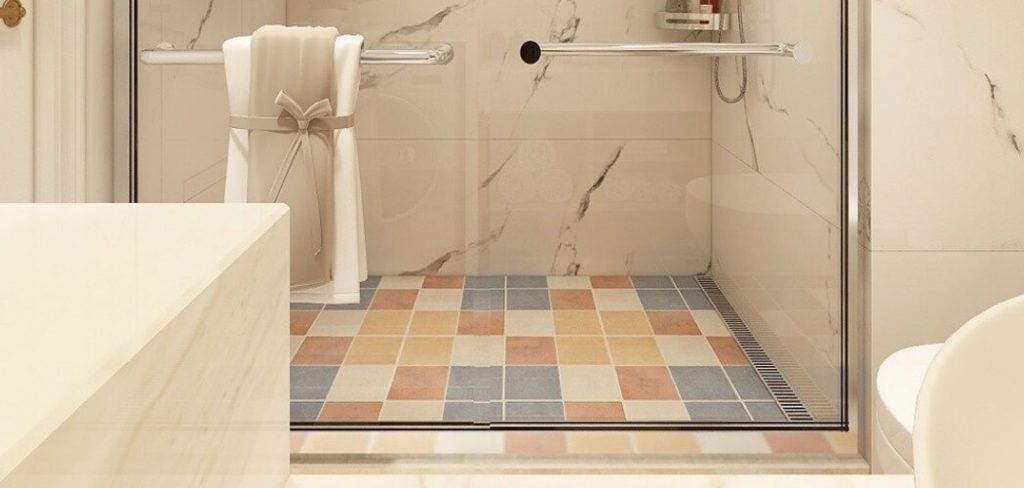
Additionally, we will provide tips on waterproofing, grouting, and sealing to ensure a durable and water-resistant finish. Whether you’re a seasoned DIY enthusiast or tackling this project for the first time, this guide will equip you with the knowledge and confidence to successfully redo your shower floor and create a stunning, functional, and long-lasting bathroom space.
What Is the Cheapest Way to Replace a Shower Floor?
When it comes to replacing a shower floor, the cheapest solution is to use an epoxy coating. This type of coating is designed to bond to the surface and seal any cracks or damage that may have occurred over time. It also provides a waterproof barrier that helps protect against further water damage.
Epoxy coatings come in several colors and can be applied directly to the existing shower floor with a brush or roller. The cost of epoxy coatings is typically quite affordable, especially when compared to the cost of replacing an entire shower floor.
Another inexpensive option for replacing a shower floor is to install vinyl tiles. Vinyl tiles can mimic the look of stone or ceramic tile, and they are available in a variety of colors and styles. Vinyl tiles are also easy to cut and install, making them quick and economical solutions for many bathroom remodeling projects.
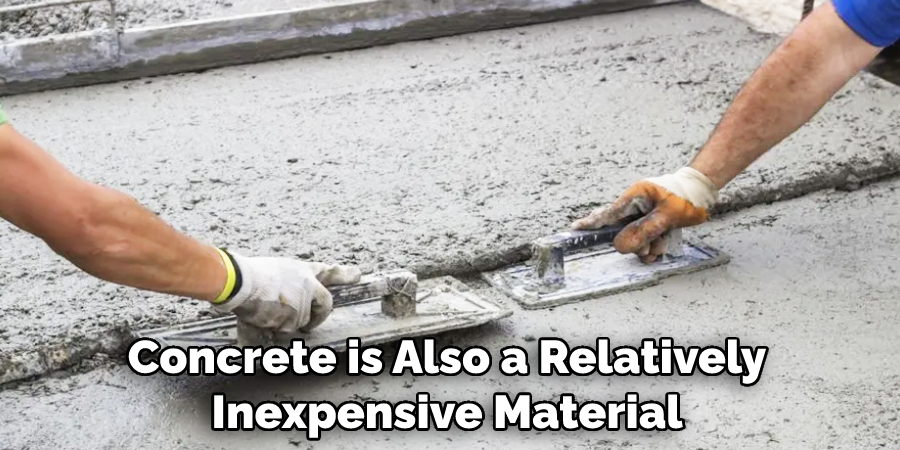
Finally, if you want a durable surface that will last for years with minimal maintenance, consider using concrete as your new shower floor material. Concrete can be cast into any shape and size desired, providing you with custom options that fit the space perfectly.
Concrete is also a relatively inexpensive material that can be finished with a decorative sealer to create an attractive look. With proper maintenance, concrete can last decades and provide you with a long-lasting shower floor solution.
Can You Redo a Tile Shower Floor?
Yes, you can replace or redo a tile shower floor. It is an involved process that requires some skill and effort, but it is possible to do yourself. You will need a few tools and materials such as grout sealer, adhesive, tile cutter, thin-set mortar, spacers, backer board, waterproof membrane and of course, your chosen tile.
The exact steps to take depend on the condition of your current shower floor and the materials you have available. Generally, it is a good idea to start by removing the existing tile and then inspect for any damage that needs repair before laying new tile. This may include patching up cracked or crumbling plaster walls and mortar bed, as well as replacing any rotted wood framing.
After all repairs are complete, it’s time to install a waterproof membrane over the base of the shower stall and then lay out backer board over the entire area where you will be tiling.
Once you have prepped your shower stall with a waterproof membrane and backer board, you can begin laying out and installing your tile with thin-set mortar, starting in the center of the shower and working your way out.
Make sure to use spacers to keep your tiles at even distances and follow all instructions provided with your chosen tile for best results. After all tiles are set and dry, seal them with grout sealer for added protection against water damage.
10 Steps How to Redo a Shower Floor
Step 1: Prepare the Workspace
Begin by clearing out the shower area and removing any obstacles or fixtures that may hinder the renovation process. This includes removing shower doors, shelves, and any other accessories. Ensure the area is clean and free from debris.
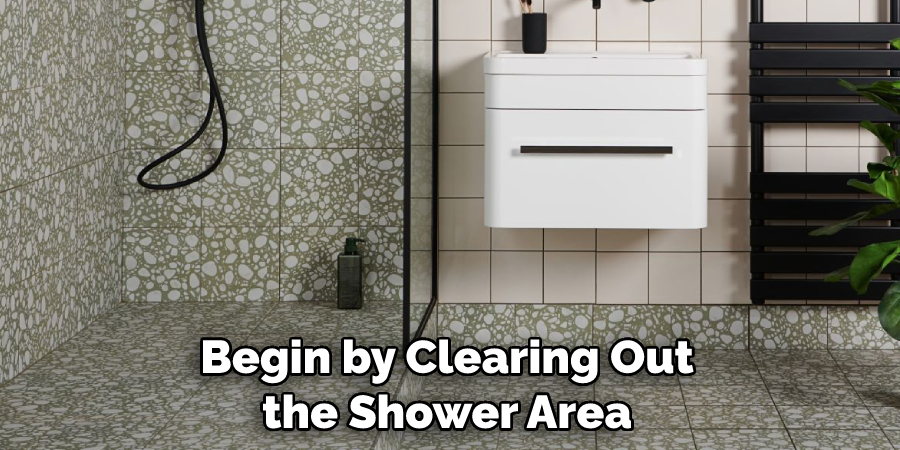
Although the bathroom is already wet, it helps to place a tarp or plastic sheeting over the floor and walls of the shower. Make sure to cover the drain before beginning your renovation.
Step 2: Remove the Existing Floor
To redo the shower floor, you’ll need to remove the existing materials. This may include tiles, stone, or a prefabricated shower pan. Use a hammer and chisel to carefully remove the old floor, being cautious not to damage the underlying subfloor.
Once all of the old materials have been removed, vacuum the area to remove any debris. Make sure to inspect the area for any signs of water damage before proceeding. If necessary, use a shop vacuum with a wet/dry filter attachment to remove standing water.
Step 3: Inspect and Repair the Subfloor
With the old floor removed, thoroughly inspect the subfloor for any signs of damage or deterioration. Replace any rotted or weakened areas to ensure a solid foundation for the new shower floor. It’s essential to address any underlying issues before proceeding.
Additionally, for extra support, you can add a ¼-inch cement board to the subflooring before installing the new shower floor. While this is an optional step, it can help to prevent any future cracking or molding of the tile and cement.
Step 4: Plan the Layout
Consider the design and layout of your new shower floor. Measure the dimensions of the shower area and determine the placement of the drain. This step is crucial for ensuring proper water drainage and a visually appealing result. Sketch out your plan on paper to serve as a reference throughout the process.
If you’re using tile, make sure to check the manufacturer’s instructions for how to best lay it out. For example, you may want to use a certain pattern or stagger the tile for an interesting look. Lay out the tiles on the ground in advance to ensure that they fit.
Step 5: Install the Drain
Install the shower drain according to the manufacturer’s instructions and your planned layout. This involves connecting the drain to the plumbing system and securing it in place. Ensure a proper seal to prevent leaks.

However, if you are using a mortar bed for the shower floor, do not install the drain at this point. Instead, wait until after the mortar bed is dry and secure. This will help to ensure a good seal between the drain and the mortar bed.
Step 6: Waterproof the Shower Area
Proper waterproofing is crucial for preventing water damage and ensuring the longevity of your new shower floor. Apply a waterproof membrane to the subfloor and walls, following the manufacturer’s guidelines. Pay special attention to corners and seams, and ensure full coverage.
Step 7: Install the New Floor Material
Based on your design and preferences, install the new floor material. This could be ceramic or porcelain tiles, natural stone, or a prefabricated shower pan. Follow the manufacturer’s instructions and use the appropriate tools and adhesives for your chosen material. Ensure proper alignment and spacing for a professional finish.
Step 8: Grout the Tiles
If you opted for tiles, apply grout between the tiles once the adhesive has cured. Mix the grout according to the manufacturer’s instructions and use a grout float to fill the gaps between the tiles. Wipe off excess grout with a damp sponge and allow it to dry before proceeding.
Once the grout has hardened, use a damp cloth to buff away any remaining residue. With proper maintenance and cleaning, your shower floor should look like new for years to come. Enjoy your updated shower!
Step 9: Seal the Floor
To enhance the durability and water resistance of your shower floor, apply a sealant. This step is particularly important for natural stone floors. Follow the manufacturer’s instructions and apply the sealant evenly over the entire surface. Allow it to cure completely before using the shower.
Step 10: Reinstall Fixtures and Accessories
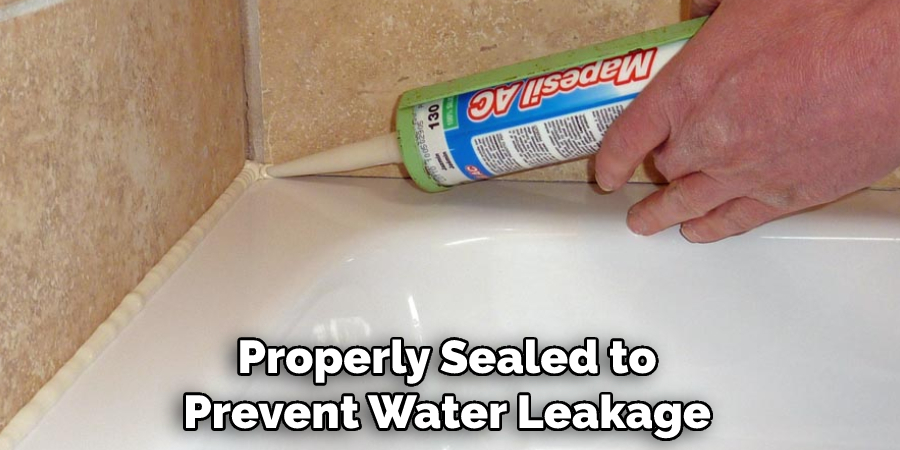
Once the new shower floor is complete, reinstall any fixtures, such as showerheads, handles, and shelves. Ensure they are securely fastened and properly sealed to prevent water leakage. Consider adding any additional accessories or finishing touches to complete the look of your revamped shower floor.
Conclusion
Redoing a shower floor can be a tedious and time-consuming process, but it is definitely worth it in the end. With patience and precision, there are lots of rewards that come from doing this job on your own. Cleaning and repairing the cracks, applying sealant, re-grouting the tiles, and adding something new, like a new tile pattern, to tie everything together are all possible.
After all of these steps have been completed, you will be able to enjoy your newly renovated shower floor for years to come! As they say, with any major home project, take your time and plan carefully – if you complete each step properly, it should turn out just as beautiful as yours can be!
So don’t wait any longer – roll up your sleeves and get started on how to redo a shower floor in no time! Just remember, before starting any home renovation project: always wear protective gear, follow instructions carefully, and most importantly, have fun along the way!

