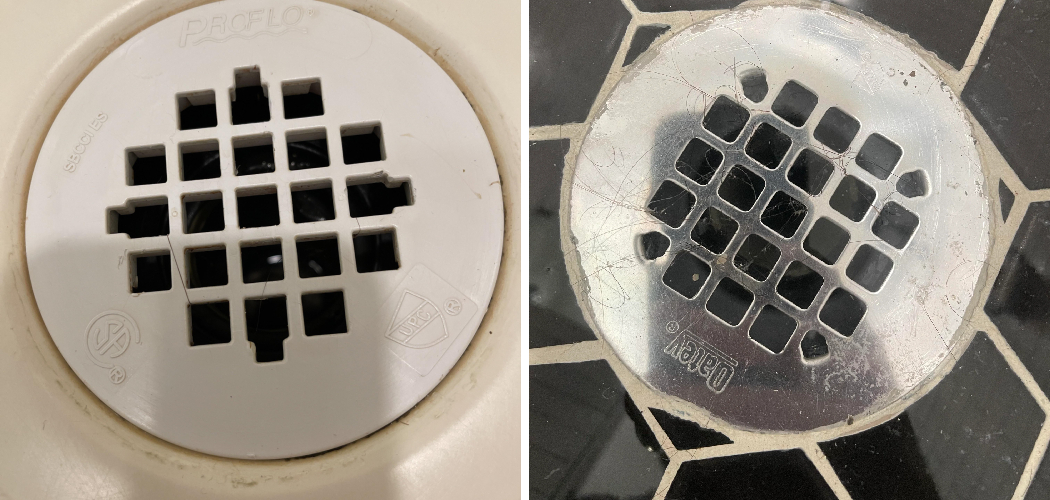
Removing an Oatey shower drain cover is a straightforward task that can save you time and money on plumbing services. Whether you’re dealing with a clogged drain or simply need to clean the area, knowing how to properly remove the cover is an essential skill for any homeowner.
This guide on how to remove oatey shower drain cover will provide clear, step-by-step instructions on how to safely and efficiently remove your Oatey shower drain cover, along with useful tips to make the process easier.
What is the Oatey shower drain cover?
Before we dive into the steps on how to remove an Oatey shower drain cover, it’s important to understand what exactly it is. Oatey is a well-known brand in the plumbing industry that offers a wide range of products for both professionals and DIY enthusiasts. Their shower drain covers are designed to prevent debris from clogging your pipes while still allowing water to flow freely.
You can find Oatey shower drain covers in various sizes, styles, and materials to fit different types of shower drains. The most common material used is stainless steel due to its durability and resistance to corrosion. However, some models are also made of PVC or brass.
Tools You Will Need
To successfully remove your Oatey shower drain cover, you will need a few tools. Here’s a list of items that will come in handy:
Screwdriver (flathead or Phillips):
You will need a screwdriver to remove the screws that are holding the drain cover in place. Make sure to use the appropriate type of screwdriver based on the type of screws used for your Oatey drain cover.
Drain key:
In some cases, you may need a drain key to loosen and remove the cover if it’s stuck or difficult to remove with just a screwdriver. This tool is designed specifically for removing shower drain covers and can be found at most hardware stores.
Gloves:
It’s always a good idea to wear gloves when handling any plumbing fixtures, including shower drain covers. Not only does it protect your hands, but it also provides a better grip and prevents accidentally dropping the cover.
Optional:
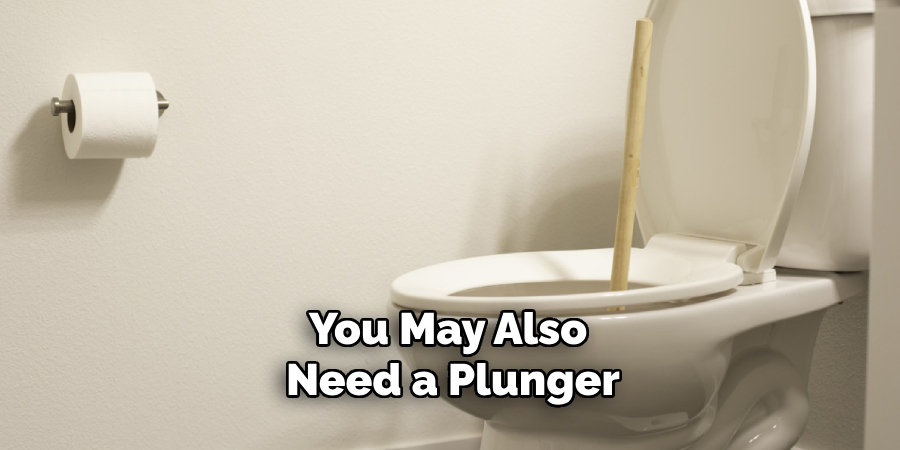
You may also need a plunger or a drain auger if you’re dealing with a clogged drain. These tools can help loosen any debris buildup before removing the cover.
10 Step-by-step Guidelines on How to Remove Oatey Shower Drain Cover
Now that you have all the necessary tools let’s get started removing your Oatey shower drain cover.
Step 1: Locate the Screws
The first step in removing your Oatey shower drain cover is to locate the screws that hold the cover in place. Typically, these screws are positioned around the perimeter of the cover. Carefully inspect the surface of the drain cover to identify the screw heads.
You may need to use a flashlight if the area is dimly lit. Depending on the model, you might find either flathead or Phillips screws. Once you’ve identified the screw type, you’ll be ready to move on to the next step.
Step 2: Remove the Screws
With the screws located, use the appropriate screwdriver (flathead or Phillips) to carefully remove them. Insert the screwdriver into each screw head and turn it counterclockwise. Be sure to keep a steady hand to avoid stripping the screws. As you remove each screw, place them in a safe location to prevent them from being lost during the process.
Take your time to ensure all screws are completely unscrewed before attempting to lift the drain cover. Once all screws are removed, you can proceed to the next step of lifting the cover of the drain.
Step 3: Lift the Cover
With all screws removed, you should be able to lift the drain cover off the drain. However, if your Oatey shower drain cover is stuck or difficult to remove, you may need to use a drain key. This tool helps loosen and remove stubborn covers by using its prongs to grip the sides of the cover.
Insert the prongs of the drain key into two screw holes and turn it counterclockwise until you feel resistance. Then, use it as leverage to pull up and release the cover from its seal.
Step 4: Clean and Inspect the Cover
Once you’ve successfully removed the drain cover, take a moment to clean it and inspect for any damage. Use a mild soap and warm water solution to remove any grime or buildup on the surface of the cover.
Inspect the edges of the cover and make sure there are no cracks or breaks. If you notice any damage, it’s best to replace the cover before reinstalling it.
Step 5: Inspect the Drain
With the drain cover removed, take a thorough look at the drain itself. Check for any visible blockages, such as hair, soap scum, or other debris that might be obstructing the flow of water. Use a flashlight if needed to get a clear view of the inside of the drain.
If you notice any build-up or blockage, this is a good opportunity to remove it to ensure your shower drain functions properly. Depending on the severity of the blockage, you might need to use a pair of needle-nose pliers, a drain auger, or even a mild drain cleaner to clear it out.
Step 6: Clean the Area
After inspecting and clearing any blockages from the drain, it’s important to clean the surrounding area thoroughly. Use a mild detergent, warm water, and a sponge or scrub brush to clean the surface around the drain opening. Remove any soap scum, grime, or mildew to ensure the area is sanitary and ready for the drain cover to be reinstalled.
Pay particular attention to the lip of the drain where the cover sits, as any debris here can prevent a proper seal. Once the area is clean, rinse it with water and allow it to dry completely before proceeding to the next step.
Step 7: Prepare the New Cover (if necessary)
If your inspection revealed that the old cover is damaged and requires replacement, now is the time to prepare your new Oatey shower drain cover for installation. Begin by ensuring the new cover is the correct size and type for your shower drain. Remove any packaging and check for any manufacturing defects or damage.
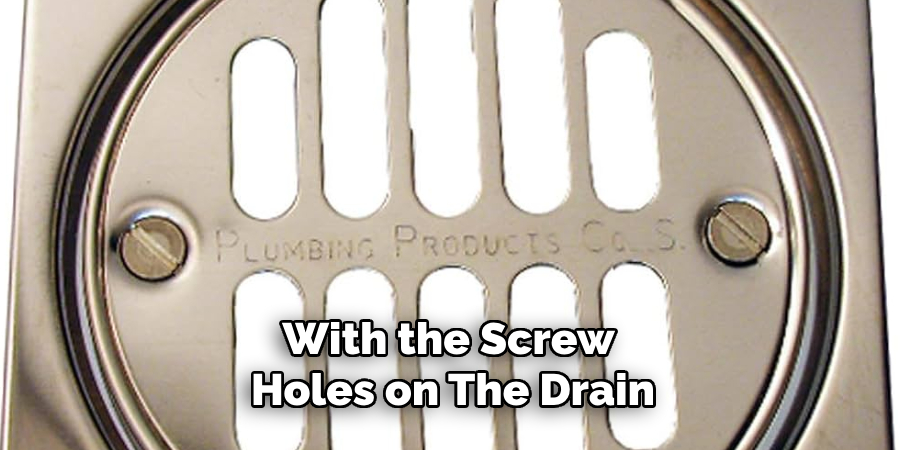
Next, align the new cover with the screw holes on the drain. If the new cover comes with new screws, make sure to use them, as they are often designed to fit perfectly with the new cover. If the new cover did not come with screws, you can use the ones from the old cover, provided they are still in good condition.
Once everything is aligned and ready, consider placing a small bead of silicone sealant around the underside edge of the new cover to ensure a watertight seal when it’s installed. Let the sealant set for the recommended amount of time before proceeding to the next step.
Step 8: Reinstall the Cover
With a clean area and a new cover (if necessary), you can now reinstall the Oatey shower drain cover. Carefully place the cover over the drain opening, ensuring it sits securely in place. If using screws, insert them one by one into their designated holes and carefully tighten them with your screwdriver until they are snug.
Be careful not to over-tighten the screws as this could damage the cover or strip the threads on the drain itself. If using a drain key, gently press down and turn it clockwise until it feels secure. Then, use it as leverage to tighten the cover.
Step 9: Test the Cover and Drain
Once the cover is securely in place, it’s time to test it out. Turn on your shower and let water run through the drain to ensure there are no leaks or issues with drainage. If you notice any leaks, make sure the cover is properly seated and tightly secured. If necessary, adjust or reapply the silicone sealant.
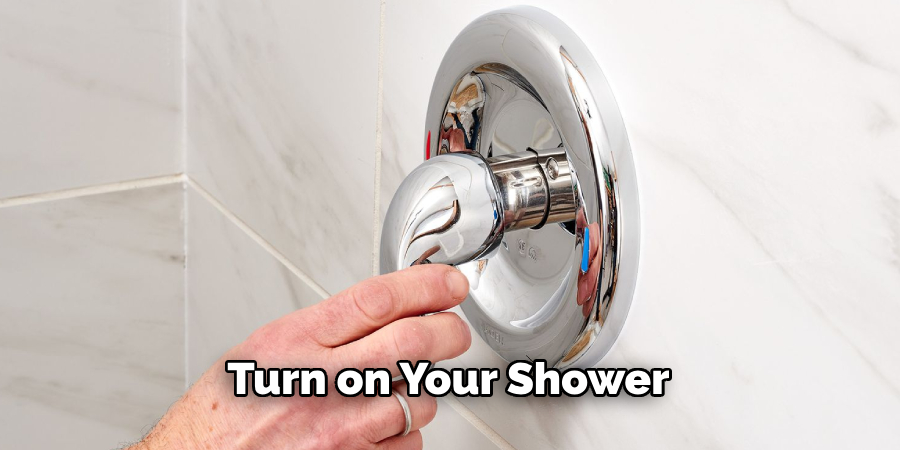
If everything checks out, give yourself a pat on the back for successfully removing and reinstalling your Oatey shower drain cover!
Step 10: Regular Maintenance
To prevent future clogs or issues with your shower drain, it’s important to practice regular maintenance. This includes cleaning the drain cover and surrounding area regularly, as well as periodically checking for any blockages or damage to the drain itself. If you notice any slow drainage or unusual smells coming from your shower, it may be time to clean out the drain and remove any build-up that might be causing issues.
With proper maintenance, your Oatey shower drain cover should last for many years to come, By following these steps on how to remove oatey shower drain cover and taking care of your shower drain, you can ensure a clean and functional shower for yourself and your household. So, make sure to incorporate these tips into your regular home maintenance routine to keep your Oatey shower drain cover in top condition!
Conclusion
Successfully removing and reinstalling an Oatey shower drain cover not only improves the aesthetics of your bathroom but also ensures a properly functioning drainage system.
By following the outlined steps on how to remove oatey shower drain cover meticulously— from removing the old cover, inspecting and cleaning the drain, to installing the new cover— you can address any potential issues and keep your shower in optimal condition.
Regular maintenance, including periodic cleaning and inspection, will prevent common problems such as clogs and leaks, thereby extending the life of your shower drain.
With these simple yet effective practices, you can enjoy a hassle-free and delightful shower experience for years to come. Taking the time to care for small details in your home can lead to greater comfort and peace of mind, underscoring the importance of regular upkeep and minor repairs.

