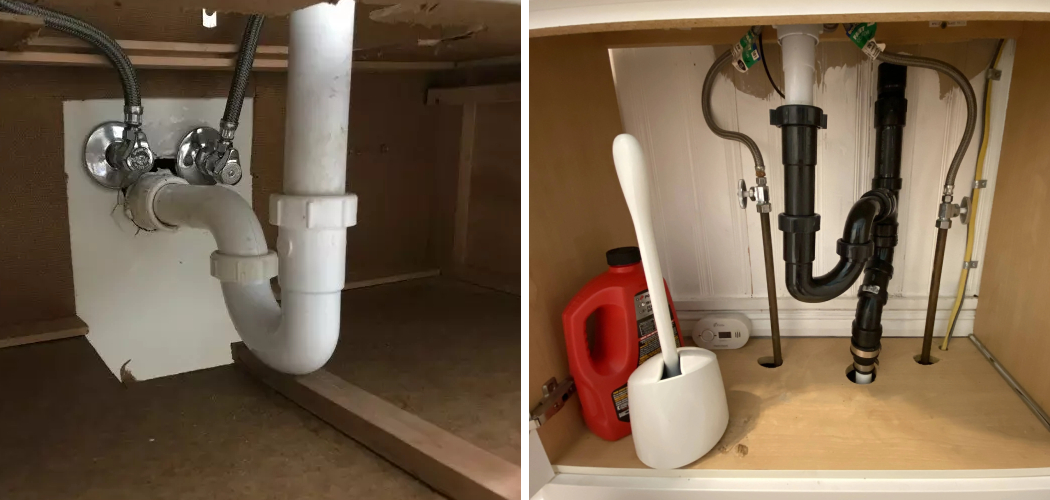
Removing a vanity with water lines at its bottom can seem like a daunting task, but with the right approach and precautions, it can be achieved safely and efficiently. This process involves several steps, each requiring careful attention to avoid water damage or injury. The key to a smooth removal lies in the preparation stage, where understanding the plumbing system and having the necessary tools on hand is crucial.
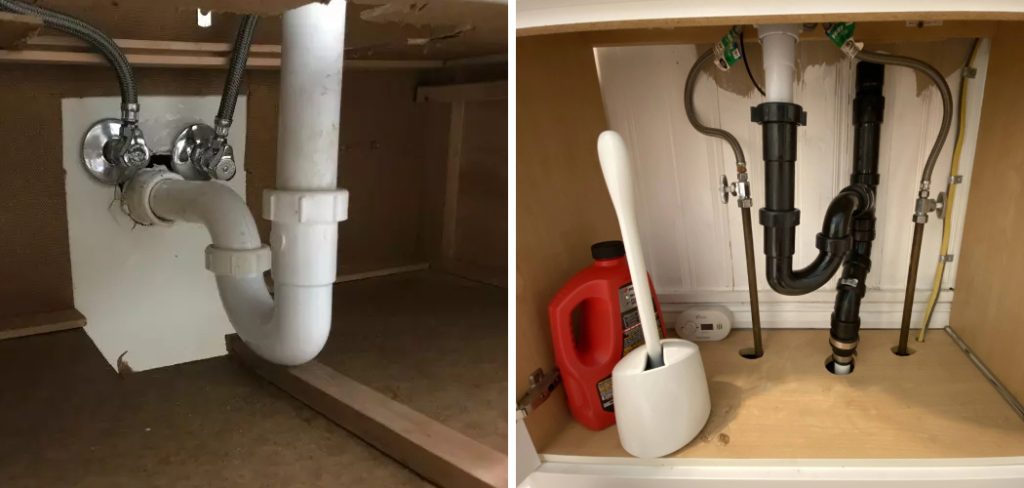
There are also potential risks associated with disconnecting water lines, such as accidental flooding or damage to the plumbing system, which underscores the importance of meticulously following safety measures.
This guide aims to walk you through how to remove vanity with water lines in bottom by breaking down the process into manageable steps and highlighting the best practices for a hassle-free experience. Whether you’re a homeowner looking to revamp your bathroom or a DIY enthusiast tackling a new project, this article will equip you with the knowledge and confidence to safely remove a vanity and prepare the space for its next upgrade.
Assessing the Situation
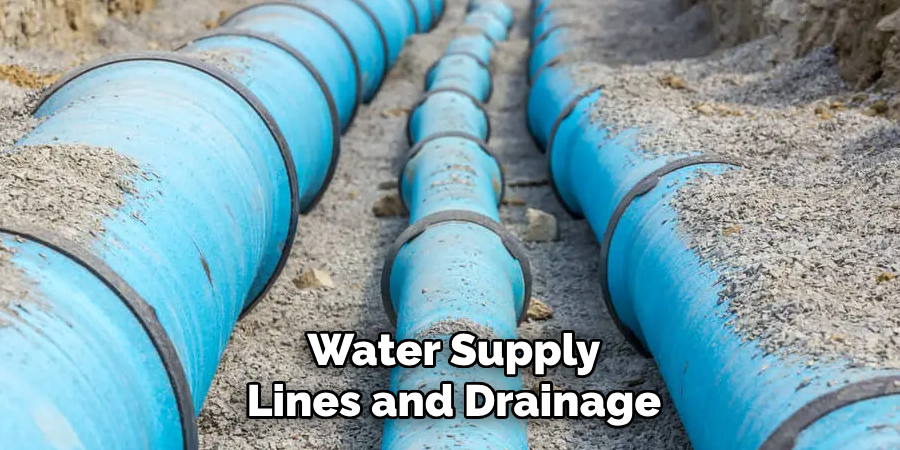
Before the physical removal of the vanity begins, a thorough assessment of the existing plumbing connections and layout underneath the vanity is imperative. This initial step involves closely inspecting the water supply lines, drainage pipes, and any additional fixtures that are connected to the vanity. Awareness of how these elements are configured helps in planning the disconnection and removal process, reducing the risk of unexpected complications.
Inspection of Existing Plumbing Connections and Layout Underneath the Vanity requires a flashlight for a clearer view and possibly a mirror to see behind or underneath the plumbing fixtures. Look for any signs of leakage, corrosion, or damage that might need attention before or after the vanity removal.
Identification of Water Shut-Off Valves and Drainage Pipes Connected to the Vanity is crucial for preventing water from spilling during the removal. Locate the main shut-off valves—which could be situated near the vanity or at a main water line—and ensure they are fully operational to avoid water-related mishaps.
Understanding the Importance of Proper Planning and Preparation Before Starting the Removal Process cannot be overstated. This involves gathering all necessary tools, protecting the work area from possible water damage, and ensuring that safety measures are in place.
Proper planning will not only make the removal process smoother but also safeguard against potential injuries or damage to your home. By comprehensively assessing the situation prior to engaging in the actual removal, you are laying a strong foundation for a successful and efficient vanity removal project.
Gathering Tools and Supplies
A successful vanity removal process requires the right set of tools and supplies. Essential among these are:
- Adjustable Wrench: For loosening and tightening the water supply lines and drainage pipe fittings.
- Bucket: To catch any residual water remaining in the lines after shut-off to prevent spillage.
- Pipe Wrench or Slip-Joint Pliers: Useful for gripping and turning pipes that may be hard to budge.
- Utility Knife: For cutting away caulk or sealant around the vanity.
- Putty Knife: To help pry up the vanity or remove remnants of sealant.
- Screwdrivers (Flathead and Phillips): For unscrewing any hardware attaching the vanity to the wall.
- Tape Measure: Essential for ensuring the new vanity will fit in the existing space if replaced.
- Safety Gear: Gloves to protect your hands from sharp edges and debris; goggles to shield your eyes from flying particles.
Organizing your workspace is key to minimizing disruption and mess during the vanity removal. Clear the area of any bathroom items or personal belongings to avoid damage. Lay down a drop cloth or old towels to protect the floor and catch any debris. Ensure all necessary tools are within reach and sorted by their function to streamline the removal process.
Safety should never be compromised. Wearing durable gloves can prevent cuts from sharp objects or plumbing fixtures. Safety goggles are crucial to protect your eyes from dust, debris, and possible chemical splashes when working with old plumbing. Remember, preparing your workspace and prioritizing safety will not only protect you but also make the vanity removal process more efficient and less stressful.

Shutting Off Water Supply
One of the most critical steps in removing a vanity with water lines in the bottom is to ensure that the water supply is completely shut off. This precautionary step is vital to prevent water damage and ensure a safe removal process. Here’s how you can locate and shut off the water supply using shut-off valves:
- Locate the Shut-Off Valves: The first step is to locate the shut-off valves, which are most commonly found directly beneath the sink or within close proximity to it. These valves are typically oval or round knobs that you can turn by hand.
- Turn the Valves Clockwise: To shut off the water supply, turn each valve clockwise until it can no longer turn. This action should stop water from flowing to the vanity. It’s advisable to turn on the faucet after shutting off the valves to drain any remaining water and to ensure that the water is completely shut off.
If shut-off valves are not available or accessible, there are alternative methods to cut off the water supply:
- Main Water Valve: Locate the main water valve for your house or apartment, which is usually found in the basement, garage, or outdoors near the street. Turning this valve clockwise will shut off the water supply to the entire property, so use this option as a last resort.
- Pipe Clamps or Locking Pliers: If you cannot access the main valve or individual shut-off valves, you can temporarily cease water flow by using pipe clamps or locking pliers on the flexible supply lines. However, this method is only a temporary fix and should be used cautiously, with the main water supply shut off as soon as possible afterward.
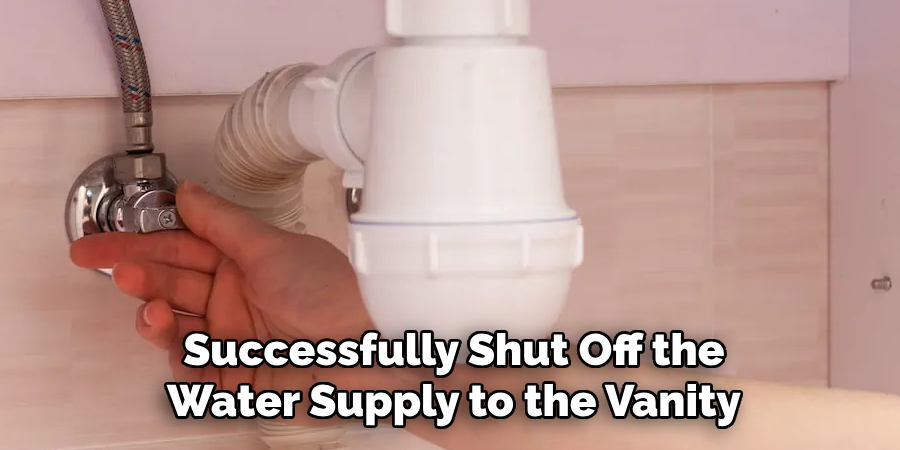
By following these steps, you can successfully shut off the water supply to the vanity, ensuring a safe and dry removal process.
Disconnecting Water Lines
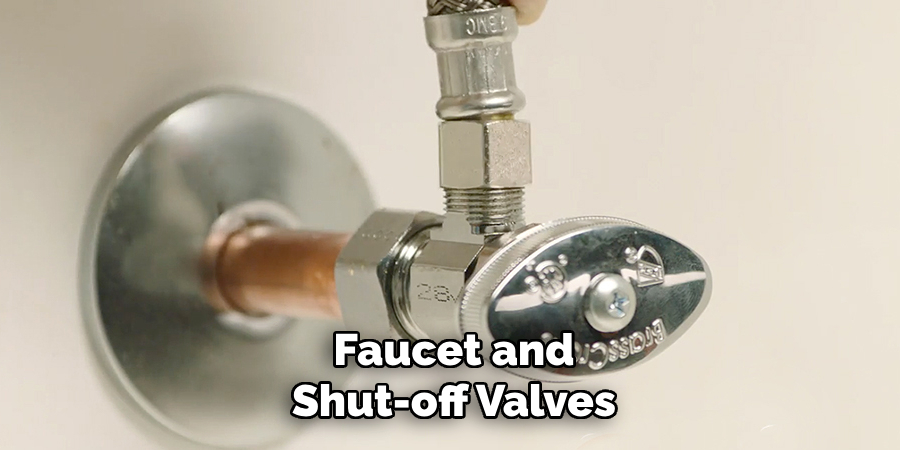
Disconnecting the water lines from the faucet and shut-off valves is a critical step in the vanity removal process. Follow these detailed instructions to ensure a safe and efficient disconnection.
A. Detailed Instructions for Safely Disconnecting Water Supply Lines from Faucet and Shut-Off Valves
- Set the Bucket Underneath Connections: Before loosening any connections, place a bucket directly under the water supply lines and valves to catch any water that may spill out during disconnection.
- Loosen the Connections: Using an adjustable wrench, gently loosen the nuts connecting the water supply lines to the faucet and the shut-off valves. It may take some force, but be careful not to damage the nuts or lines.
- Detach the Water Lines: Once loosened, carefully unscrew the nuts by hand and detach the water lines from both the faucet and shut-off valves.
B. Tips for Draining Remaining Water from Water Lines and Avoiding Spillage or Leakage
- After disconnecting, lift the supply lines, allowing any residual water to drain into the bucket.
- Keep the bucket handy for a few minutes as water may continue to drip from the lines or valves.
- Tilt the pipes slightly while ensuring they are still directed into the bucket to drain any trapped water.
C. Ensuring Proper Labeling or Marking of Disconnected Water Lines for Easy Reconnection in the Future
- Label each water line and corresponding shut-off valve with colored tape or tags. This can significantly simplify the reconnection process.
- Make a quick sketch or take photos of the connection setup before disconnecting, providing a visual reference for future reassembly.
By carefully following these steps, you can safely disconnect the water lines, minimize the risk of water damage, and ensure a straightforward reconnection in the future.
How to Remove Vanity with Water Lines in Bottom: Removing the Vanity
A. Step-by-Step Guide to Detaching Vanity from Wall and Floor Using Proper Tools and Techniques
- Inspect for Fasteners: Start by inspecting the vanity for any visible screws or bolts attaching it to the wall or floor. This may involve emptying the vanity and checking the inside back wall.
- Unscrew Fasteners: Using the appropriate screwdrivers or a power drill, carefully unscrew all the fasteners. Keep these in a container to avoid losing them, especially if planning to reuse the vanity.
- Cut Away Caulk or Sealant: Gently slice through any caulk or sealant between the vanity and the wall with a utility knife. Do this slowly to avoid damaging the wall paint or tiles.
- Gently Pry Vanity Away from Wall: Insert a putty knife or flat bar in the gap between the wall and vanity to gently pry it away. Work your way along the length to minimize stress in one area.
- Check for Flooring Attachments: If the vanity is attached to the floor, locate and remove any screws or fasteners. Otherwise, ensure the vanity is free to move.

B. Tips for Lifting and Maneuvering the Vanity Safely to Avoid Damage to Surrounding Surfaces or Plumbing Fixtures
- Assess the Weight: Determine if the vanity requires two or more people to move. Always err on the side of caution to avoid injury.
- Lift Properly: Bend at the knees, keeping your back straight, and lift with your legs, not your back.
- Protect Surrounding Areas: Lay down protective sheeting or boards on floors and adjacent areas to avoid scratches or damage as the vanity is being moved.
- Move Slowly and Carefully: Take your time maneuvering the vanity out of its space. Sudden movements can damage the vanity, wall, or flooring.
C. Strategies for Disposing of or Repurposing the Removed Vanity in an Environmentally Responsible Manner
- Donate: If the vanity is in good condition, consider donating it to local nonprofits or organizations that accept home improvement items.
- Sell: Platforms like Craigslist or Facebook Marketplace are great for selling usable vanities to individuals looking for home renovation materials.
- Repurpose: Get creative and repurpose the vanity for another area in your home, such as a garage storage unit or a backyard garden feature.
- Recycle: If your vanities are made of recyclable materials, contact your local recycling facility to learn about proper disposal methods.
By following these steps, the removal of your bathroom vanity can be accomplished safely and efficiently, with consideration given to environmentally responsible disposal or repurposing options.
Inspecting and Repairing Plumbing Connections
After the bathroom vanity is successfully removed, it is crucial to inspect and repair existing plumbing connections before proceeding with the installation of a new vanity. This step is vital to ensure that the bathroom remains functional and free from leaks or other issues that could lead to water damage or costly repairs in the future.
A. Examination of Plumbing Connections and Components Underneath the Vanity for Damage or Wear
Begin by carefully examining all visible plumbing connections and components that were concealed beneath the vanity. This includes checking the condition of the supply lines, drain pipes, shut-off valves, and any other relevant plumbing parts for signs of damage, wear, or corrosion. Look out for cracks, rust, or any deformities that might indicate the need for replacement or repair.
B. Recommendations for Addressing Any Leaks, Corrosion, or Other Issues Detected During Inspection
If any leaks are detected during the inspection, it is imperative to address these issues immediately. Small leaks can be temporarily fixed with plumbing tape or an epoxy compound, but replacing the faulty component is advised for a long-term solution.
Corrosion on metal pipes and fittings should be cleaned, and if the corrosion is severe, replacement might be necessary to prevent future leaks. For any repairs beyond simple fixes, consulting with a professional plumber is recommended to ensure the integrity of your bathroom’s plumbing system.
C. Importance of Conducting Thorough Checks and Repairs Before Installing a New Vanity to Prevent Future Problems
Conducting a thorough examination and undertaking necessary repairs before installing a new vanity is crucial. Identifying and accessing potential issues with the vanity removed is much easier, saving time, effort, and expense in the long run.

Not only does this proactive approach prevent water damage to your new vanity and bathroom, but it also ensures the overall health of your home’s plumbing system. Therefore, taking the time to inspect and repair any issues now can avert more significant problems in the future and extend the lifespan of your new bathroom vanity.
Cleaning and Restoring the Area
After the vanity has been successfully removed and plumbing issues addressed, the next crucial step involves cleaning and restoring the area to ensure it is ready for the new installation. Here are key points to consider during this phase:
A. Tips for Cleaning and Disinfecting the Space Where the Vanity Was Removed, Including Walls and Floors
- Use Appropriate Cleaners: To clean the floors and walls gently, opt for mild detergents mixed with water. For disinfection, a solution of 1 part bleach to 9 parts water is effective in eliminating bacteria and viruses without damaging surfaces.
- Scrub Gently But Thoroughly: Employ soft scrub brushes or cloths to avoid scratching surfaces. Pay attention to crevices where dirt and grime might accumulate.
- Rinse and Dry Completely: After cleaning, rinse the area with clean water and dry thoroughly to prevent water spots and reduce the risk of mold growth.
B. Suggestions for Repairing Any Damage or Marks Left Behind by the Removed Vanity to Restore Aesthetic Appeal
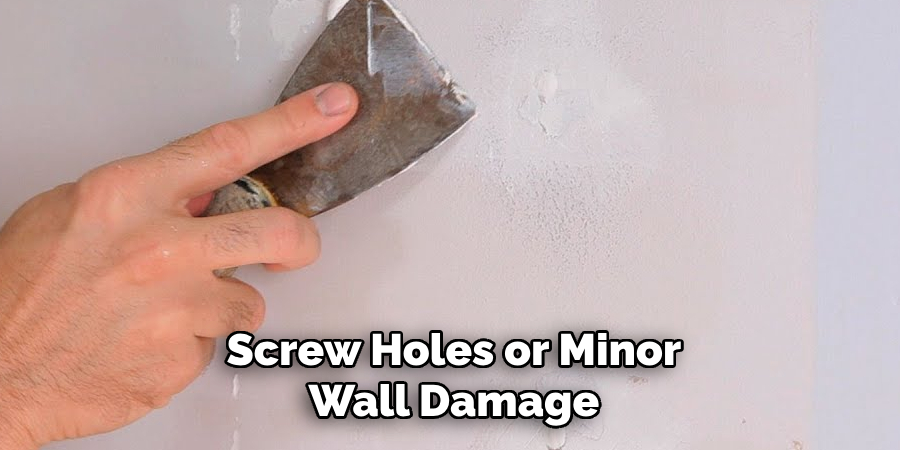
- Fill Holes and Cracks: Use spackling paste to fill in screw holes or minor wall damage. Sand the area smooth once dry for a polished look.
- Match Paint or Tiles: If paint or tiles were damaged or removed, find matching colors or patterns to touch up these areas seamlessly.
- Consider Professional Help for Major Repairs: If you have significant damage to floors or walls, contacting a professional may ensure the best results.
C. Importance of Proper Ventilation and Drying to Prevent Mold or Mildew Growth in the Cleaned Area
Ensuring good airflow through the space is critical in preventing mold and mildew growth. Open windows and use fans or dehumidifiers to speed up the drying process after cleaning. This not only aids in preventing mold but also helps dispel any lingering odors from cleaning agents, creating a fresh and clean environment for the new vanity installation.
That’s it! You’ve now learned how to remove vanity with water lines in bottom. Remember to take all necessary precautions for safety, consider environmentally responsible disposal options, inspect and repair plumbing connections, and clean and restore the area before installing a new vanity. With these steps in mind, you’ll be able to successfully remove your old vanity and create a fresh look in your bathroom with a new one.
Introduction to Installing a New Vanity
After the old vanity is removed, the area cleaned, and the plumbing inspected or repaired, you’re ready to proceed with installing a new vanity. This process, while exciting, can be quite detailed and requires precision and care.
The installation involves several key steps, including setting the vanity in place, ensuring it’s level and secured to the walls, installing the countertop, and the most tech-oriented part—connecting the plumbing fixtures. This includes attaching the faucets, connecting the supply lines to the shut-off valves, and ensuring the drain assembly is properly installed and leak-free.
These steps must be done meticulously to avoid any future complications, such as leaks that could potentially damage your new vanity and bathroom. Although many people might feel confident undertaking this project solo, especially with access to numerous online tutorials and guides, it’s important to recognize when professional help is needed.
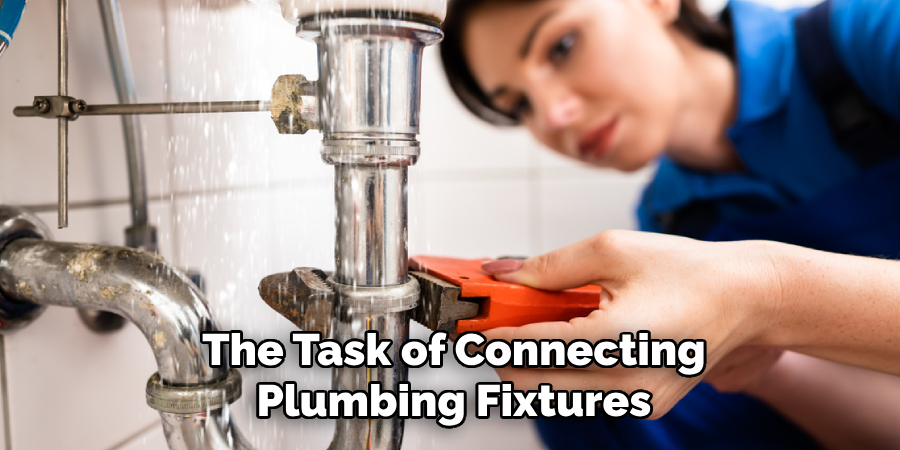
Plumbing, in particular, can be complex, and if you are uncertain about any part of the installation process or the task of connecting plumbing fixtures, seeking assistance from a professional plumber is strongly encouraged.
Professionals can not only ensure that the installation is done correctly but also help adhere to any local building codes and regulations. Remember, the goal is not just to have a new vanity installed but to have it done so in a way that serves you well without issues for years to come.
Tips for Selecting and Preparing New Vanity
When it comes to selecting and preparing your new vanity, several factors come into play to ensure the right fit, both in terms of aesthetics and functionality. Here are some considerations and suggestions to guide you through this process:
A. Considerations for Choosing a Suitable Vanity Based on Bathroom Size, Style, and Plumbing Configuration
- Bathroom Size and Layout: Measure your bathroom space meticulously to select a vanity that fits comfortably without obstructing movement. Consider wall and door clearance and the impact on other fixtures’ accessibility.
- Style and Aesthetics: Your vanity should complement the overall style and décor of your bathroom. Whether it’s modern, traditional, or something in between, choose a design that enhances the room’s aesthetics.
- Plumbing Configuration: Be aware of your bathroom’s existing plumbing layout. The plumbing might dictate the type of vanity you can choose, especially if relocating pipes is not an option. For instance, a floor-mounted vanity is suitable for traditional plumbing setups, whereas a wall-mounted option may require adjustments.
B. Suggestions for Preparing the New Vanity for Installation, Including Making Necessary Adjustments or Modifications

- Assembly and Pre-Fit: If your vanity comes disassembled, follow the manufacturer’s instructions to assemble it correctly. Before installation, position the vanity in its designated spot to ensure a proper fit and to identify any required adjustments.
- Adjusting for Plumbing: Sometimes, minor modifications to the vanity are needed to accommodate your plumbing configuration. This might include cutting or drilling to allow for pipe and supply lines. Always measure twice and cut once to avoid errors.
- Sealing and Protecting: Apply a sealant to porous surfaces such as wood, especially around areas susceptible to water exposure. This helps prevent water damage and prolongs the vanity’s lifespan.
Selecting and preparing your new vanity with attention to detail can significantly impact the efficiency of your installation process and ensure your bathroom functions beautifully and efficiently for years to come.
Installing New Vanity and Reconnecting Plumbing
Once you’ve selected, prepared, and ensured your new vanity is the perfect fit for your bathroom, the next crucial step is installation and plumbing reconnection. This task, though detailed, can be accomplished with precision by following a systematic approach.
Step-by-Step Guide to Installing New Vanity, Including Securing to Wall and Floor and Connecting Plumbing Fixtures

- Positioning the Vanity: Carefully move the vanity into its intended location. Use a level to ensure that the vanity sits evenly on the floor. If necessary, balance it with shims under the base.
- Securing to the Wall: Locate the wall studs using a stud finder. Align the vanity’s backing to the studs and mark the drilling points. Pre-drill holes and secure the vanity to the wall with suitable screws. Ensure not to overtighten and damage the vanity’s back.
- Installing the Countertop: Place the countertop on the vanity, ensuring it aligns properly. Use adhesive to secure it in place if required by the manufacturer’s instructions.
- Connecting the Faucet: Before attaching the sink, install the faucet following the manufacturer’s guidance. This step is usually easier to complete without the sink in place.
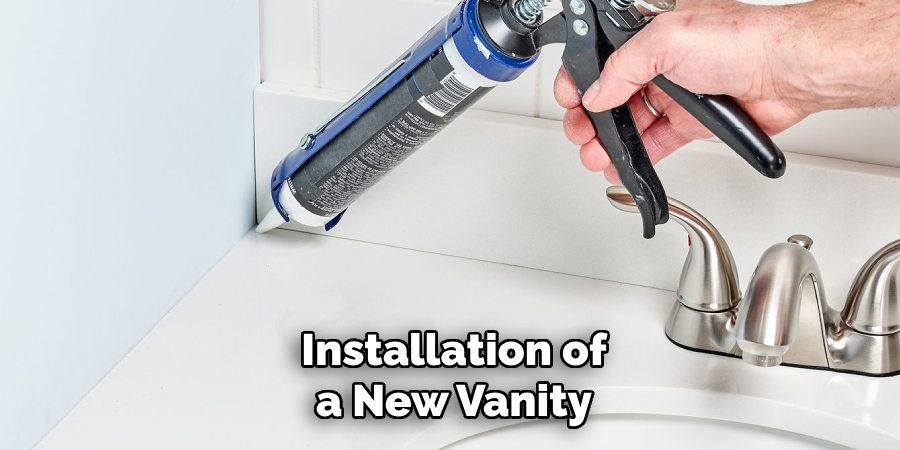
- Attaching the Sink: Lower the sink into the countertop cutout, ensuring a snug fit. Seal the edges with silicone caulk to prevent water leakage.
- Reconnecting Plumbing Fixtures: Attach the flexible supply lines from the faucet to the shut-off valves. Next, connect the drain assembly from the sink to the p-trap and the waste pipe. Ensure all connections are tight, but do not over-tighten to avoid stripping the threads.
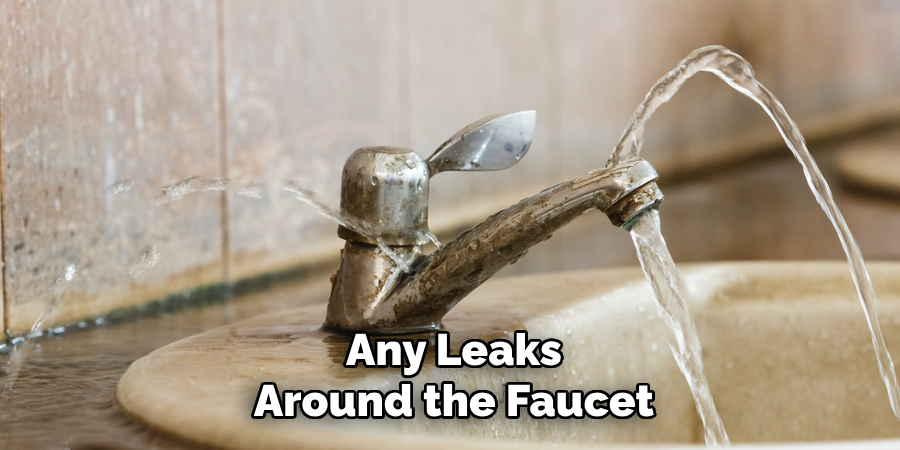
- Final Checks: Turn on the water supply and check for any leaks around the faucet, supply lines, and drain. Make any necessary adjustments to ensure a leak-free installation.
Importance of Following Manufacturer Instructions and Local Building Codes During Installation Process
Strict adherence to the manufacturer’s installation instructions is paramount. These guidelines are designed to ensure the safety, functionality, and longevity of your vanity. Furthermore, abiding by local building codes is essential.
These regulations are in place to ensure that plumbing is done safely and to standard, minimizing the risk of leaks, water damage, or more severe consequences. Hiring a professional plumber for this stage might be advisable, especially if significant modifications to your home’s plumbing system are required.
This section of the guide aims to equip you with a structured approach to installing your new vanity and reconnecting plumbing fixtures efficiently and safely. By following these steps and tips, you can look forward to a revitalized bathroom space that blends aesthetics, functionality, and compliance with all necessary standards.
Final Inspection and Testing
The final phase in the vanity installation process involves a rigorous inspection and testing phase to ensure everything is correctly installed and functionally impeccable. This step is critical in preventing any future plumbing issues and guaranteeing the longevity of your new vanity.
Conducting a Final Check of Plumbing Connections and Fixtures to Ensure Proper Installation and Functionality
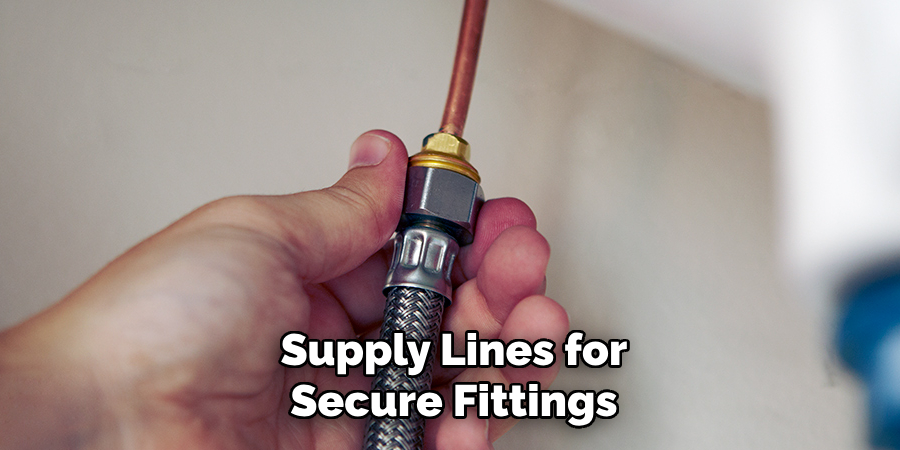
It’s crucial to meticulously inspect all plumbing connections and fixtures. This includes examining the faucet, drain, and supply lines for secure fittings. Ensure that all connections are tight but not over-tightened, as this could lead to damaged threads or leaks. Additionally, check the seal around the sink and countertop to ensure it’s fully adherent and waterproof, preventing water damage to the vanity and surrounding area.
Running Water and Checking for Leaks or Other Issues Before Completing the Installation Process
Once the physical inspection is complete, the next step is to run water through the system. Turn on the faucet and allow water to run for several minutes while you monitor for any leaks beneath the sink, at the supply line connections, and where the drain assembly meets the p-trap. Watching the system in operation allows for catching and addressing any small issues before they become bigger problems. Remember, finding a leak now is much easier to manage than discovering water damage later.
Final Thoughts
In summary, the safe removal of a vanity with water lines in the bottom is a process that requires careful planning, proper preparation, and the use of appropriate safety gear. Key steps include shutting off the water supply to prevent leaks and flooding, disconnecting the water lines and drain assembly with suitable tools, and cautiously removing the vanity to avoid damaging plumbing fixtures.
It’s imperative to wear safety gear such as gloves and goggles to protect against potential hazards. Proper planning and preparation, including having a clear workspace and the necessary tools on hand, significantly contribute to a smooth removal process.
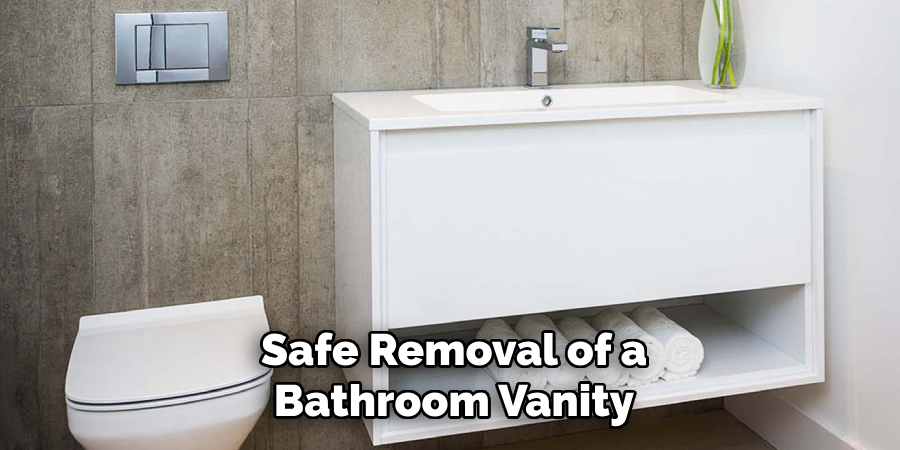
This recap underscores the importance of meticulous attention to detail, safety precautions, and preparedness in ensuring the successful and safe removal of a bathroom vanity, setting the stage for a seamless transition to installing a new fixture.
Undertaking the task of vanity removal, especially when confronting the intricacy of “how to remove vanity with water lines in bottom,” requires a careful and confident approach. The guidelines provided throughout this document are designed to empower you with the knowledge needed to perform this task safely and efficiently. It’s essential to approach each step with caution, understanding that a systematic process can lead to successful outcomes without unforeseen complications.
While the steps outlined offer a comprehensive guide, it’s crucial to recognize when a job may be beyond your expertise. Don’t hesitate to seek professional assistance for complex plumbing work or installation tasks that present significant challenges.
Professionals bring not just skill but also an added layer of safety to the process, ensuring that your bathroom renovation or update is conducted without risking damage or injury. Remember, the goal is not just removing an old vanity but also laying the groundwork for a seamless and secure installation of a new piece, enhancing both the functionality and aesthetics of your bathroom space.

