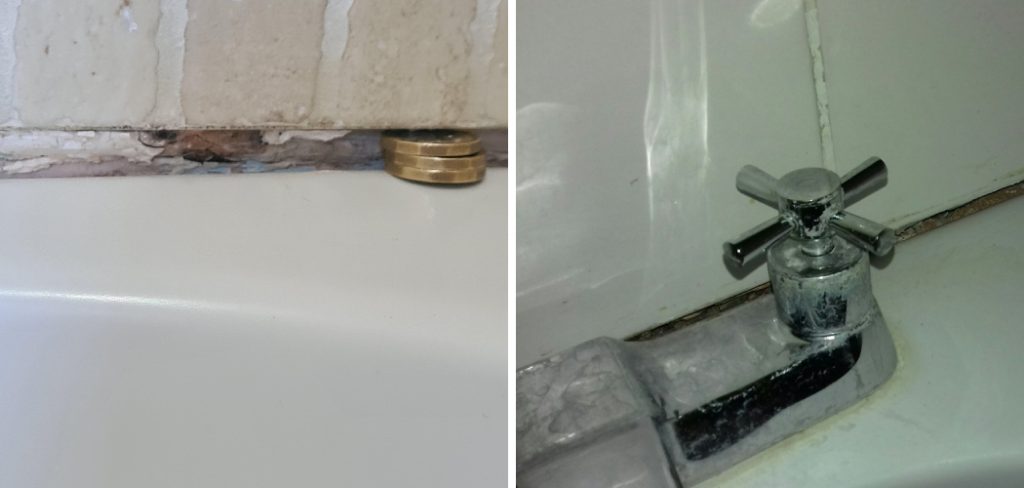
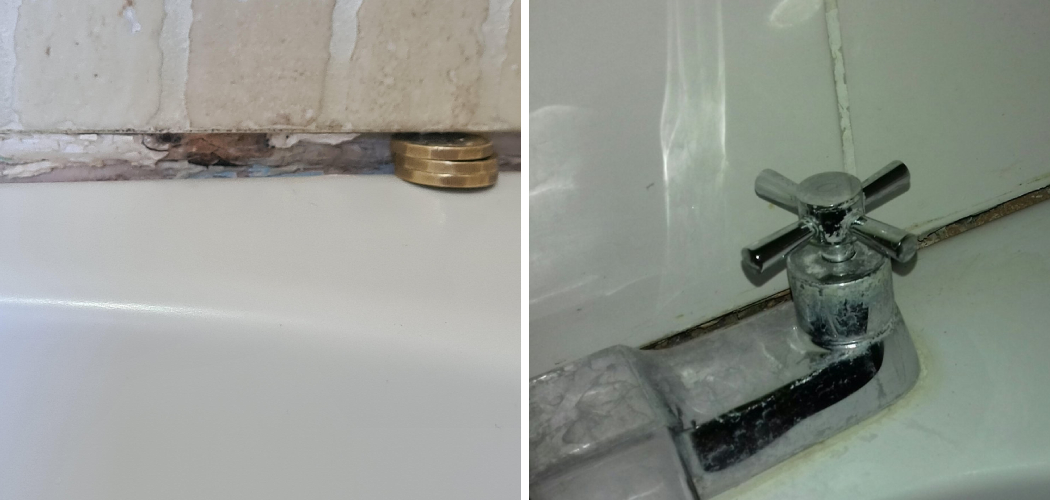
Are you dealing with a big gap between your bath and the wall? This can be a common issue when installing a new bath or if there has been movement in the floor or walls. But don’t worry, sealing a bath with a big gap is not as difficult as it may seem.

A properly sealed bath is crucial for preventing water damage and maintaining the longevity of your bathroom fixtures. Effective sealing becomes even more essential when there is a significant gap between the bath and the wall.
This guide will walk you through the steps required on how to seal a bath with a big gap, ensuring a watertight and professional finish. Whether you’re a DIY enthusiast or tackling this project for the first time, our detailed instructions will help you achieve a durable and aesthetically pleasing seal.
What Will You Need?
- Silicone sealant
- Caulking gun
- Masking tape
- Paint scraper
- Acetone or rubbing alcohol (for cleaning)
- Utility knife
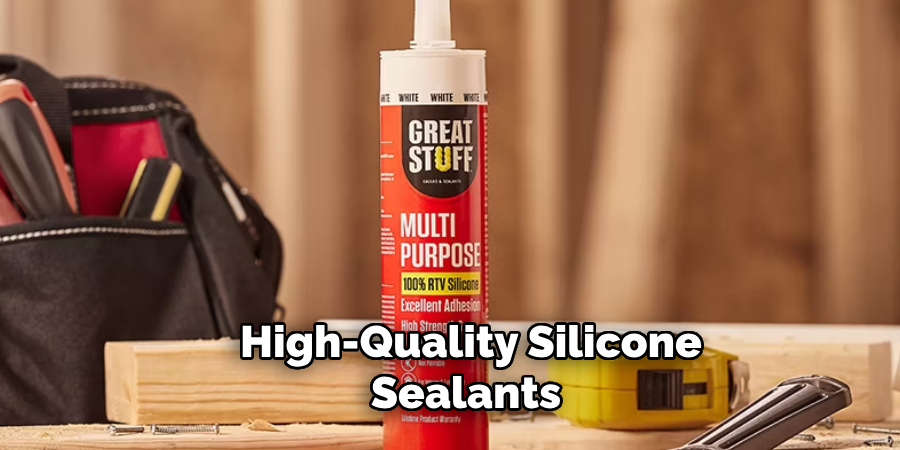
Having these tools on hand will make the process smoother and more efficient. It is important to use a high-quality silicone sealant specifically designed for bathrooms, as it is waterproof and resistant to mildew and mold.
10 Easy Steps on How to Seal a Bath With a Big Gap
Step 1: Prepare the Surface
Before you begin sealing, make sure that the surface is clean and dry. Use a paint scraper to remove any old sealant from between the bath and the wall. Then, clean the area with acetone or rubbing alcohol to remove any leftover residue.
Step 2: Mask off the Area
Once the surface is clean and dry, use masking tape to mark off the area where you will be applying the sealant. This will help ensure a neat and straight line, preventing excess sealant from spreading onto unwanted areas.
Apply the masking tape along the edge of the bath and the corresponding section of the wall, leaving a small gap for the sealant to fill. Be precise with your tape placement, as this will define the final look of your sealant line.
Step 3: Apply the Silicone Sealant
Load your caulking gun with the silicone sealant and cut the nozzle at a 45-degree angle to match the size of the gap you are filling. Begin applying the sealant at one end of the gap, squeezing the gun trigger steadily as you move along the length of the bath.

Ensure that the sealant is applied evenly and fills the entire gap. The goal is to create a continuous bead of sealant that adheres well to both the bath and the wall.
Step 4: Smooth the Sealant
After applying the sealant, use a wet finger or a sealant smoothing tool to smooth out the bead. This step helps to ensure that the sealant is pressed firmly into the gap and creates a neat finish.
Keep a damp cloth nearby to remove any excess sealant from your finger or the tool. Smoothing the sealant also helps to remove any air bubbles that might have formed during application, which can compromise the seal’s integrity.
Step 5: Remove the Masking Tape
Carefully remove the masking tape before the sealant starts to dry. Pull the tape away slowly and at a slight angle to avoid disturbing the freshly applied sealant. Removing the tape promptly ensures a clean edge for your sealant line and prevents the tape from becoming stuck in the cured sealant.
Step 6: Allow the Sealant to Cure
Refer to the manufacturer’s instructions for the drying time of the silicone sealant you’ve used. Generally, it takes about 24 hours for the sealant to fully cure. Avoid using the bath during this curing period to allow the sealant to set properly.
A fully cured sealant will provide a strong, watertight seal that can withstand regular use.
Step 7: Inspect the Seal
After the sealant has fully cured, carefully inspect the sealed area for any gaps, bubbles, or uneven sections. Pay close attention to both the edges of the sealant and the central area. If you spot any imperfections, you may need to apply an additional sealant layer to achieve a seamless finish.
Run your hand gently along the sealed area to ensure it feels smooth and there are no missed spots. A thorough inspection ensures the seal is visually pleasing and functionally watertight.
Step 8: Apply a Second Layer if Necessary
If you identify any gaps or imperfections during your inspection, clean the area with a damp cloth before applying a second layer of sealant. When applying the second layer, use the same technique as before: load the caulking gun, cut the nozzle to the appropriate size, and apply a steady bead of sealant.

Smooth out the new layer with a wet finger or a sealant smoothing tool to ensure it blends seamlessly with the first layer. Allow the additional sealant to cure according to the manufacturer’s instructions.
Step 9: Clean Up Excess Sealant
Once the second layer has cured, check the surrounding areas for any excess sealant that might have spread beyond the masking tape lines. Use a utility knife to carefully trim away any unwanted sealant without damaging the seal itself.
Additionally, clean off any residue from bathroom tiles or fixtures using acetone or rubbing alcohol on a cloth. Ensuring the work area is tidy will enhance the overall appearance and professionalism of your project.
Step 10: Test the Seal
After confirming that the sealant has had adequate time to cure and all excess sealant has been cleaned away, it’s essential to test the seal. Run a small amount of water around the edge of the bath where the sealant was applied.
Check for any signs of leaks or water seepage. If the seal is effective, the water should remain on the bath surface without penetrating the gap. Testing the seal gives you the assurance that the job has been done correctly and that your bathroom is protected from potential water damage.
By following these steps, you can successfully seal a bath with a big gap, resulting in a durable and watertight finish. Maintaining the seal is also important to prevent future issues.
5 Additional Tips and Tricks
Tip 1: Use Backer Rods for Large Gaps
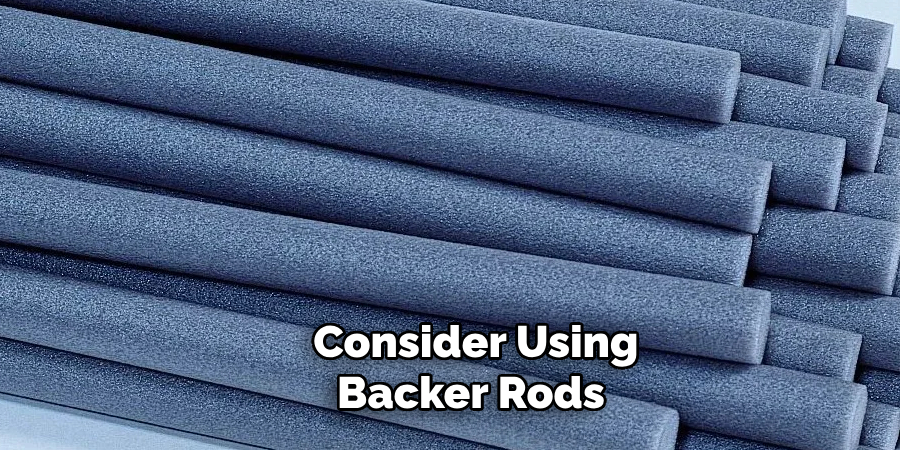
If the gap between the bath and the wall is huge, consider using backer rods before applying the sealant. Backer rods are foam rods that can be inserted into the gap to provide a stable base for the sealant.

Tip 2: Choose the Right Sealant Color
To achieve a professional-looking finish, choose a silicone sealant color matching your bathroom’s color scheme. Sealants come in various colors, including white, clear, and almond. Selecting a matching color can help the sealant blend seamlessly with the bath and wall, enhancing the overall appearance.
Tip 3: Keep the Sealant Tube Warm
Working with warm sealant can make it easier to apply smoothly. If the sealant has been stored in a cool place, warm it up by placing the tube in a bucket of warm water for a few minutes before use. This will soften the sealant, making it more pliable and easier to work with.
Tip 4: Ventilate the Area
Proper ventilation is essential when applying silicone sealant, as the fumes can be strong and unpleasant. Open windows and use a fan to ensure good airflow in the bathroom. Adequate ventilation will help the sealant dry faster and reduce the risk of inhaling fumes.
Tip 5: Practice Patience
Sealing a bath with a big gap may seem daunting, but it’s important to take your time and be patient throughout the process. Rushing or trying to cut corners can result in a poor seal that might require rework later on.
In conclusion, sealing a bath with a big gap is essential for bathroom maintenance. A well-executed seal ensures that water does not leak into gaps between
5 Things You Should Avoid
1. Skipping Surface Preparation
One of the most common mistakes is neglecting to properly prepare the surface before applying the sealant. Make sure to thoroughly clean and dry the area to ensure the sealant adheres well. Dirt, grime, and moisture can prevent the sealant from sticking, leading to a weak and ineffective seal.
2. Using Low-Quality Sealant

Avoid opting for cheap, low-quality sealant to save money. High-quality silicone sealants are designed to withstand moisture and temperature changes, providing a longer-lasting seal. Investing in a good-quality product can save you time and money on future repairs.
3. Ignoring the Manufacturer’s Instructions
Each type of sealant has specific application and curing instructions. Ignoring these guidelines can result in poor adhesion and a compromised seal.
4. Rushing the Application Process
Although hurrying through the application process can be tempting, rushing can lead to mistakes such as uneven application and air bubbles. Take your time to apply the sealant smoothly and evenly, ensuring a durable and aesthetically pleasing finish.
5. Applying Sealant in Unfavorable Conditions
Applying sealant in a humid or cold environment can affect its performance. These conditions can slow down the curing process or even cause the sealant not to set properly.
By being mindful of these common pitfalls, you can achieve a reliable and professional result when sealing a bath with a big gap.
Conclusion
How to seal a bath with a big gap can seem like a challenging task, but with careful preparation, the right materials, and attention to detail, it can be accomplished successfully.
By thoroughly cleaning and drying the area, selecting high-quality silicone sealant, and following the manufacturer’s instructions, you ensure a strong and durable seal.
Remember to take your time during the application process to avoid common pitfalls like rushing or skipping steps. You can achieve a professional finish by incorporating additional tips such as using backer rods for large gaps and ensuring proper ventilation.
Following these guidelines not only creates an effective barrier against water damage but also extends the longevity and appearance of your bathroom. With patience and precision, sealing a bath with a big gap becomes a manageable DIY project that protects your home and enhances its aesthetic appeal.

