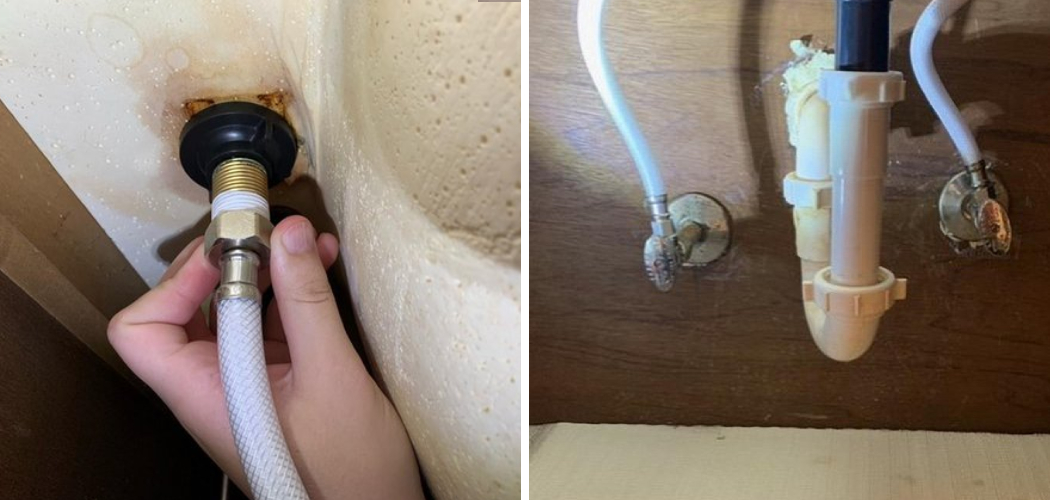
Are you tired of dealing with a clogged bathroom sink or need to replace the faucet? Whatever your reason, disconnecting the water supply lines from your bathroom sink is an important step. This process can seem daunting at first, but with the proper guidance, it can be done quickly.
When undertaking a bathroom sink repair or replacement, one of the essential tasks is disconnecting the water supply lines. Though it might seem daunting, this process is relatively straightforward and can be accomplished with a few essential tools and a bit of patience. Whether you are a seasoned DIY enthusiast or a novice looking to take on your first plumbing project, knowing how to disconnect these lines properly is crucial.
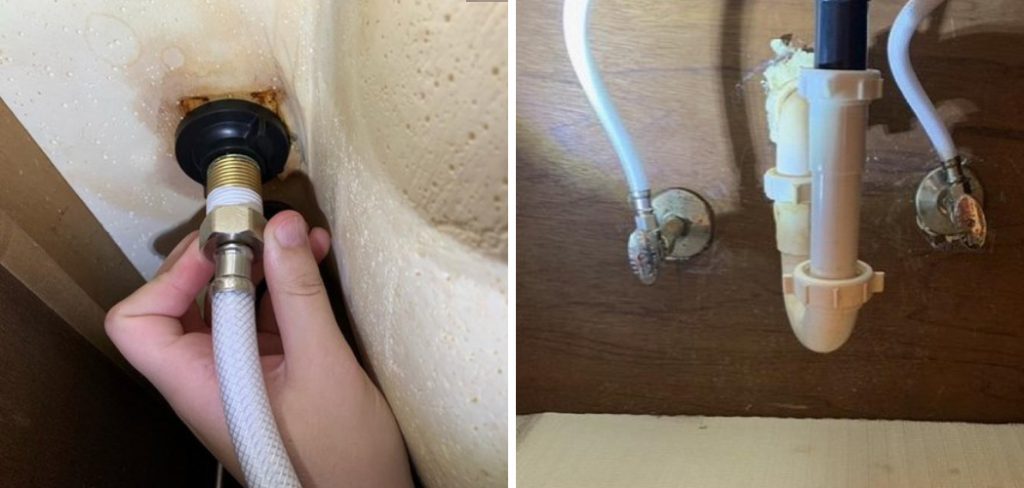
This guide will walk you through the necessary steps on how to disconnect water supply lines from bathroom sink, preventing any leaks or potential water damage in the process.
What Will You Need?
Before starting the process, make sure you have all the necessary tools and materials on hand. Here’s a list of items you’ll need to complete this task successfully:
- Adjustable wrench
- Bucket or towels
- Pliers (optional)
Once you have all the materials gathered, follow the steps below to disconnect the water supply lines to your bathroom sink.
10 Easy Steps on How to Disconnect Water Supply Lines From Bathroom Sink
Step 1: Turn Off the Water Supply
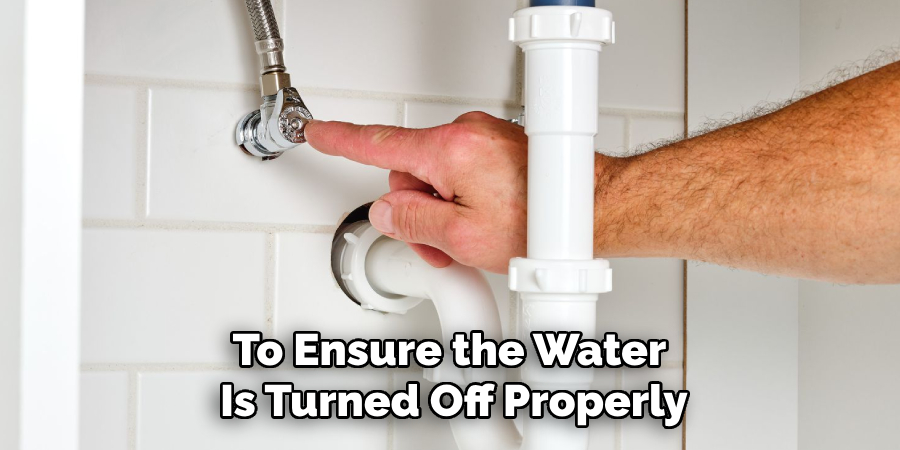
The first and foremost step in disconnecting the water supply lines from your bathroom sink is to ensure the water supply is completely turned off. Locate the shut-off valves, which are typically situated underneath the sink. There should be two valves—one for hot water and one for cold water. Turn both valves clockwise until they are fully closed.
To ensure the water is turned off properly, turn on the faucet and let any remaining water in the pipes flow out. This will help you confirm no more water pressure in the lines, making the subsequent steps less messy and more manageable. Have a bucket or towel handy to catch any residual water that might drip out due to water remaining in the supply lines or the faucet. Be cautious and ensure the valves are tightly shut before proceeding.
Step 2: Disconnect the Water Supply Lines
Once the water supply is completely turned off, you can disconnect the water supply lines from the shut-off valves. Using an adjustable wrench, carefully loosen the nuts that secure the supply lines to the shut-off valves. Turn the wrench counterclockwise to unscrew the nuts. Be prepared with a bucket or towels to catch any residual water that may still be in the lines. If the nuts are too tight or difficult to turn with the wrench, you can use pliers for additional grip and leverage.
Step 3: Remove the Faucet Connections
Next, move on to where the water supply lines connect to the faucet. Using the adjustable wrench, loosen the nuts that attach the supply lines to the underside of the faucet. Just like with the shut-off valves, turn the wrench counterclockwise to unscrew these nuts. Again, have your bucket or towels ready to catch any remaining water. Once you have loosened the nuts, you should be able to pull the supply lines free from the faucet.
Step 4: Inspect and Clean the Connections
After disconnecting the water supply lines, take a moment to inspect the shut-off valves and faucet connections for any signs of damage or wear. Clean the threads of any debris or old plumber’s tape that may be present. This will ensure a proper seal when you reconnect or replace the supply lines. If you notice any damage or corrosion on the valves or faucet connections, replacing those components might be a good idea to prevent future leaks.
Step 5: Cap the Shut-off Valves (if necessary)
If you will not be reconnecting new water supply lines immediately, it’s a good idea to cap the shut-off valves to prevent accidental water leaks. You can find caps that fit the valve threads at most hardware stores. Simply screw the caps onto the valves by hand and then use the adjustable wrench to tighten them securely. This step isn’t always necessary but provides added protection against any potential water damage.
Step 6: Remove the Old Water Supply Lines
With the connections loosened and disconnected, you can now fully remove the old water supply lines. Gently pull the lines away from the shut-off valves and the faucet connections. Inspect the old lines to determine if they caused any prior issues, such as leaks or water pressure problems. This is also a great time to measure the length of the old lines, ensuring that any replacements you purchase will be the correct size.
Step 7: Install the New Water Supply Lines
Before installing new water supply lines, ensure they are the appropriate length and type for your sink. Attach one end of the new supply lines to the shut-off valves. Using your fingers, screw the nuts onto the valve threads and then secure them tightly with an adjustable wrench. Repeat this process for the faucet connections, ensuring both ends are securely attached to prevent any future leaks.
Step 8: Apply Plumber’s Tape
To ensure a more secure fit and to prevent leaks, apply the plumber’s tape (also known as Teflon tape) to the threads of the shut-off valves and faucet connections. Wrap the tape around the threads in a clockwise direction to match the direction in which the nuts will be screwed on. This extra layer of protection helps create a watertight seal when the supply lines are reattached.
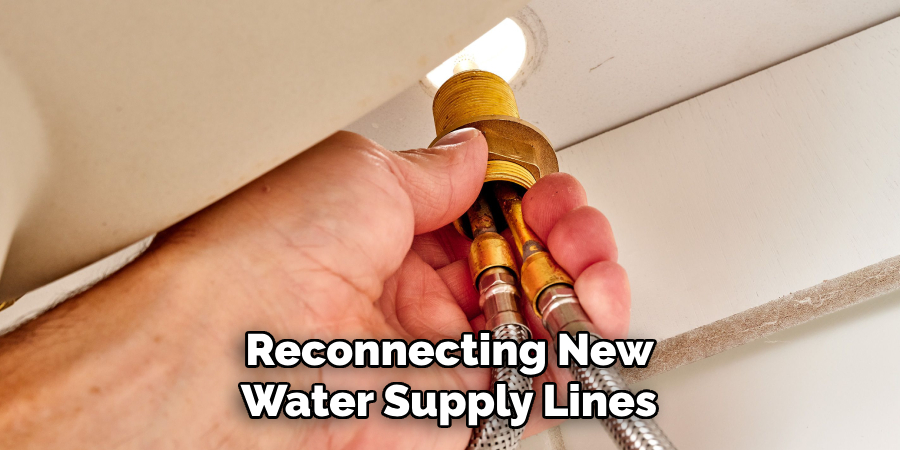
Step 9: Reconnect the Water Supply Lines
With the plumber’s tape applied, you can now reconnect the water supply lines to the shut-off valves and faucet. Screw the nuts onto the threads by hand initially, then tighten them further with an adjustable wrench. Ensure to avoid overtightening, as this can damage the threads or supply lines. A firm and snug fit is usually sufficient.
Step 10: Test for Leaks
Once all connections have been re-secured, testing for any potential leaks is crucial. Slowly turn on the shut-off valves by rotating them counterclockwise, allowing water to flow into the lines. Turn on the faucet and observe around the connections for any signs of dripping or moisture. If you notice any leaks, tighten the connections further or reapply the plumber’s tape as necessary. Once satisfied with no leaks, your water supply lines have been successfully disconnected and replaced.
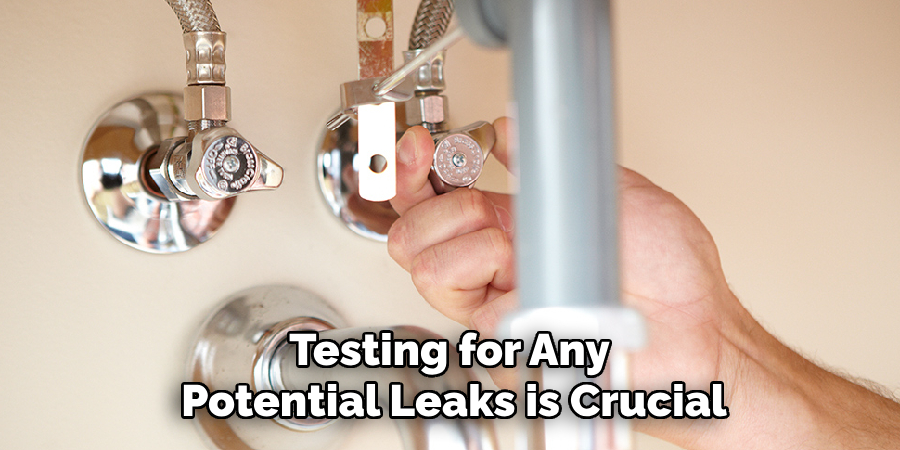
By following these simple steps and using the right tools and materials, you can confidently disconnect and replace your water supply lines.
5 Additional Tips and Tricks
- Use the Correct Tools: Ensure you have a basin wrench or a pair of adjustable pliers. These tools are designed to reach and handle the nuts and fittings under sinks and tight spaces.
- Prepare for Water Spillage: Place a bucket or a large bowl under the sink to catch any residual water that may drip from the supply lines once disconnected. Have a towel or rag handy to clean up any spills.
- Loosen the Nuts Carefully: To avoid damaging the threads, loosen the nuts connecting the water lines slowly and carefully. Hold the pipe steady with one hand while you turn the wrench with the other.
- Add Thread Seal Tape: Before connecting the new faucet, wrap some thread seal tape around the threads of the water supply lines. This will help prevent leaks and create a tighter seal.
- Try Silicone Caulk: Once the faucet is installed, use a small amount of silicone caulk around the base to seal any gaps and prevent water from seeping underneath. This will also give your sink a cleaner and more finished look.
5 Things You Should Avoid
- Using the Wrong Tools: Avoid using inappropriate or makeshift tools like regular pliers or wrenches that do not fit properly. These can slip and damage the nuts or fittings, making the task more difficult and potentially leading to leaks.
- Skipping the Water Shut-Off Step: Remember to turn off the water supply before starting work. Please do so to avoid unwanted water flow, leading to potential flooding and damage to your bathroom.
- Over-Tightening Connections: While it is important for connections to be secure, over-tightening can strip the threads on the nuts and fittings or cause them to crack. Tighten only until snug and check for leaks rather than relying on excessive force.
- Ignoring Old Seals and Tapes: Do not neglect to remove old thread seal tape or gaskets from the threads of the supply lines. Residual materials can impede proper sealing, resulting in leaks.
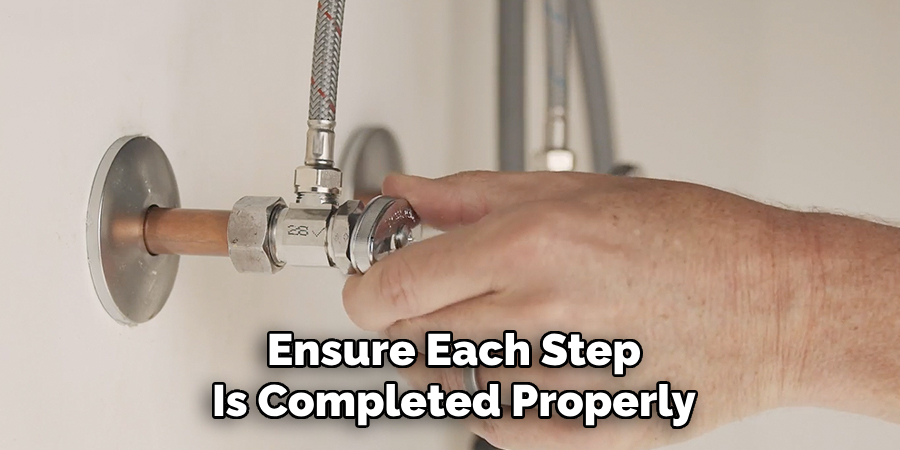
- Rushing the Process: Take time and ensure each step is completed properly. Rushing through the process can lead to mistakes, such as cross-threading the connections or not securing the lines correctly, which can cause leaks or damage in the long run.
Conclusion
In conclusion, how to disconnect water supply lines from bathroom sink is a straightforward task when armed with the right tools and a clear step-by-step guide.
By following this comprehensive process, you can avoid common pitfalls and ensure a watertight and secure installation. Remembering essential preparations, such as turning off the water supply and using thread seal tape, can prevent leaks and damage. Additionally, taking time and care while loosening and tightening connections ensures the integrity of the fittings.
Whether you’re a seasoned DIY enthusiast or a novice, these detailed instructions will help you carry out the task efficiently and confidently, ultimately preserving the functionality and appearance of your bathroom sink.
You can check it out to How to Remove Vanity with Water Lines in Bottom

