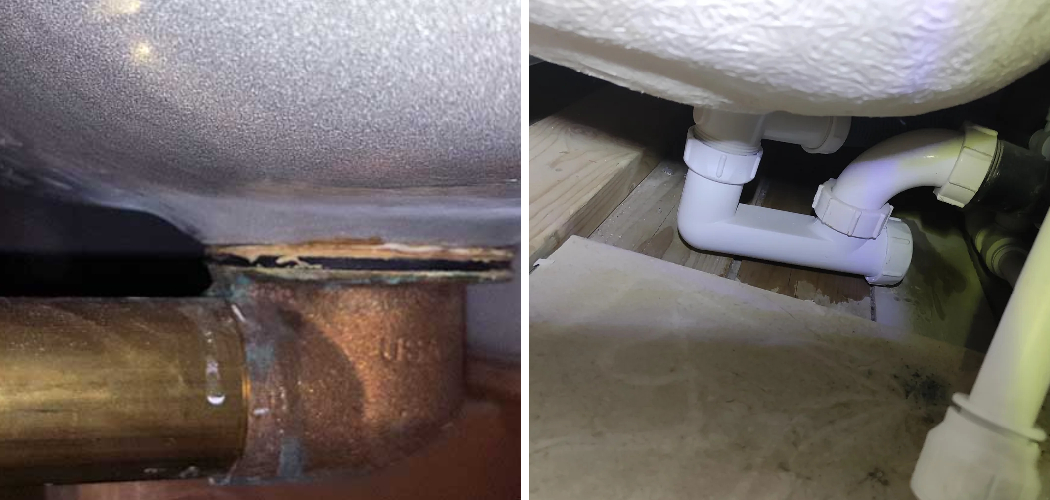
A leaky drain in your bathtub can be a major inconvenience, leading to water damage, increased utility bills, and potential mold growth. Fortunately, fixing a leaky drain is a task that you can often handle on your own without the need for a professional plumber.
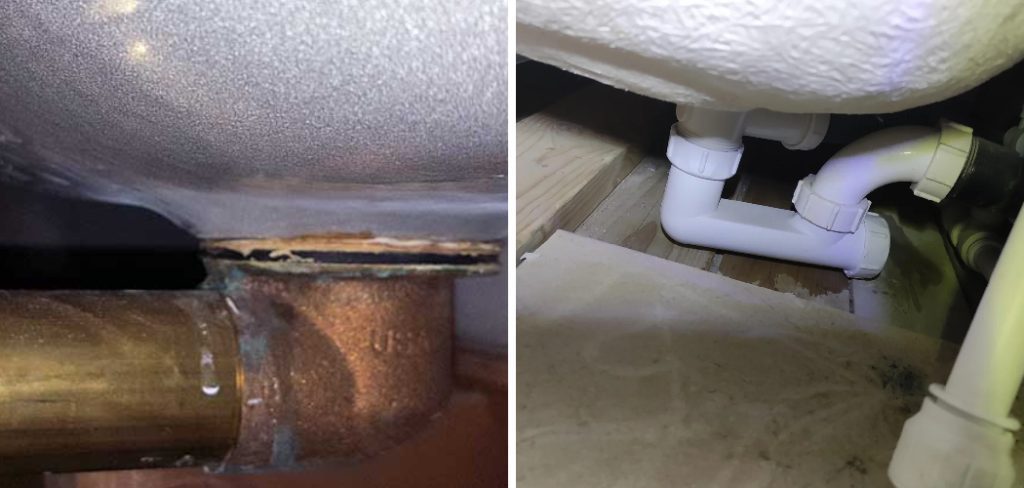
In this guide on how to fix a leaky drain in the bathtub, we will walk you through a straightforward, step-by-step process to identify the source of the leak and effectively repair it. With a few common tools and a bit of patience, you’ll have your bathtub drain working perfectly in no time.
What is a Leaky Drain?
A leaky drain is a common plumbing issue that occurs when water leaks from the drain in your bathtub instead of flowing down into the pipes. This can happen due to various reasons, including loose or damaged parts, clogs, or faulty installation.
It is essential to fix a leaky drain as soon as possible to prevent further damage and potential health hazards. The constant dripping of water can create puddles, leading to slippery surfaces and potential falls. It can also cause mold growth, which can be harmful to your health.
Materials Needed
Before you start fixing the leaky drain in your bathtub, it’s important to gather all the necessary materials. Here’s a list of items you’ll likely need:
Plumber’s Putty or Silicone Caulk:
To create a watertight seal around the drain and prevent leaks.
Plunger:
To clear any clogs that may be causing the leak.
Screwdriver:
For removing screws and bolts from the drain assembly.
Wrench: For loosening and tightening pipes and fittings.
Replacement Parts:
If the leak is due to damaged or worn-out parts, you may need to replace them with new ones. These can include gaskets, O-rings, washers, or even a new drain stopper.
8 Simple Step-by-step Guidelines on How to Fix a Leaky Drain in the Bathtub
Step 1: Identify the Source of the Leak
The first and most crucial step in fixing a leaky drain is to identify the exact source of the leak. Start by thoroughly inspecting the area around the bathtub drain for any visible signs of water. Look for puddles, wet spots, or any moisture accumulation.
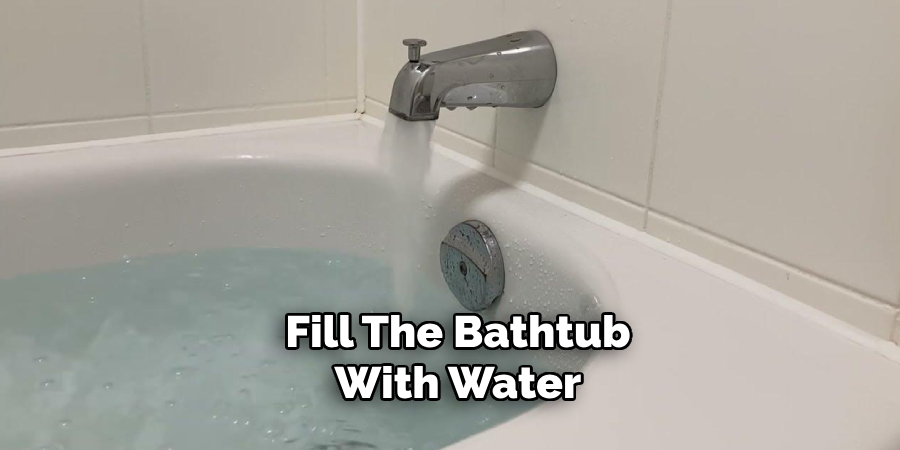
You might also want to check under the bathtub if possible, to see if there are any drips or watermarks beneath it. Additionally, plug the drain and fill the bathtub with water to see if the water level drops over time. This can help you determine whether the leak is occurring through the drain or from another source. Once you pinpoint where the leak is coming from, you’ll have a better idea of what repairs are needed.
Step 2: Turn off the Water Supply
Before proceeding with any repairs, it’s essential to turn off the water supply to your bathtub to prevent any unintended water flow during the repair process. Locate the water shut-off valves for your bathroom. These are typically found near the bathtub or in a utility access panel. If you can’t find individual shut-off valves for the bathtub, you may need to turn off the main water supply to your home.
Once the water supply is off, turn on the bathtub faucet to drain any remaining water in the pipes. This will ensure you have a dry work area, minimizing any mess and allowing you to work more efficiently. Remember to double-check that the water is completely turned off before moving on to the next steps.
Step 3: Remove the Drain Cover
With the water supply turned off and the work area dry, you can now proceed to remove the drain cover. Most bathtub drains have a screw-in cover or a pop-up stopper. If your drain has a screw-in cover, use a screwdriver to carefully remove the screws holding it in place. Be sure to keep the screws in a safe place so you can easily reattach the cover later.
For a pop-up stopper, you typically need to lift and turn the stopper to unlock it from the drain. Some stoppers may also have a small lever or button that needs to be pressed to release them. Once the stopper is removed, set it aside and inspect the drain opening for any visible signs of damage or debris.
Step 4: Check the Drain Assembly
With the drain cover removed, you can now inspect the drain assembly for any signs of damage or wear. The drain assembly consists of various parts such as a strainer, gasket, O-ring, and drain flange. Check each part for cracks, corrosion, or any other visible damage that could be causing the leak.
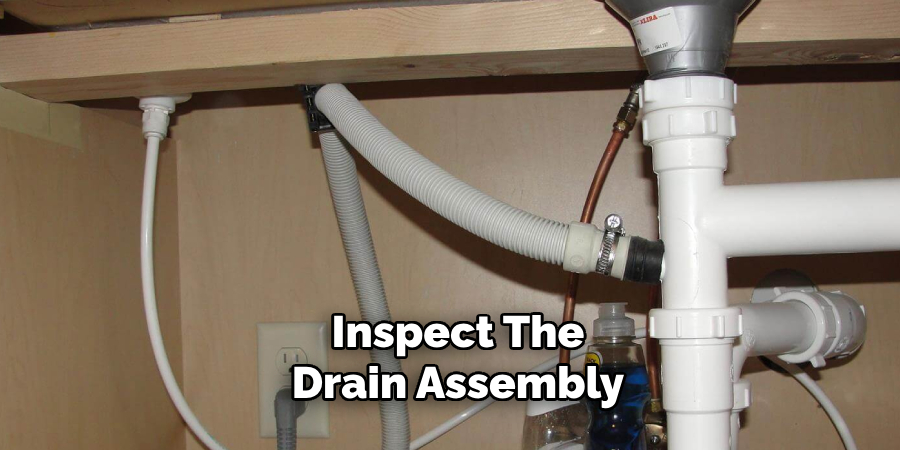
If there are no signs of damage to the individual parts, it’s possible that they may just need cleaning. Use a rag and some mild soap to remove any buildup or debris from each part and thoroughly rinse with water before reinstalling them.
Step 5: Fix or Replace Damaged Parts
If you have identified any damaged parts during the inspection, it’s essential to fix or replace them before proceeding. You can purchase replacement parts from your local hardware store or online. Make sure to match the new parts with the old ones for a proper fit.
To replace the damaged part, simply unscrew and remove it from the drain assembly and install the new one in its place. Use plumber’s putty or silicone caulk around the edges of each part for a secure seal and prevent future leaks. Tighten any screws or bolts as needed.
Step 6: Clear any Clogs
Clogs can also cause leaks in bathtub drains. If you suspect a clog is causing the leak, use a plunger to clear it. Fill the bathtub with enough water to cover the plunger and place it over the drain opening. Pump the plunger up and down several times while maintaining a tight seal around the drain.
If this doesn’t work, you may need to use a plumbing snake or call a professional plumber for assistance. Once the clog is cleared, run some hot water through the drain to flush out any remaining debris.
Step 7: Reinstall the Drain Cover
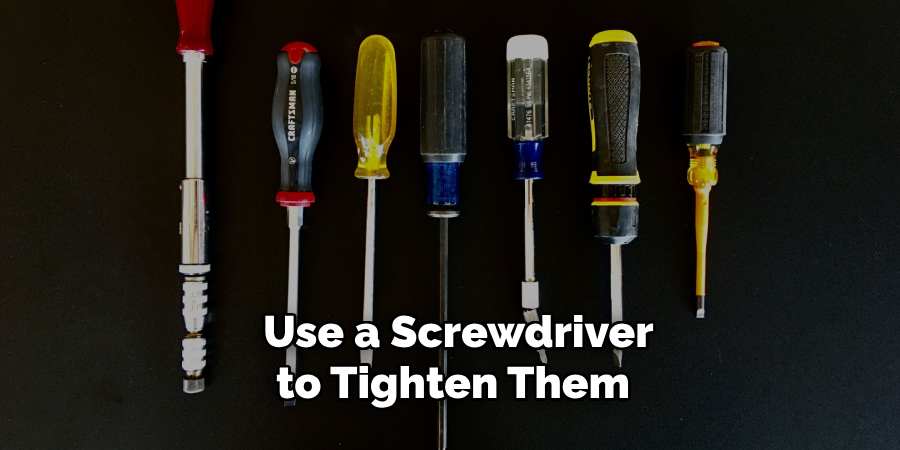
After completing the necessary repairs and clearing any clogs, you can now reattach the drain cover. Carefully line up the screw holes on the cover with those on the drain assembly and use a screwdriver to tighten them in place. For pop-up stoppers, simply reinsert them into the drain opening and twist or press to lock them back into place.
You can also add a small amount of plumber’s putty or silicone caulk around the edges of the drain cover for an extra layer of protection against leaks.
Step 8: Turn on the Water Supply and Test for Leaks
With everything reinstalled, turn the water supply back on and fill the bathtub with a few inches of water. Let it sit for a few minutes and then check for any signs of leaking around the drain.
If there are no leaks, congratulations – you have successfully fixed your leaky bathtub drain! If there are still leaks present, double-check that all parts were properly installed and seal them again if necessary. If the problem persists, it’s best to call a professional plumber for further assistance.
Following these steps on how to fix a leaky drain in the bathtub can help you fix a leaky bathtub drain and prevent any further damage to your bathroom.
Additional Tips for Preventing Bathtub Drain Leaks
To maintain a leak-free bathtub drain and prevent future issues, consider the following additional tips:
Regular Maintenance:
Frequently check your bathtub drain for any signs of wear and tear. Performing regular inspections can help you catch and address potential problems before they escalate into significant leaks.
Clean the Drain:
Make it a habit to clean your drain regularly. Remove hair, soap scum, and other debris that can cause clogs and lead to leaks. Use a drain cleaner or a homemade mixture of baking soda and vinegar to keep the drain clear.
Install a Drain Cover:
A drain cover can catch hair and other debris, preventing them from going down the drain and causing clogs. Choose a cover that fits your drain properly and clean it regularly to ensure it functions effectively.
Avoid Harsh Chemicals:
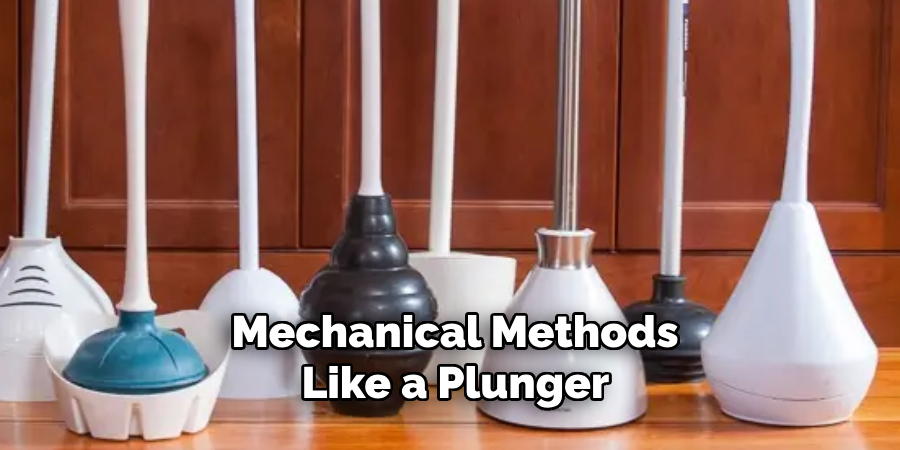
While chemical drain cleaners can be effective, they can also damage your pipes and drain assembly over time. Opt for natural cleaning solutions or mechanical methods like a plunger or plumbing snake to deal with clogs.
Check the Caulking:
Inspect the caulking around your bathtub periodically. Replace any cracked or deteriorated caulk to maintain a watertight seal and prevent water from seeping into areas it shouldn’t.
Monitor Water Pressure:
Excessively high water pressure can strain your plumbing system and lead to leaks. Ensure your home’s water pressure is within the recommended range by installing a pressure regulator if necessary.
Be Gentle with Drain Components:
When cleaning or fixing the drain, handle all parts with care. Applying excessive force can damage the components and increase the risk of leaks.
Professional Inspections:
Consider having a professional plumber inspect your plumbing system annually. They can identify and address potential issues that may not be visible to the untrained eye.
By following these additional tips, you can extend the lifespan of your bathtub drain and minimize the risk of leaks, ensuring your bathroom remains functional and in good condition.
Conclusion
Fixing a leaky bathtub drain might seem daunting at first, but with the right approach and tools, it’s a manageable task that can save you time, money, and hassle. By following a systematic process of inspecting, cleaning, fixing, and replacing parts, you can effectively address the issue and prevent future leaks.
Regular maintenance and mindful practices, such as avoiding harsh chemicals and monitoring water pressure, will also contribute to the longevity of your plumbing system. If the problem persists despite your best efforts, do not hesitate to seek professional help to ensure a thorough and secure fix.
Taking these steps on how to fix a leaky drain in the bathtub will help you maintain a fully functional and leak-free bathtub, contributing to the overall upkeep and comfort of your home.

